> ## Documentation Index
> Fetch the complete documentation index at: https://docs.hiveinspect.com/llms.txt
> Use this file to discover all available pages before exploring further.
# Web Editor
> Complete guide to reviewing, editing, and publishing inspection reports using Hive's Web Editor after completing your on-site inspection
⏱️ **Estimated time:** \~15 minutes
## Video Tutorial
* Overview of using Web Editor to add or update information
* Assumes prior inspection was completed using a mobile app
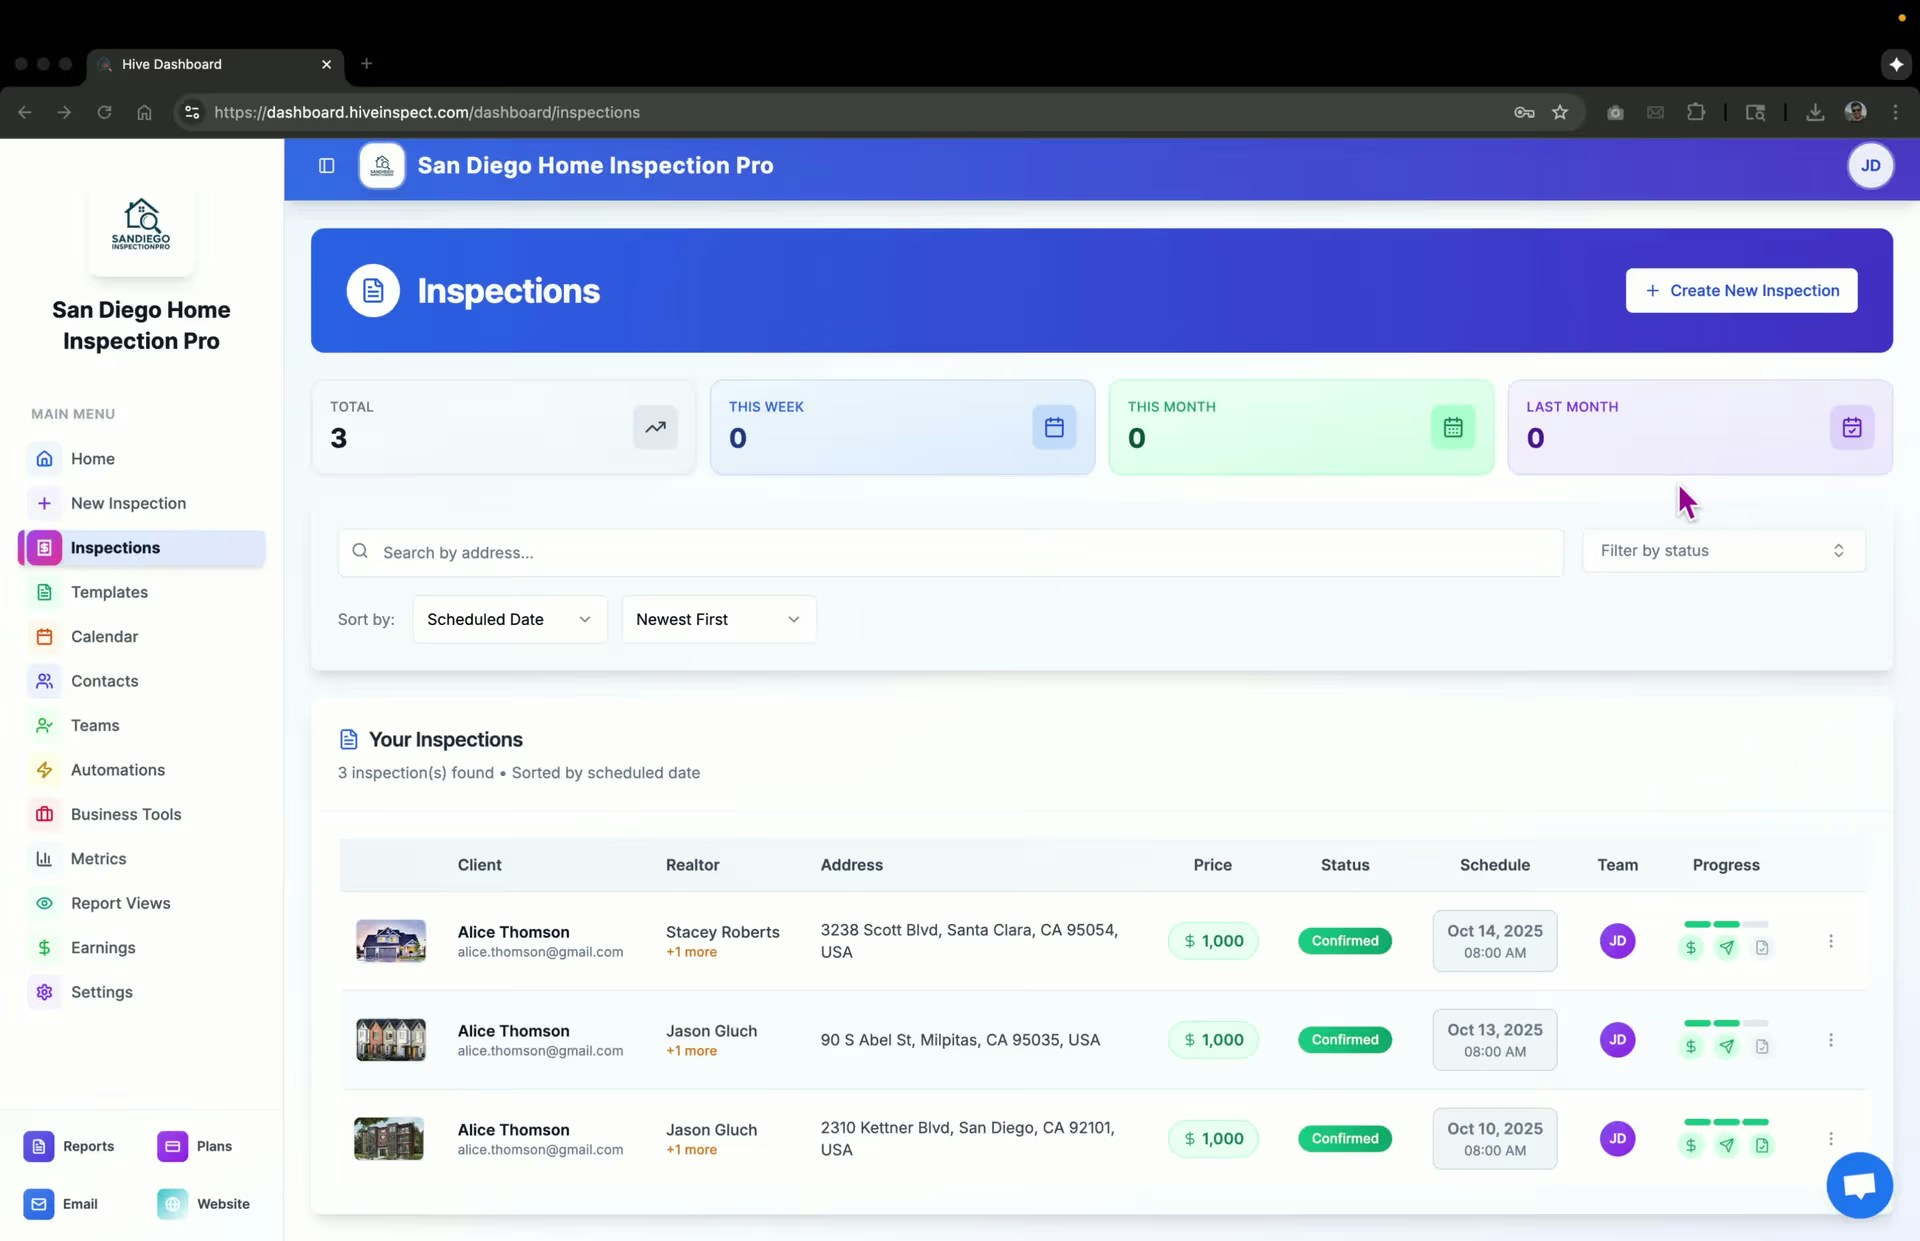
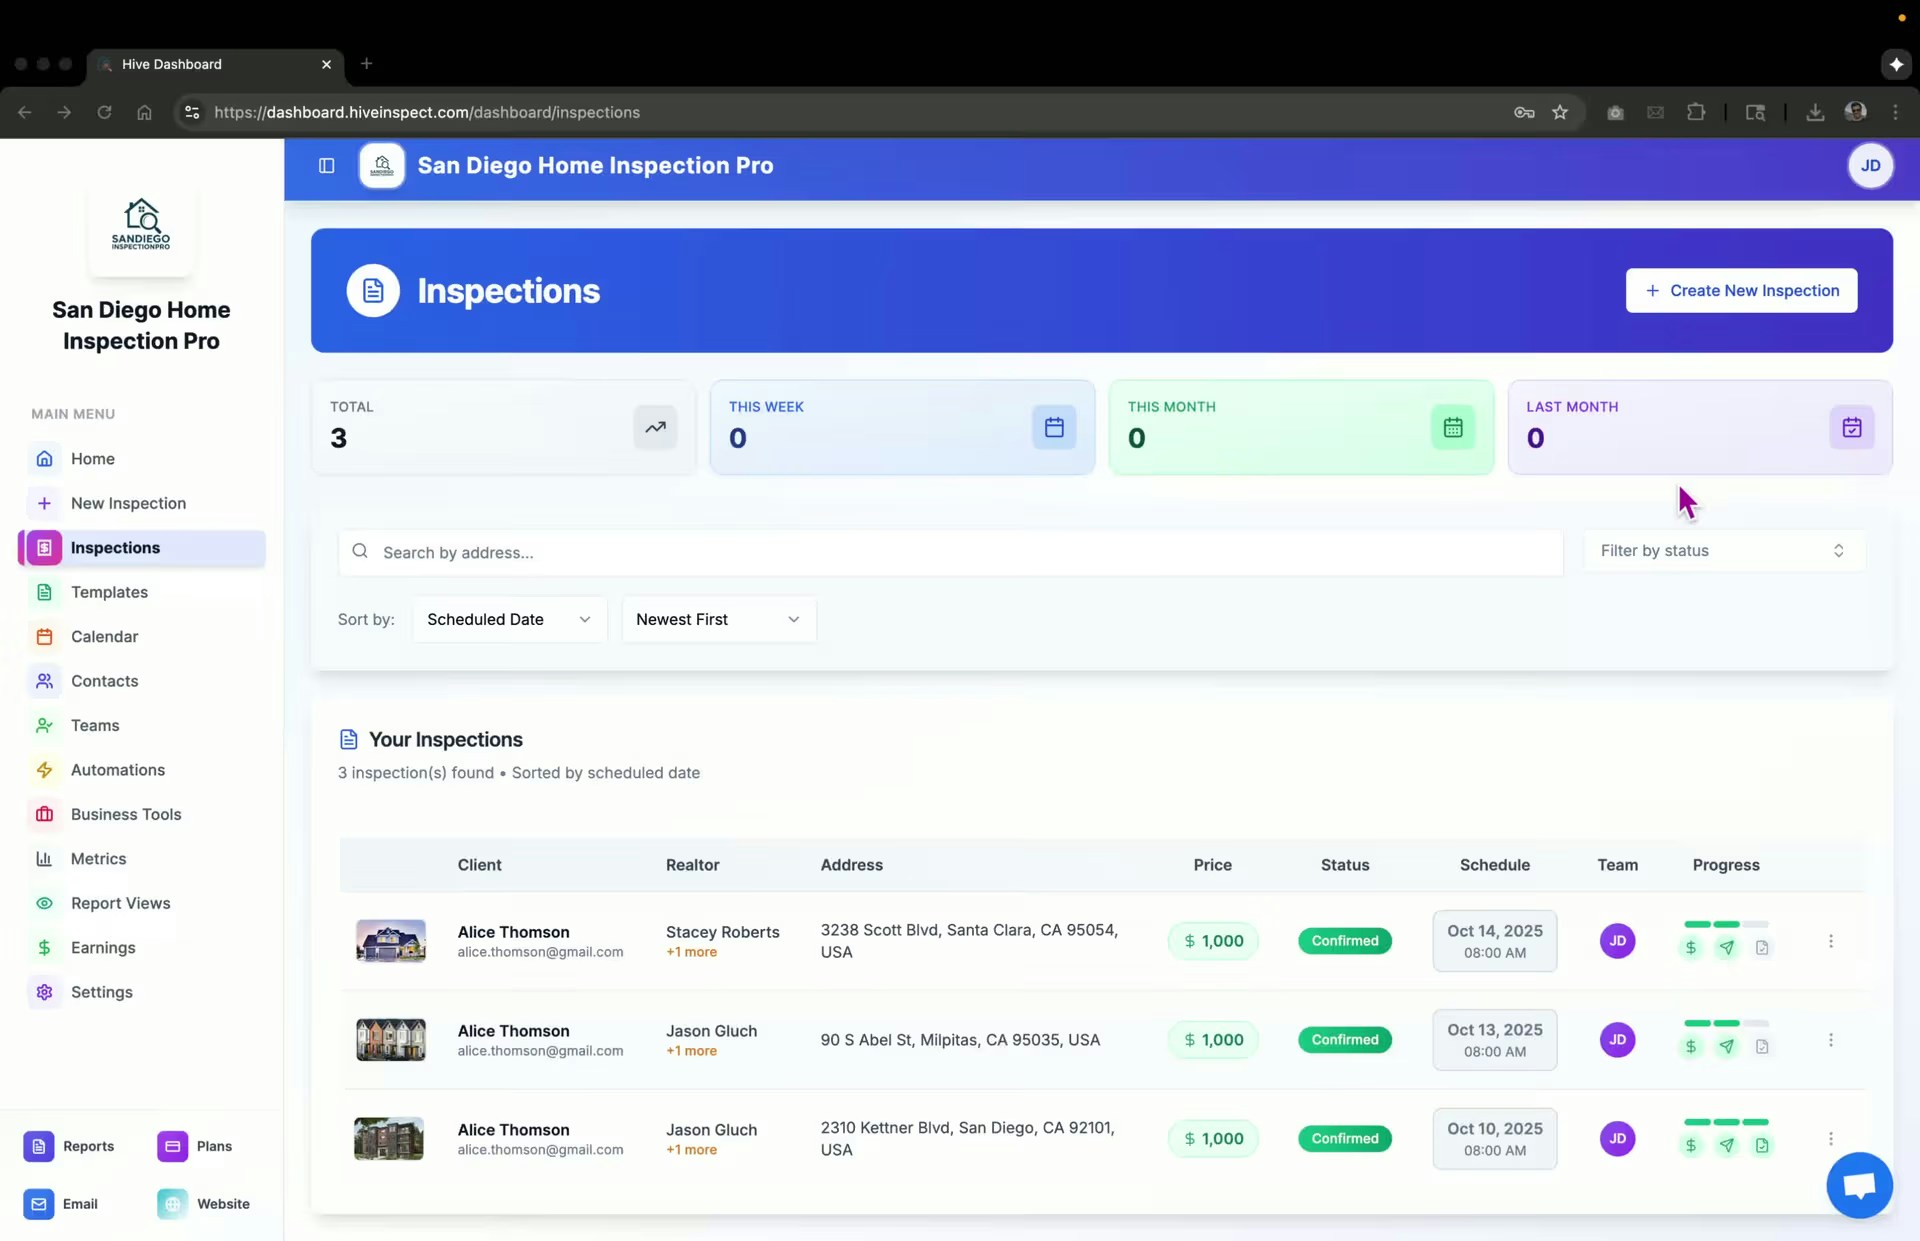 * Go to your dashboard
* Click on **Inspections**
* Locate the inspection you want to edit
* Go to your dashboard
* Click on **Inspections**
* Locate the inspection you want to edit
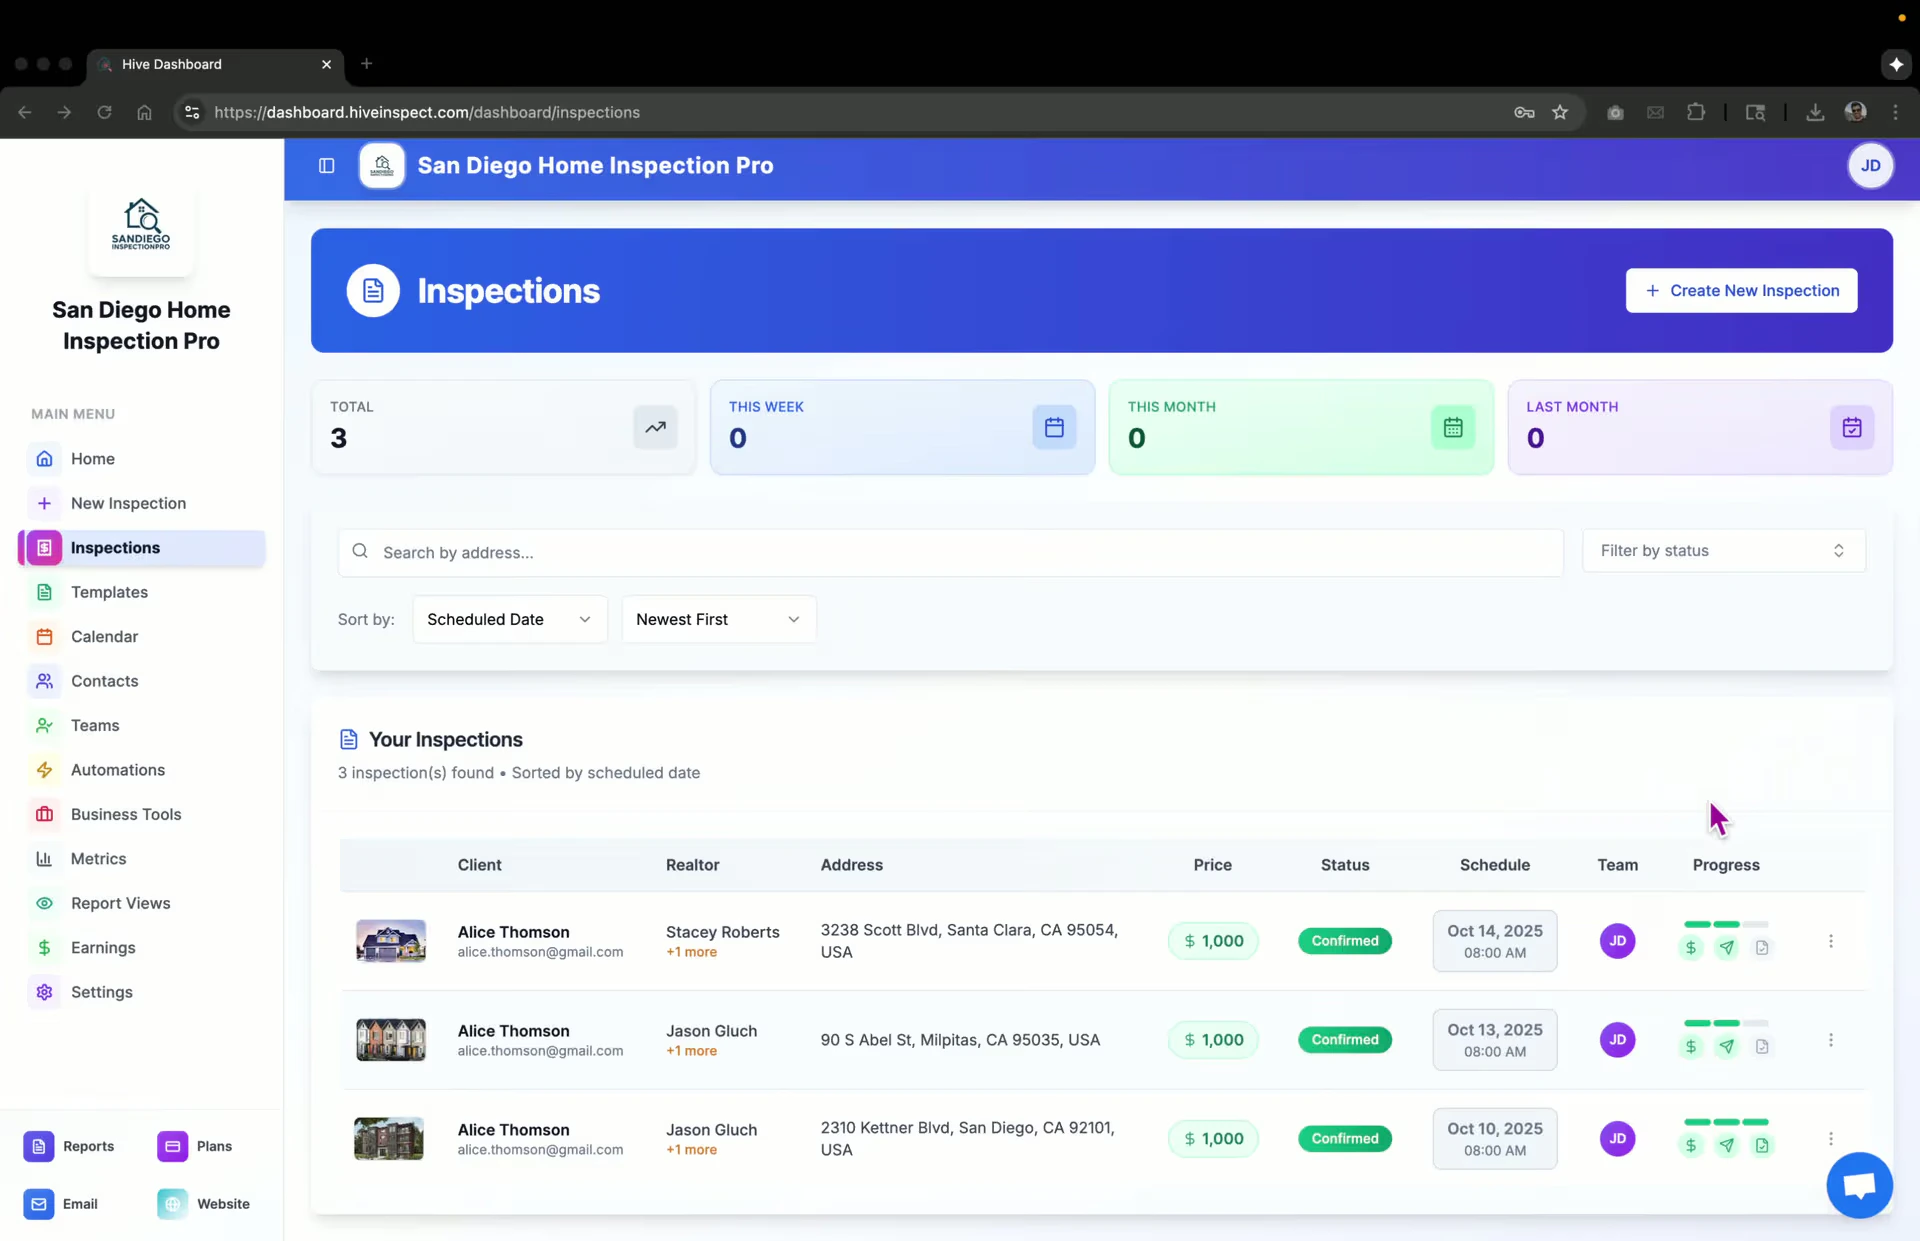
 * Click on the three dots next to the inspection
* Select **Reports**
* Alternatively, click **Edit Reports** from the inspection management page
* Click on the three dots next to the inspection
* Select **Reports**
* Alternatively, click **Edit Reports** from the inspection management page
 * View the list of templates/reports for the selected inspection
* To add a new report, click **Add Report**
* To edit an existing report, click **Edit**
* View the list of templates/reports for the selected inspection
* To add a new report, click **Add Report**
* To edit an existing report, click **Edit**
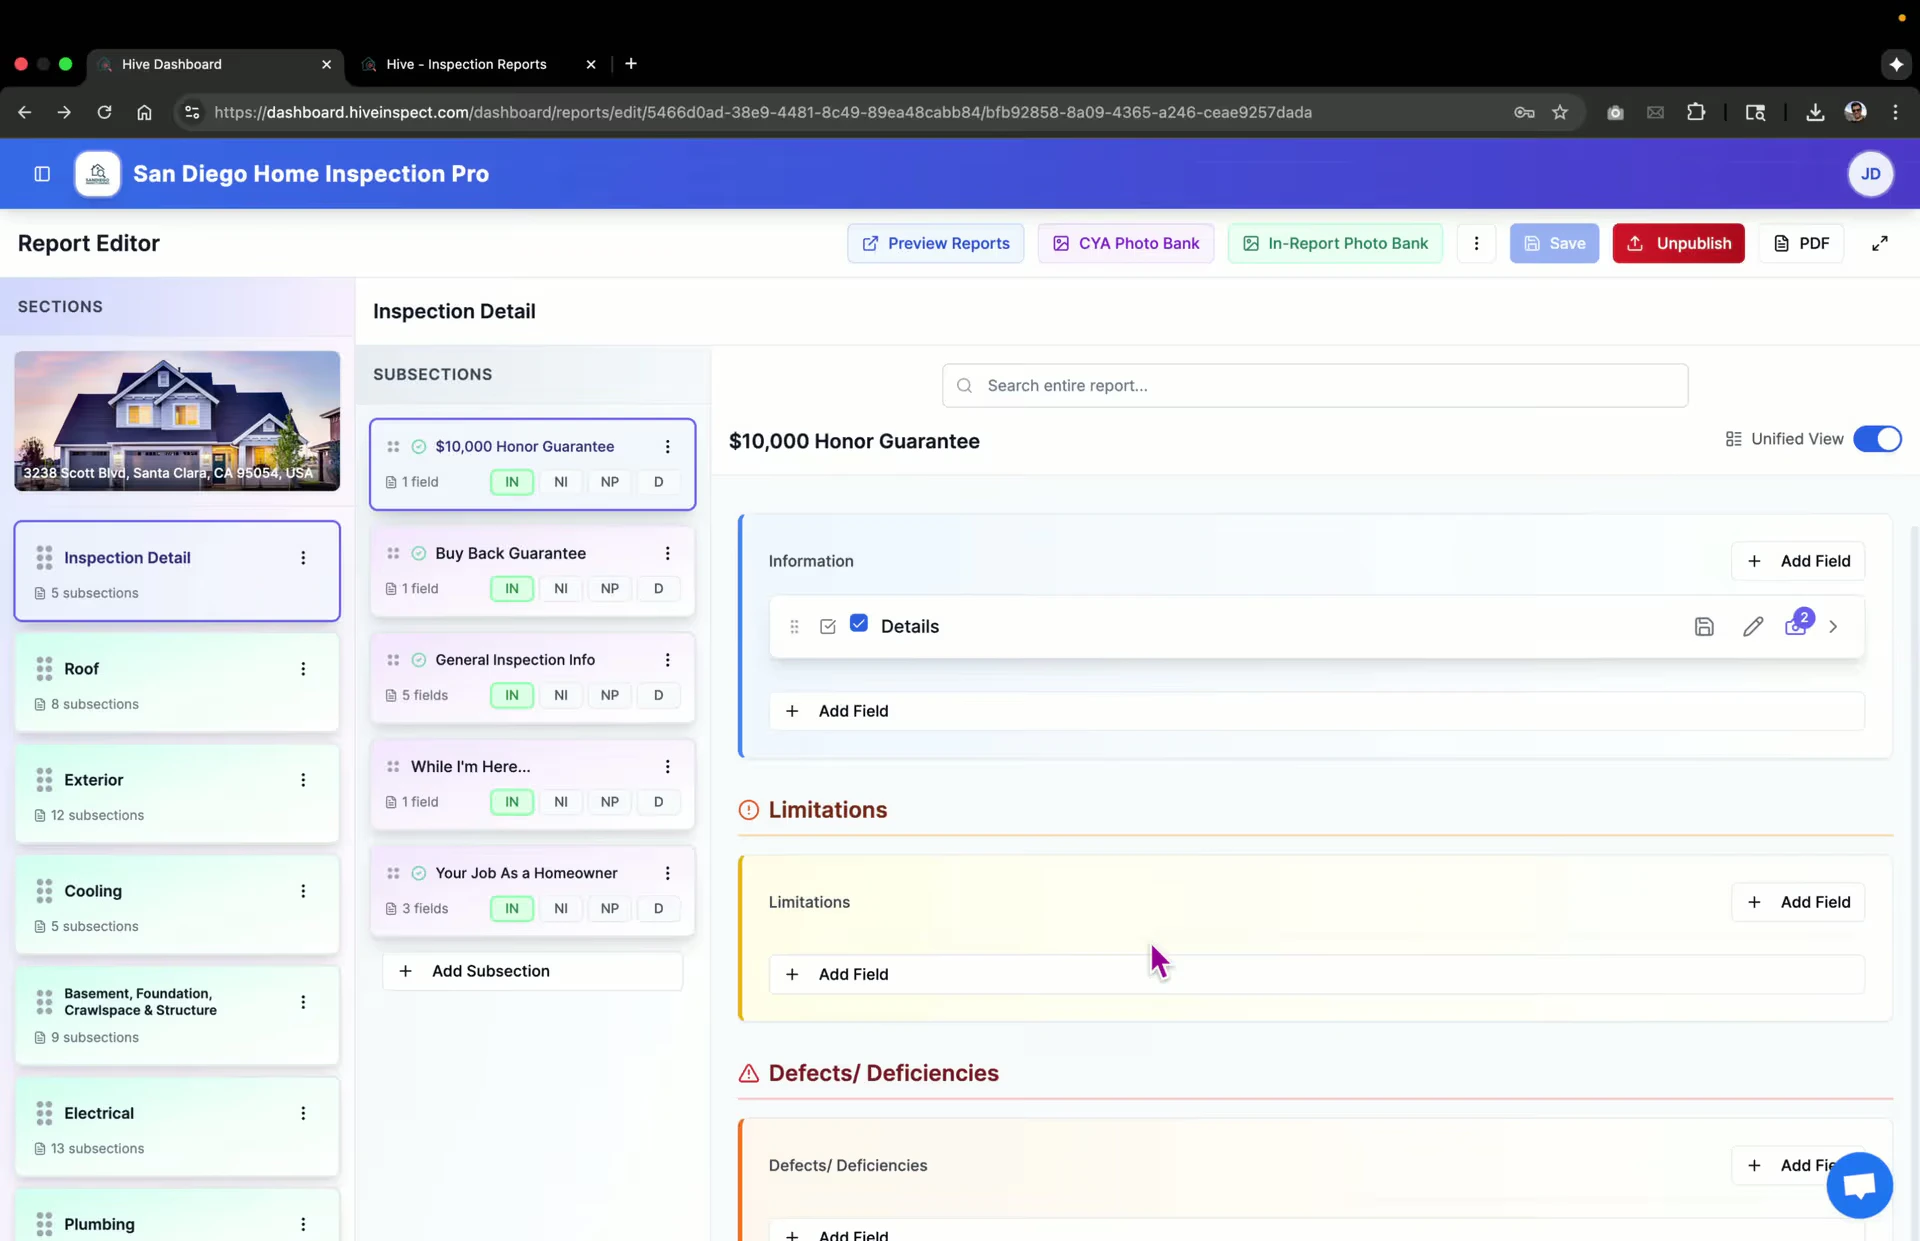
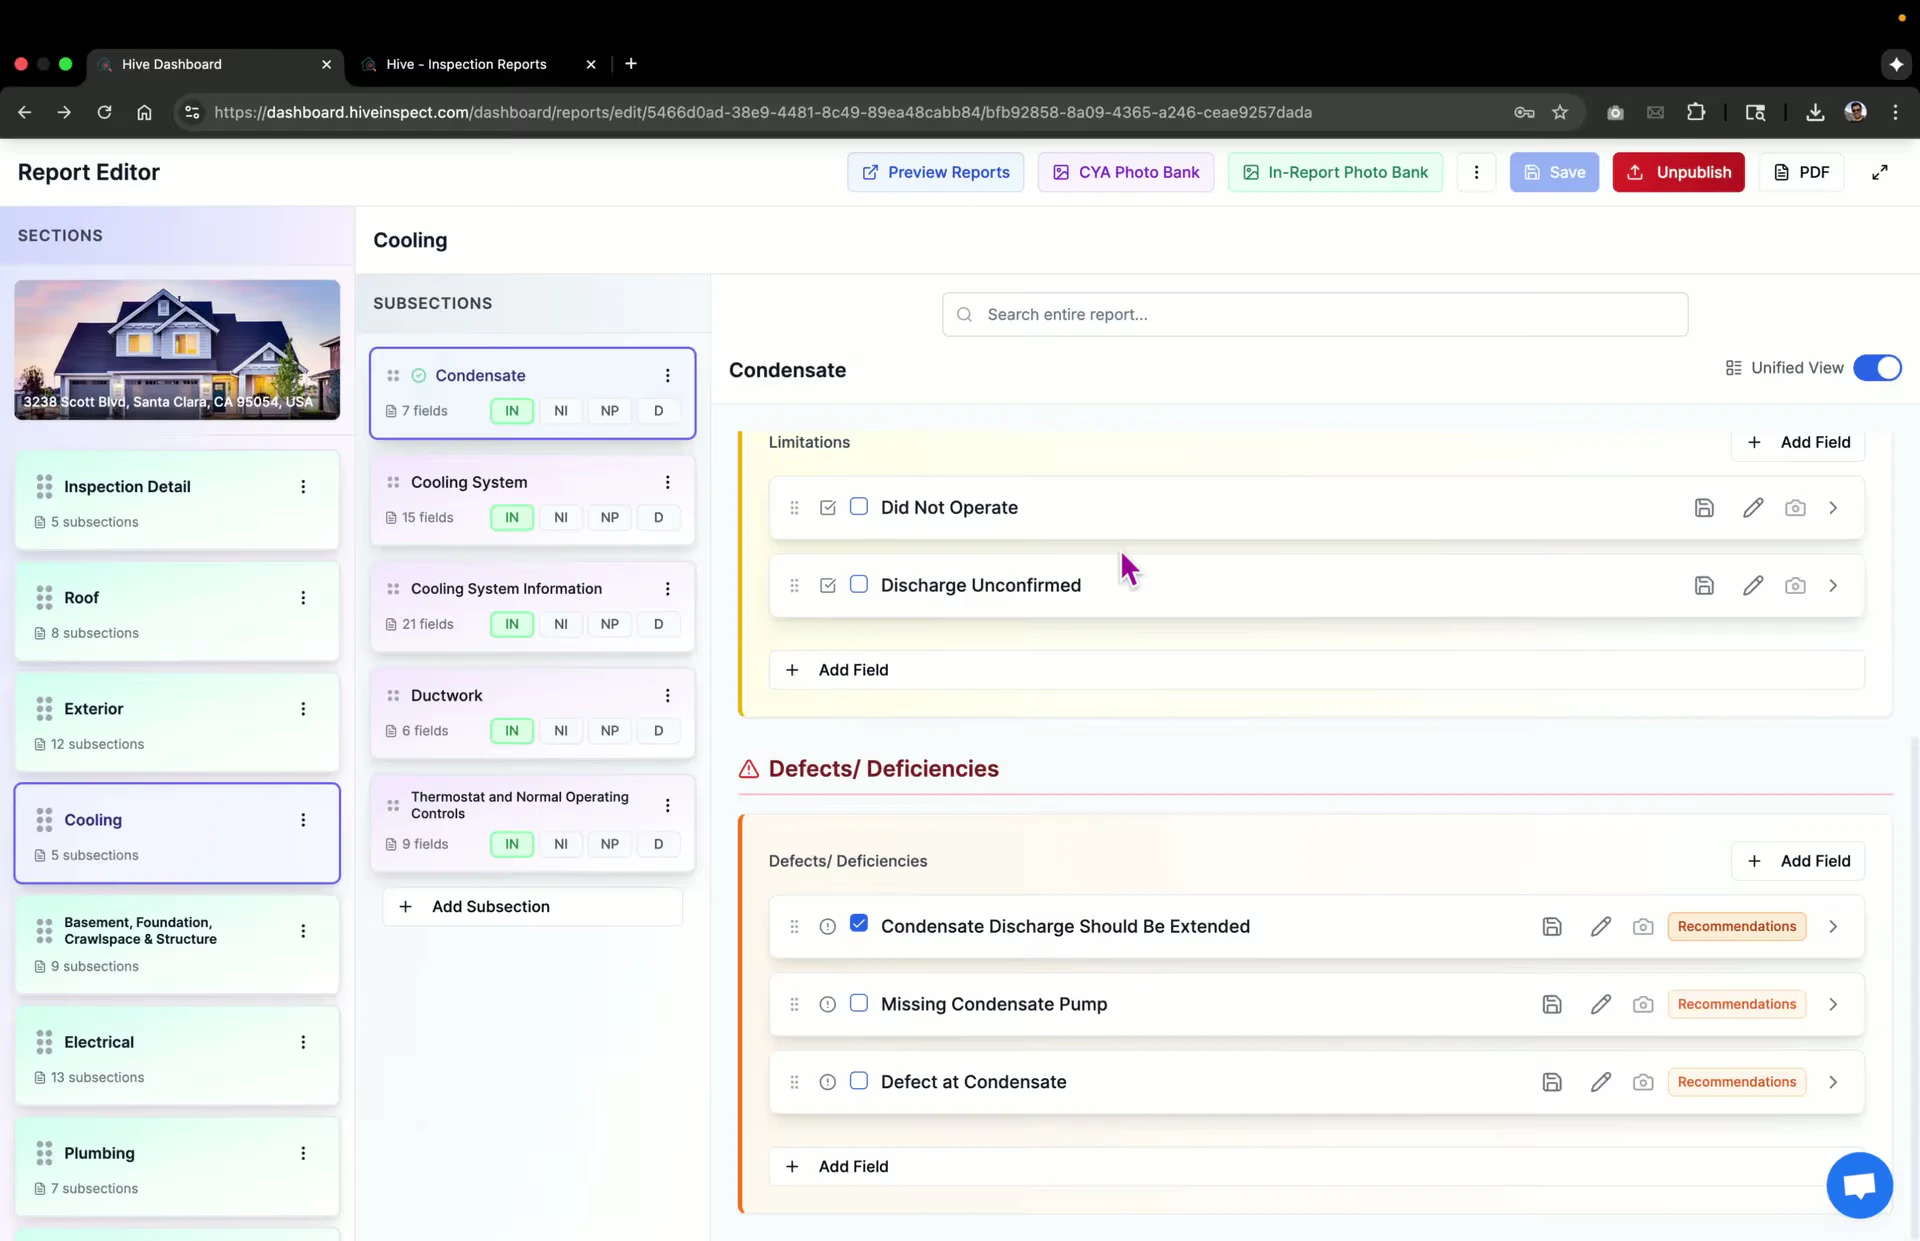
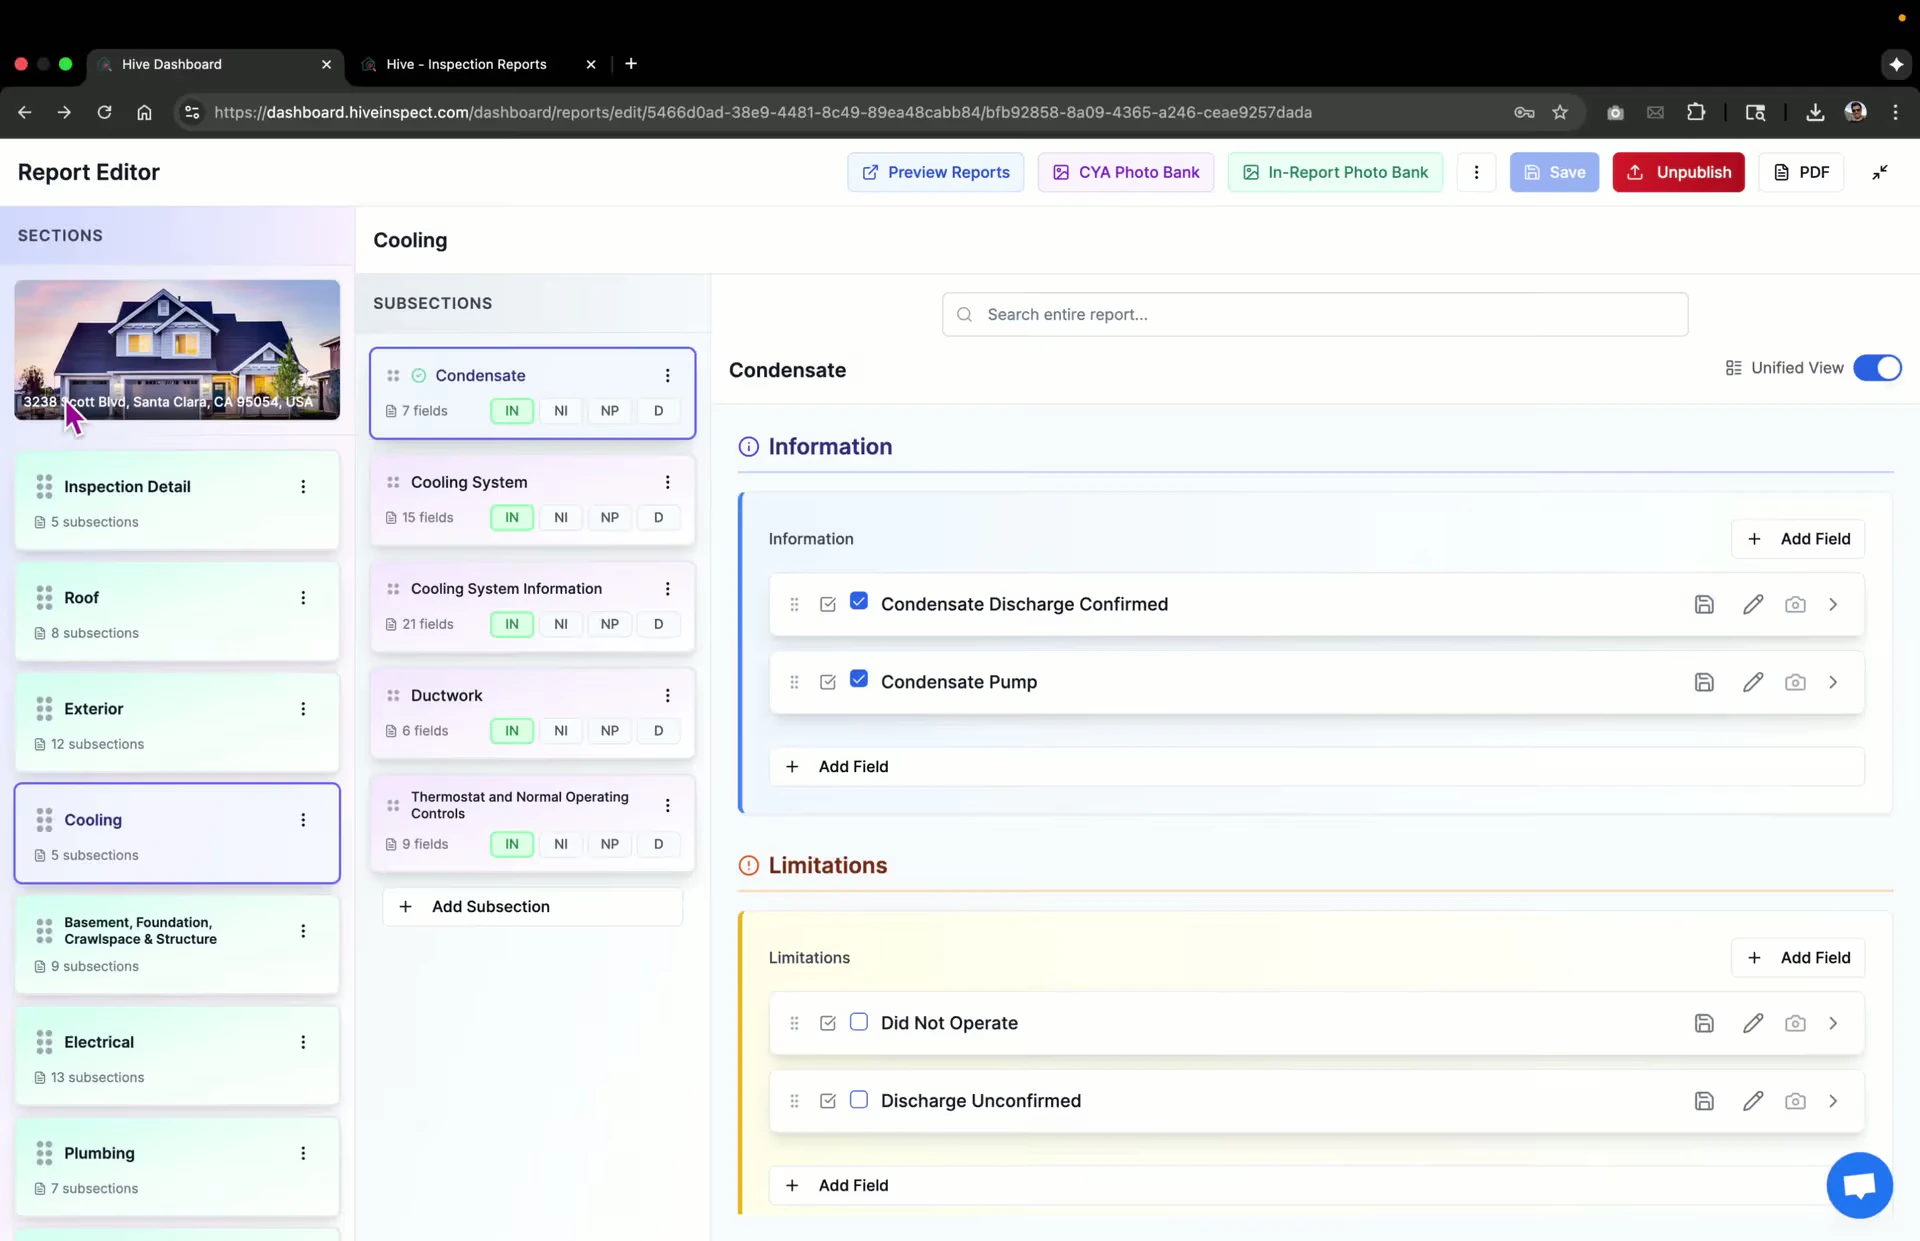
 * Sections and subsections are displayed on the left
* Various fields are available for input, including checkbox items
* Sections and subsections are displayed on the left
* Various fields are available for input, including checkbox items
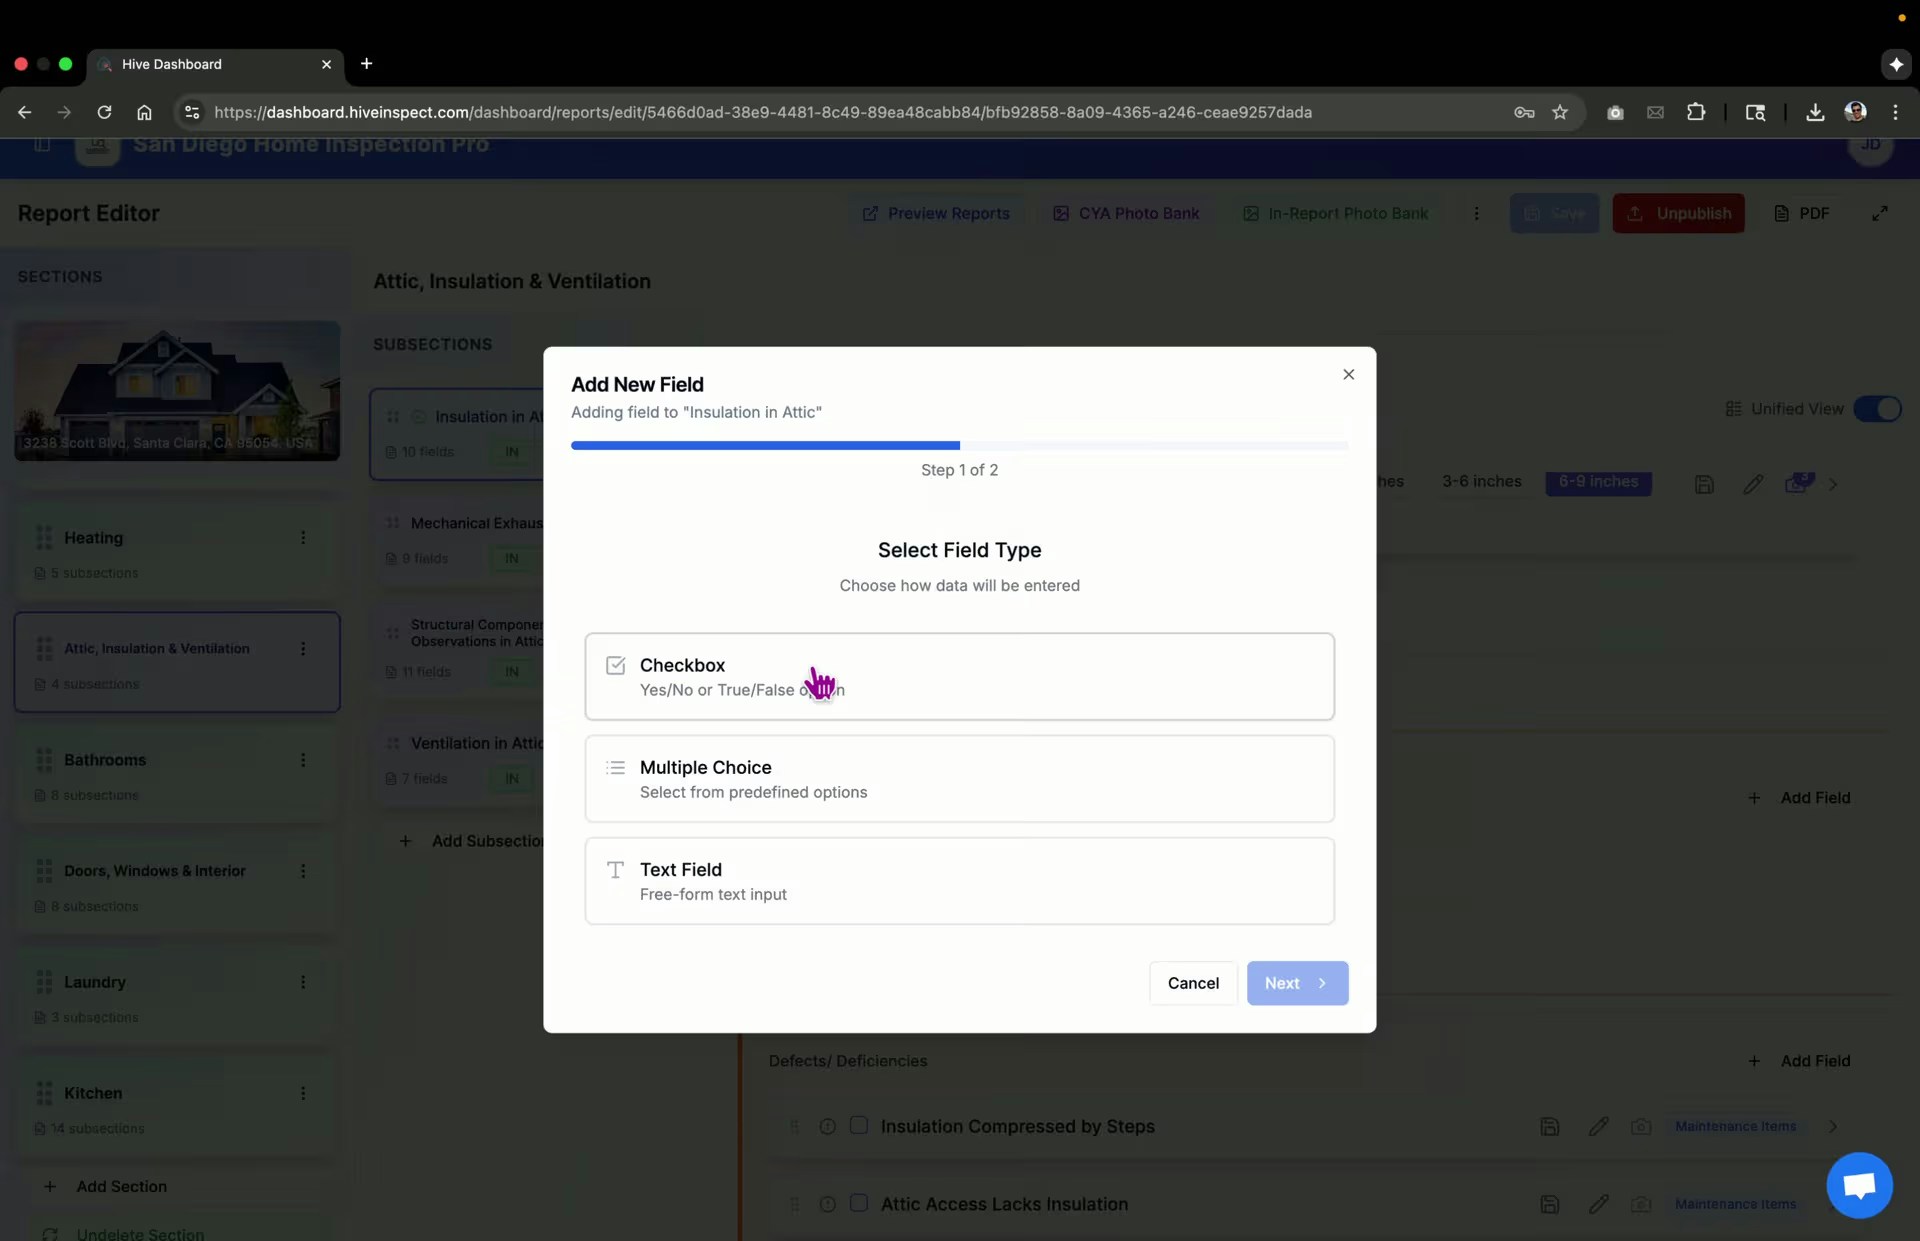
 * Upload images captured (e.g., from a drone) by multi-selecting files from your laptop
* Uploaded images will update the count and check relevant fields automatically
* Upload images captured (e.g., from a drone) by multi-selecting files from your laptop
* Uploaded images will update the count and check relevant fields automatically
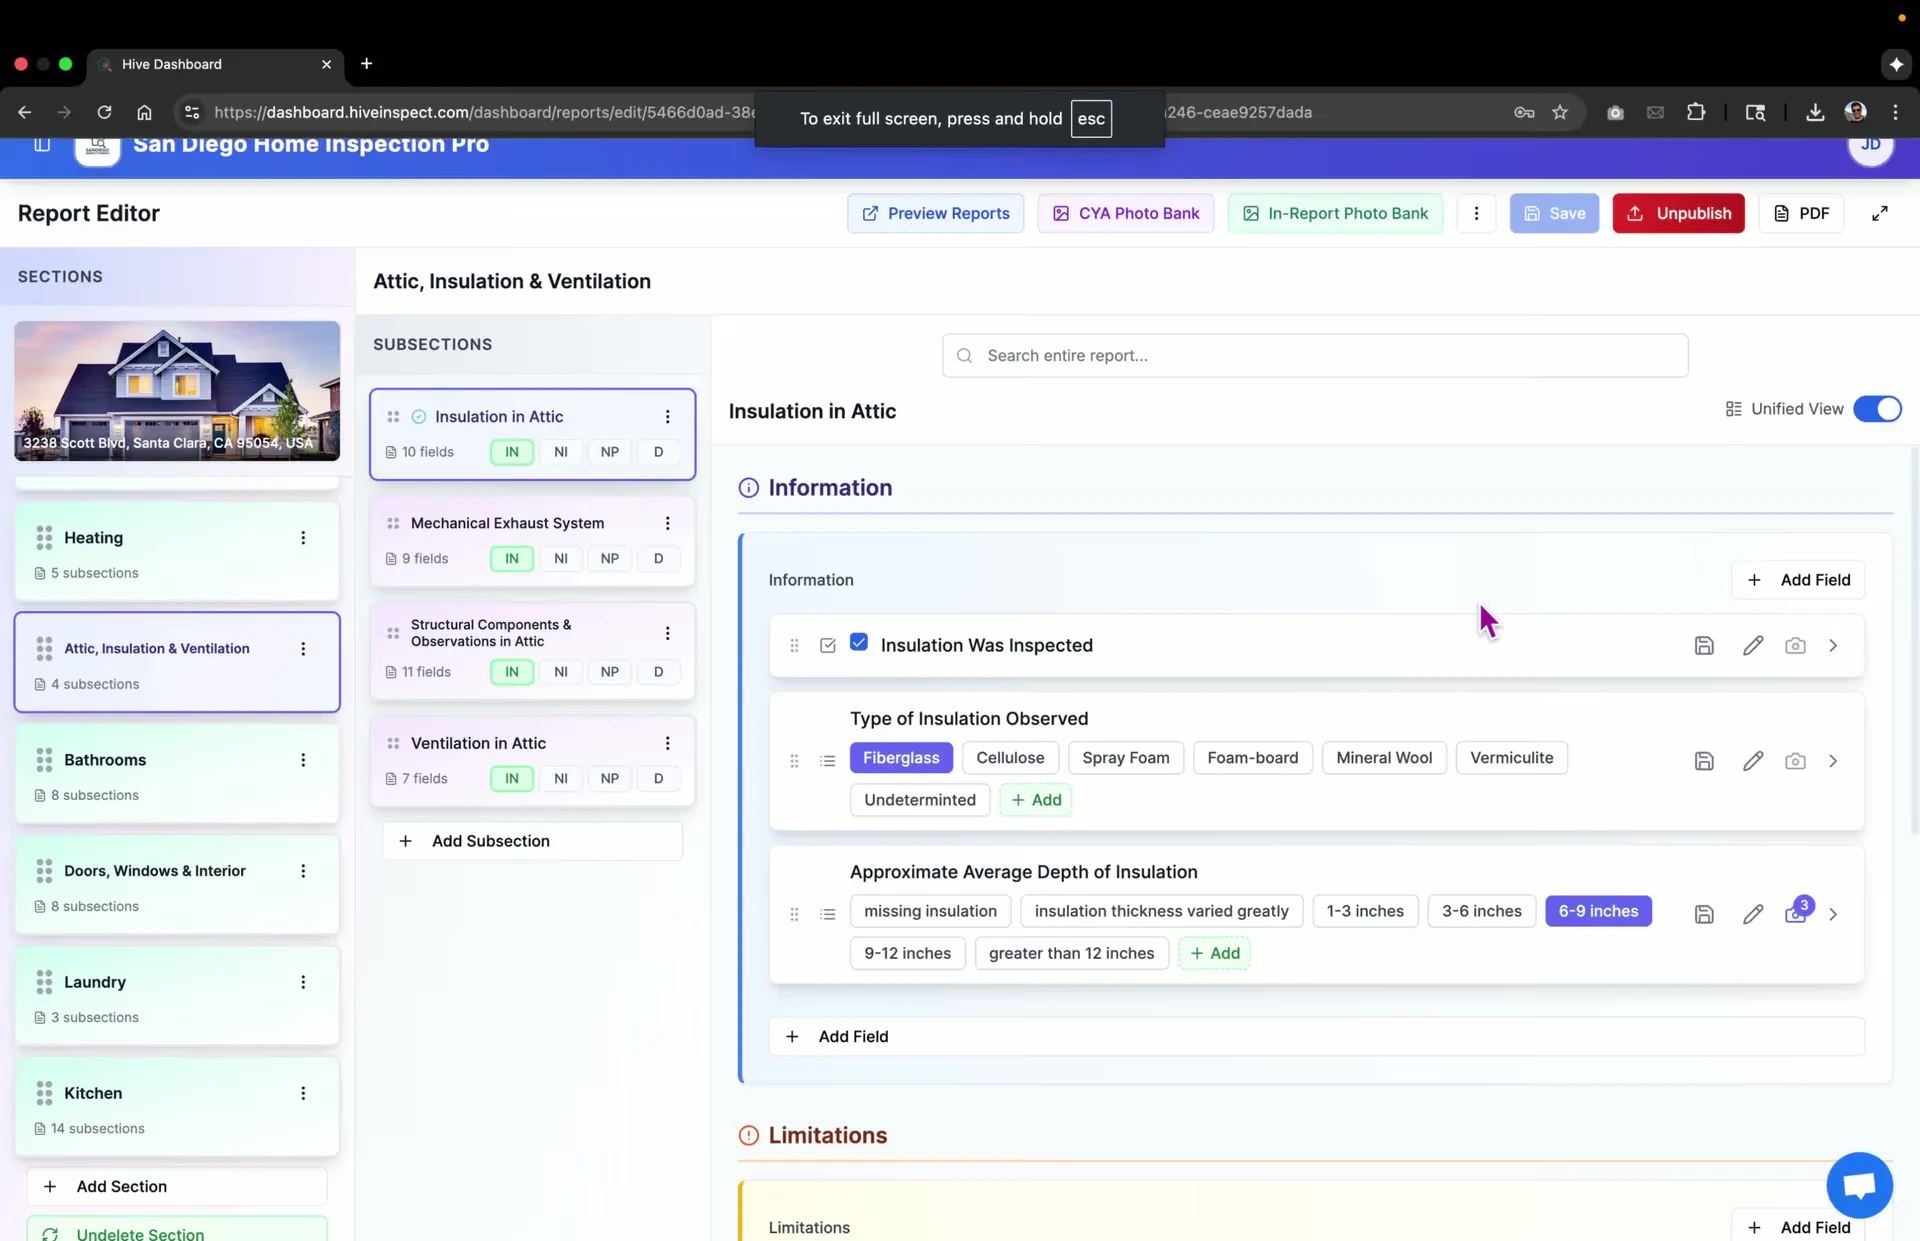
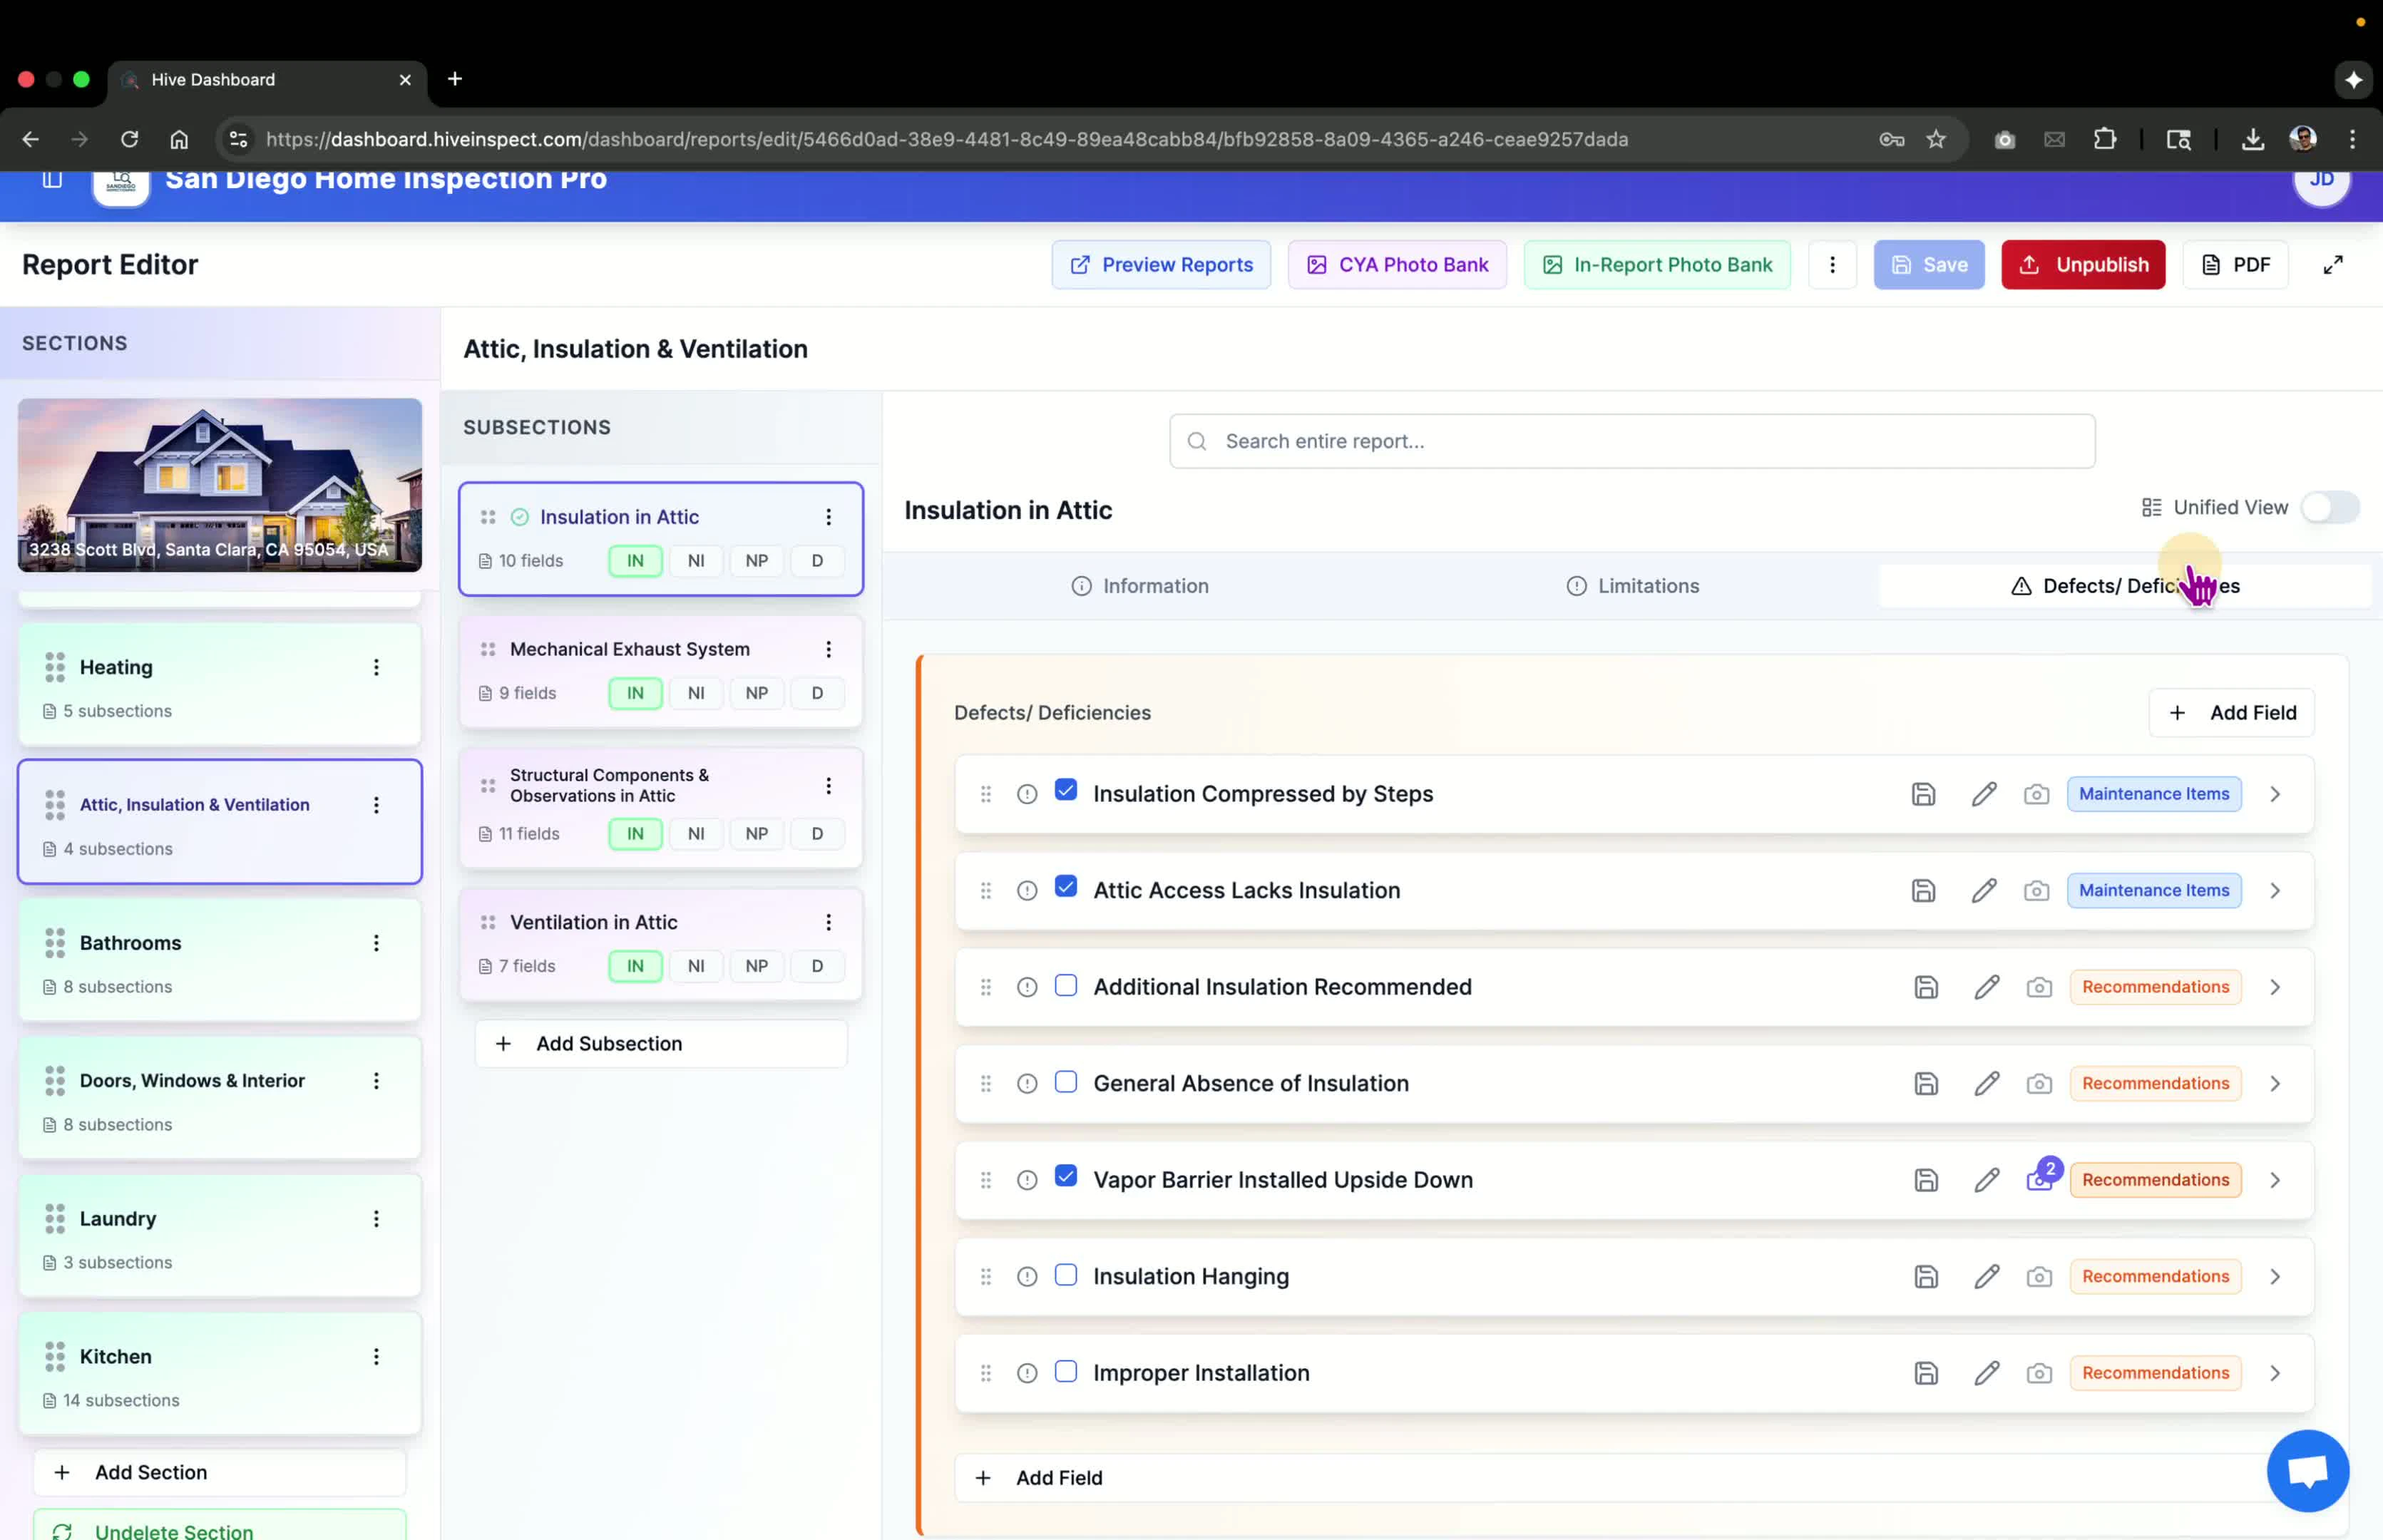
 * Toggle between sequential and side-by-side view of report components
 * Enable basic ratings from the template editor if needed
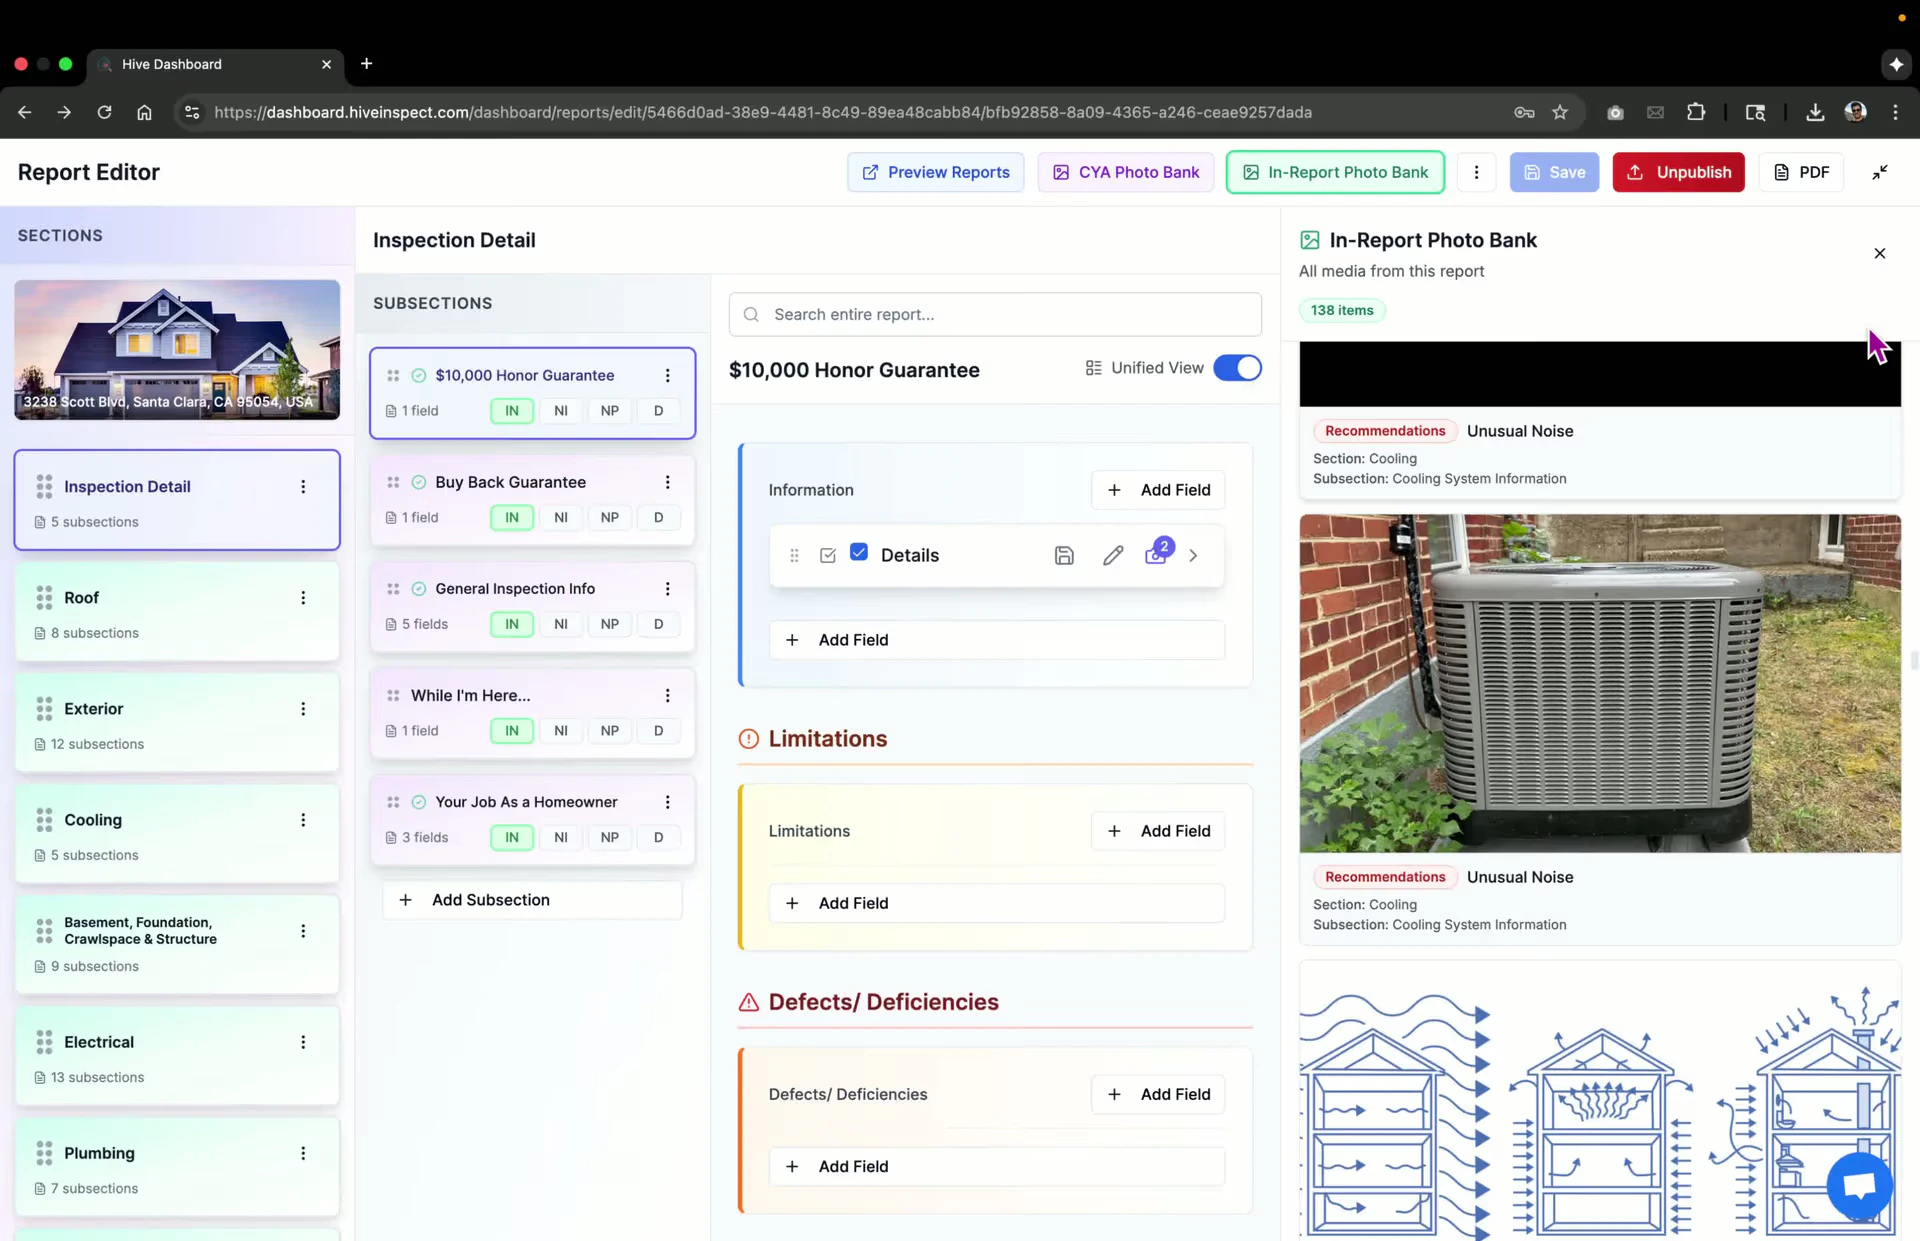
 * Click **in-report photobank** to view images added to the inspection
* Use **CYA photobank** for additional images
* Click **in-report photobank** to view images added to the inspection
* Use **CYA photobank** for additional images
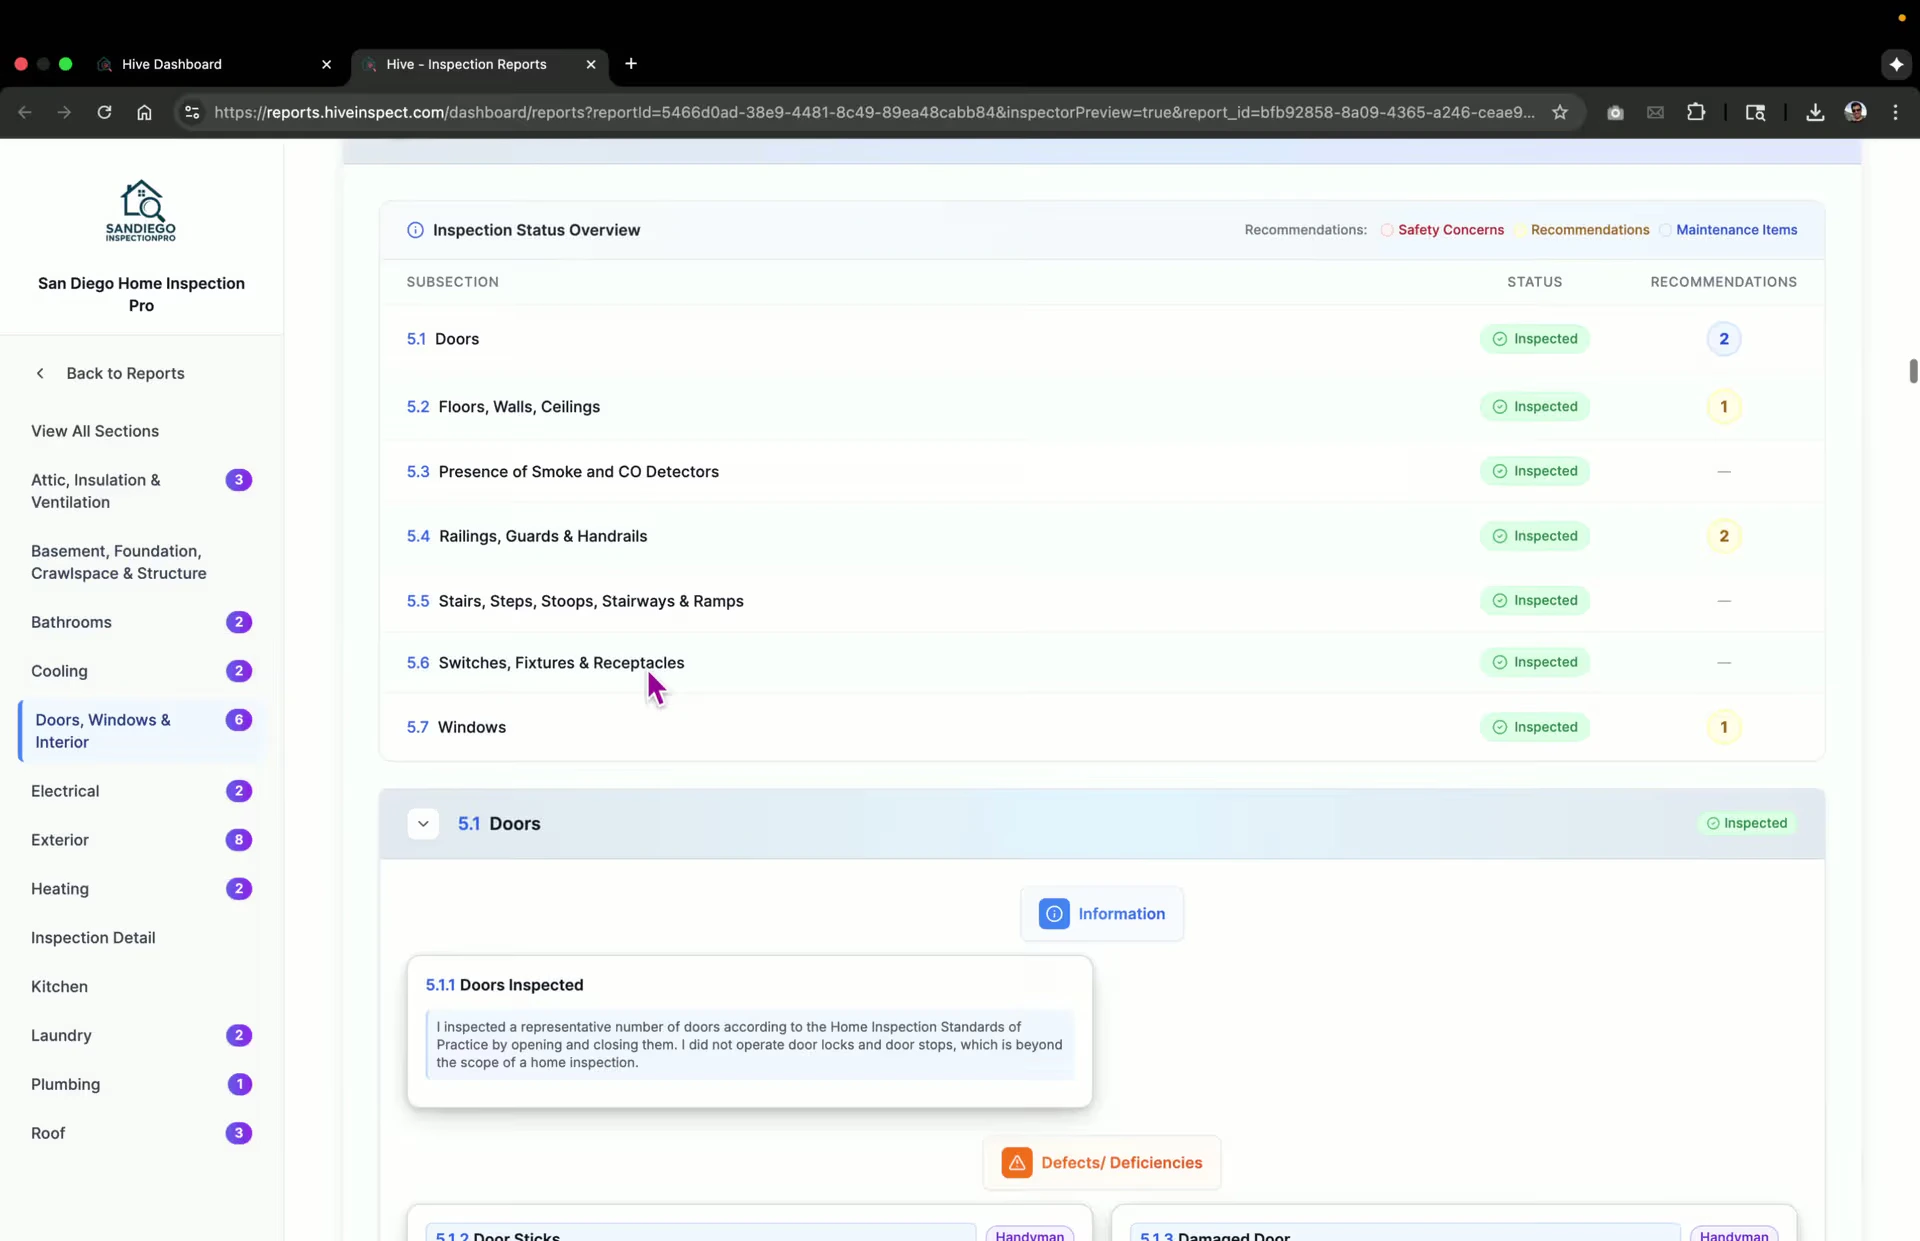
 * Click **Preview Report** to see how it will appear to customers
* Note that the report is locked until published
* Click **Preview Report** to see how it will appear to customers
* Note that the report is locked until published
 * Make any final edits and refresh the page as needed
* Click **Publish** to finalize the report
* Make any final edits and refresh the page as needed
* Click **Publish** to finalize the report
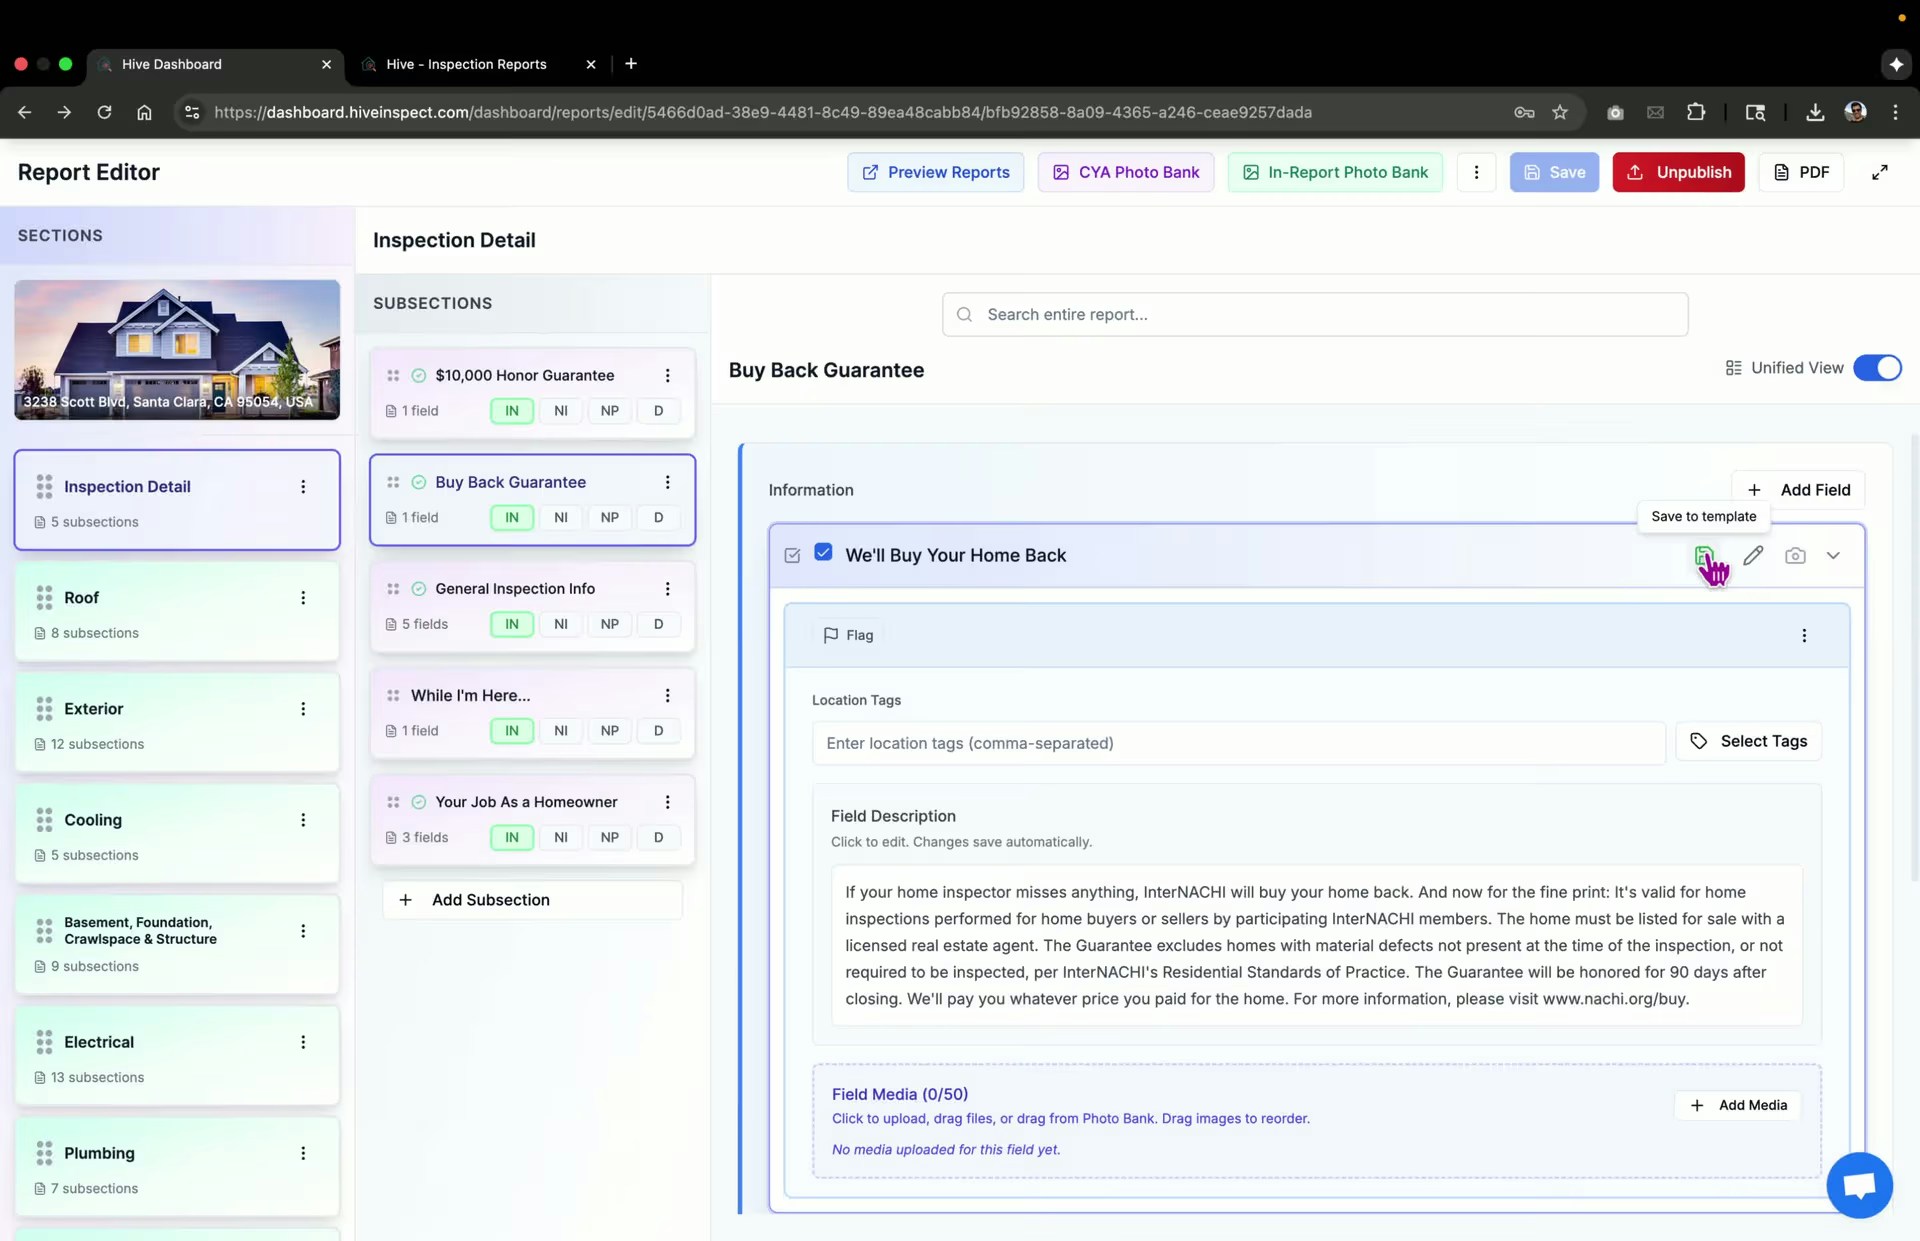
 * Use **Save to Template** to update the template for future reports based on recent changes
 * Flag any fields that require further research before publishing
* Remove flags once issues are resolved
* Flag any fields that require further research before publishing
* Remove flags once issues are resolved
 * Use the designated button to update the cover photo of the report
 * Summary of the report view and editor functionalities
 Use the flag feature to mark fields that need further research before publishing. The **Save to Template** option is powerful for updating your master template based on common findings. Always preview your report before publishing to ensure it displays correctly for clients!
## Next Step →
After editing reports, learn what your clients see and how they interact with their inspection portal.
Continue to: **Understanding the Client Portal**
Complete guide to writing inspection reports on-site using the Hive mobile app with offline support and real-time syncing
Understand what your clients see and can do in their inspection portal, including viewing reports, signing agreements, and making payments
Use the flag feature to mark fields that need further research before publishing. The **Save to Template** option is powerful for updating your master template based on common findings. Always preview your report before publishing to ensure it displays correctly for clients!
## Next Step →
After editing reports, learn what your clients see and how they interact with their inspection portal.
Continue to: **Understanding the Client Portal**
Complete guide to writing inspection reports on-site using the Hive mobile app with offline support and real-time syncing
Understand what your clients see and can do in their inspection portal, including viewing reports, signing agreements, and making payments