> ## Documentation Index
> Fetch the complete documentation index at: https://docs.hiveinspect.com/llms.txt
> Use this file to discover all available pages before exploring further.
# Inspection Templates
> Learn how to use and manage inspection templates in Hive
⏱️ **Estimated time:** \~5 minutes
## Video Tutorial
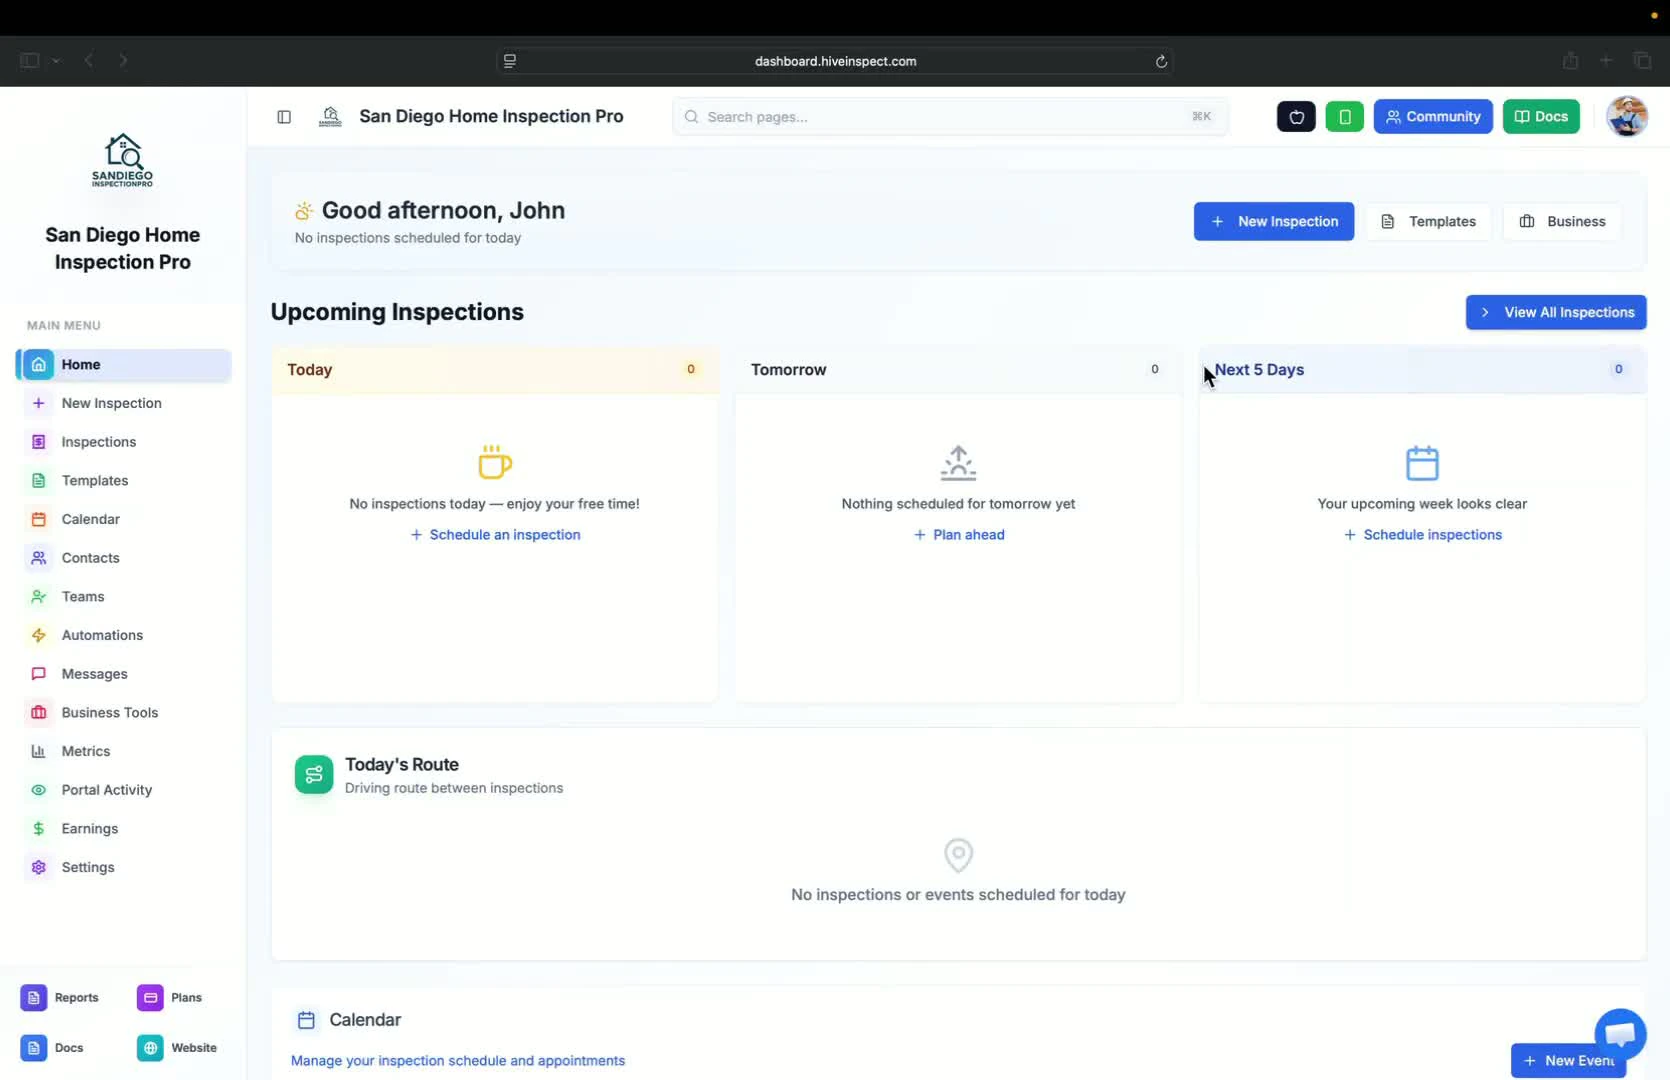
* Navigate to the templates tab after setting up your account settings
* Initially, there will be no templates available
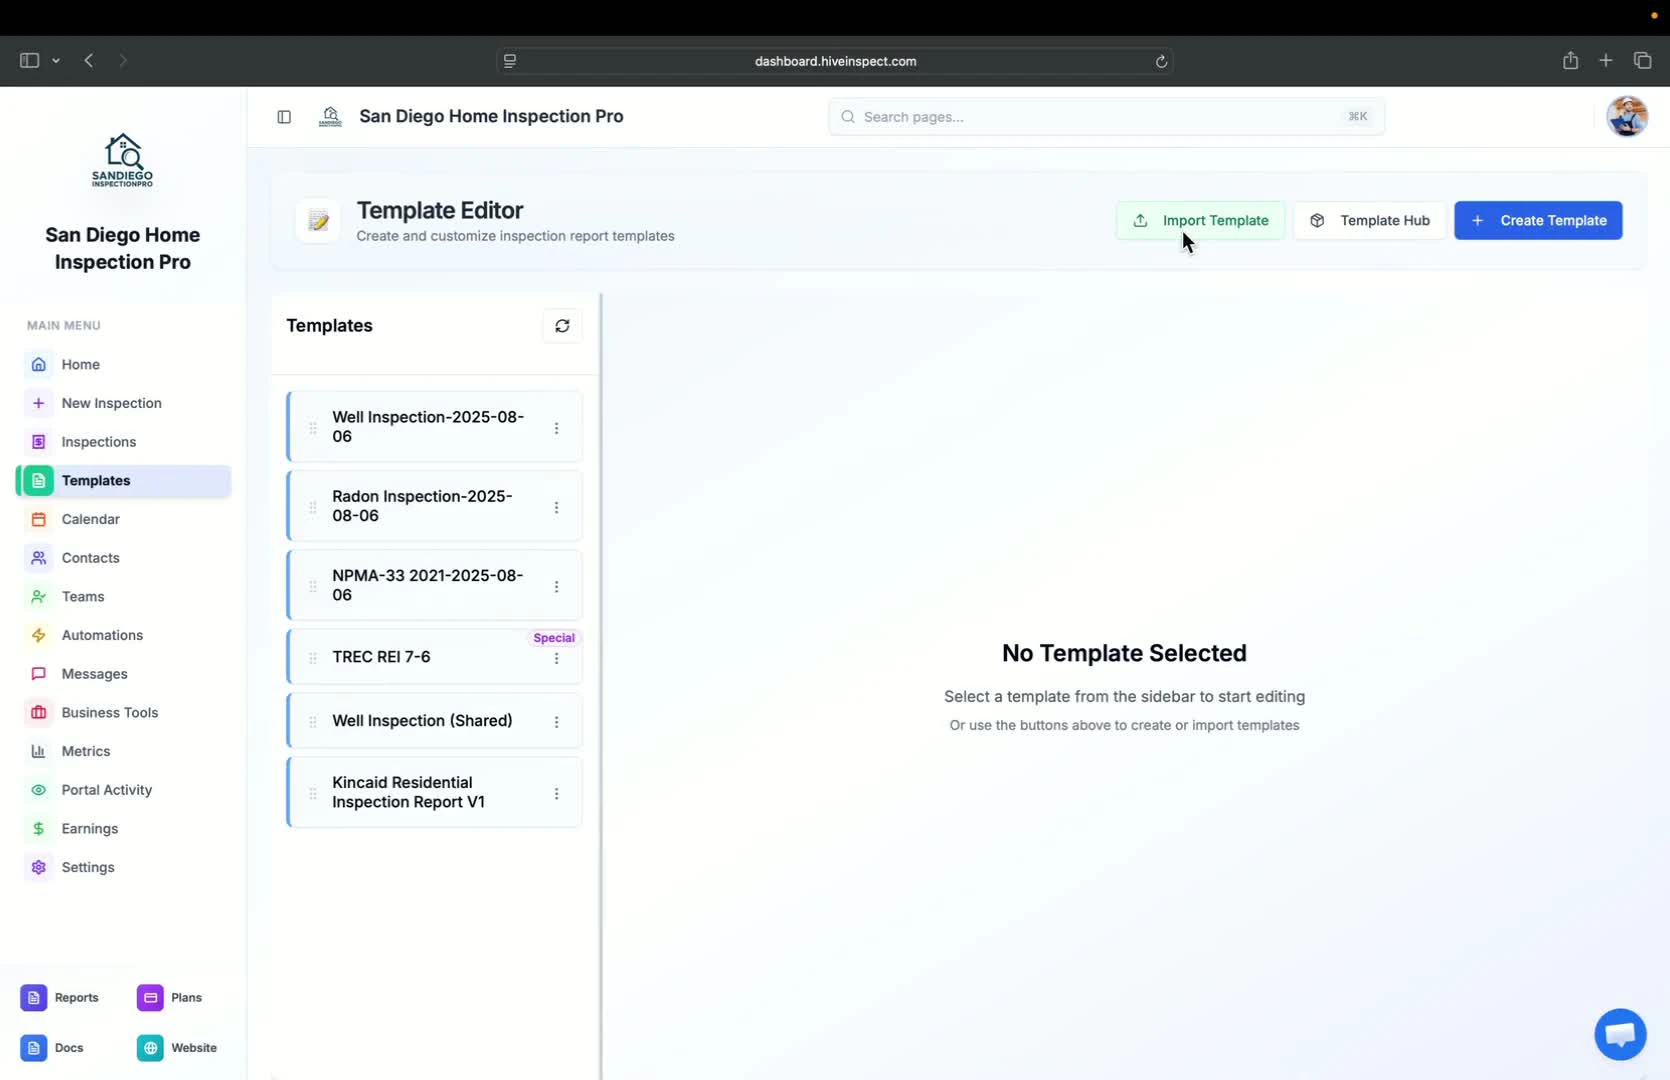
 * There are three ways to add templates:
* Import from existing software
* Download from the template hub
* Users typically use the first two methods
* There are three ways to add templates:
* Import from existing software
* Download from the template hub
* Users typically use the first two methods
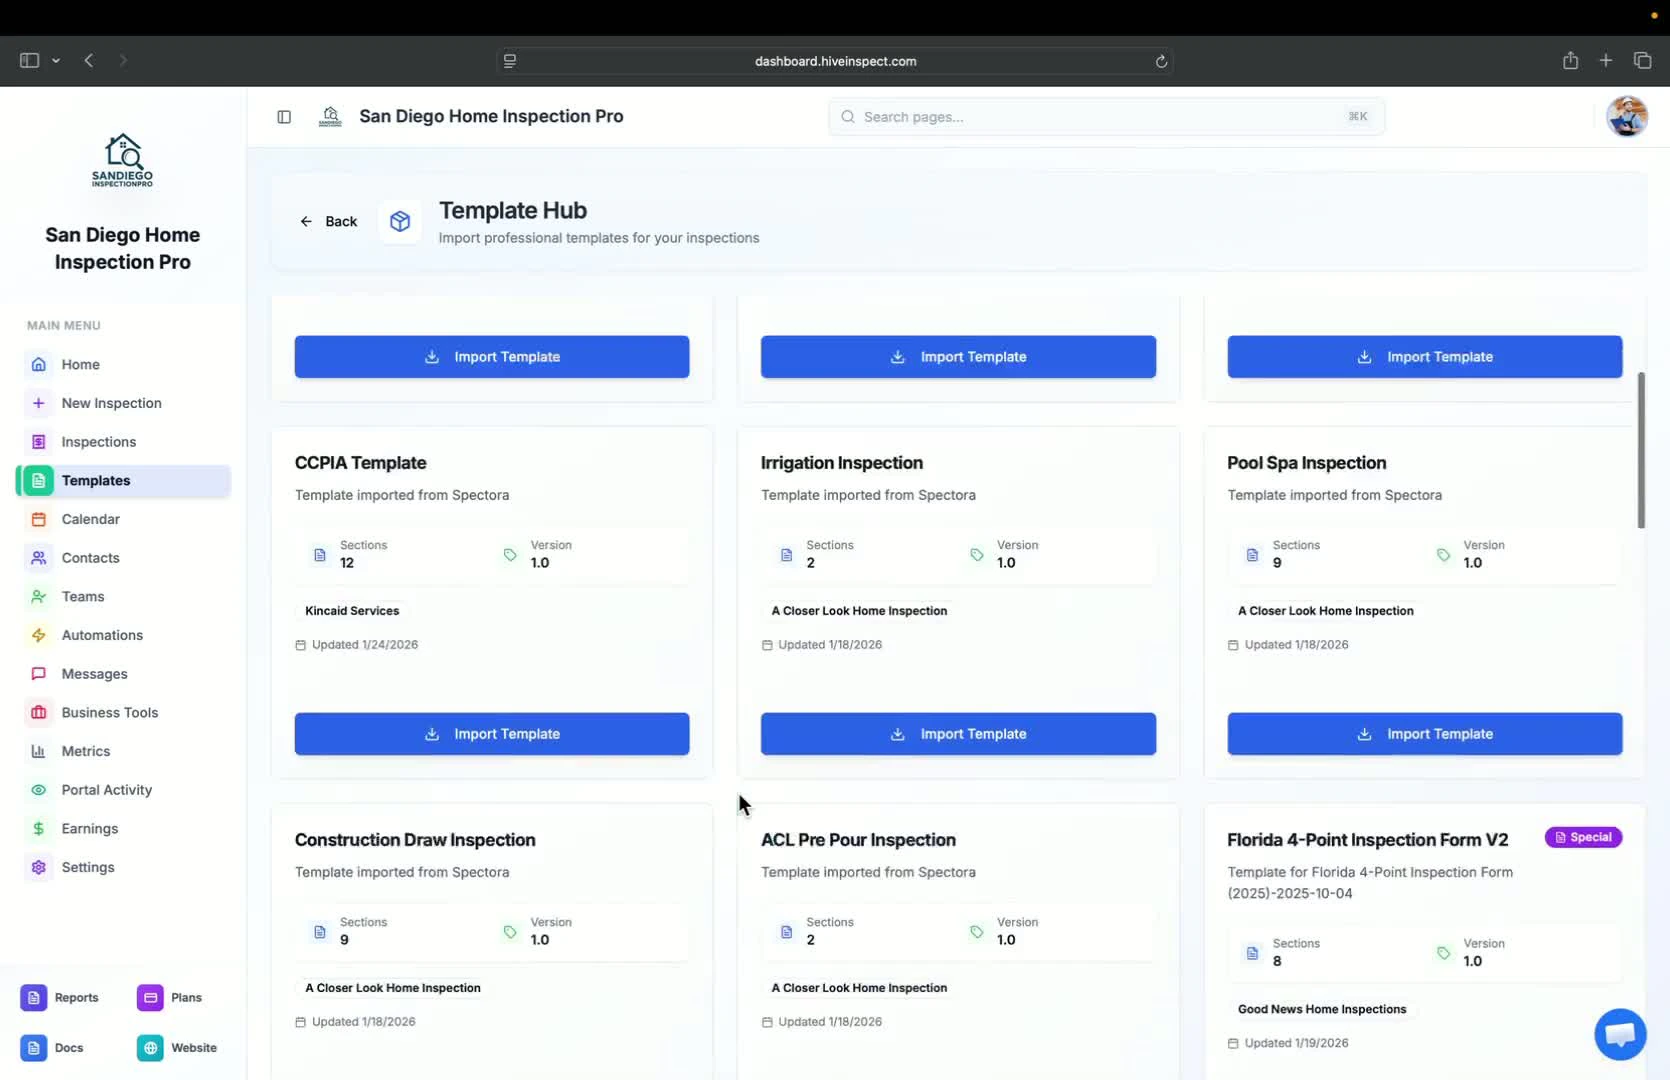
 * Browse through various templates created by expert inspectors
* Examples include:
* Hive Inspection Residential
* Concave Residential Inspection Report
* Sewer Lateral from All-Star Home Inspection
* Click **Import** to add a selected template to your account
* Browse through various templates created by expert inspectors
* Examples include:
* Hive Inspection Residential
* Concave Residential Inspection Report
* Sewer Lateral from All-Star Home Inspection
* Click **Import** to add a selected template to your account
 * After importing, you can:
* Duplicate the template
* Share it via email
* Edit the template details
* After importing, you can:
* Duplicate the template
* Share it via email
* Edit the template details
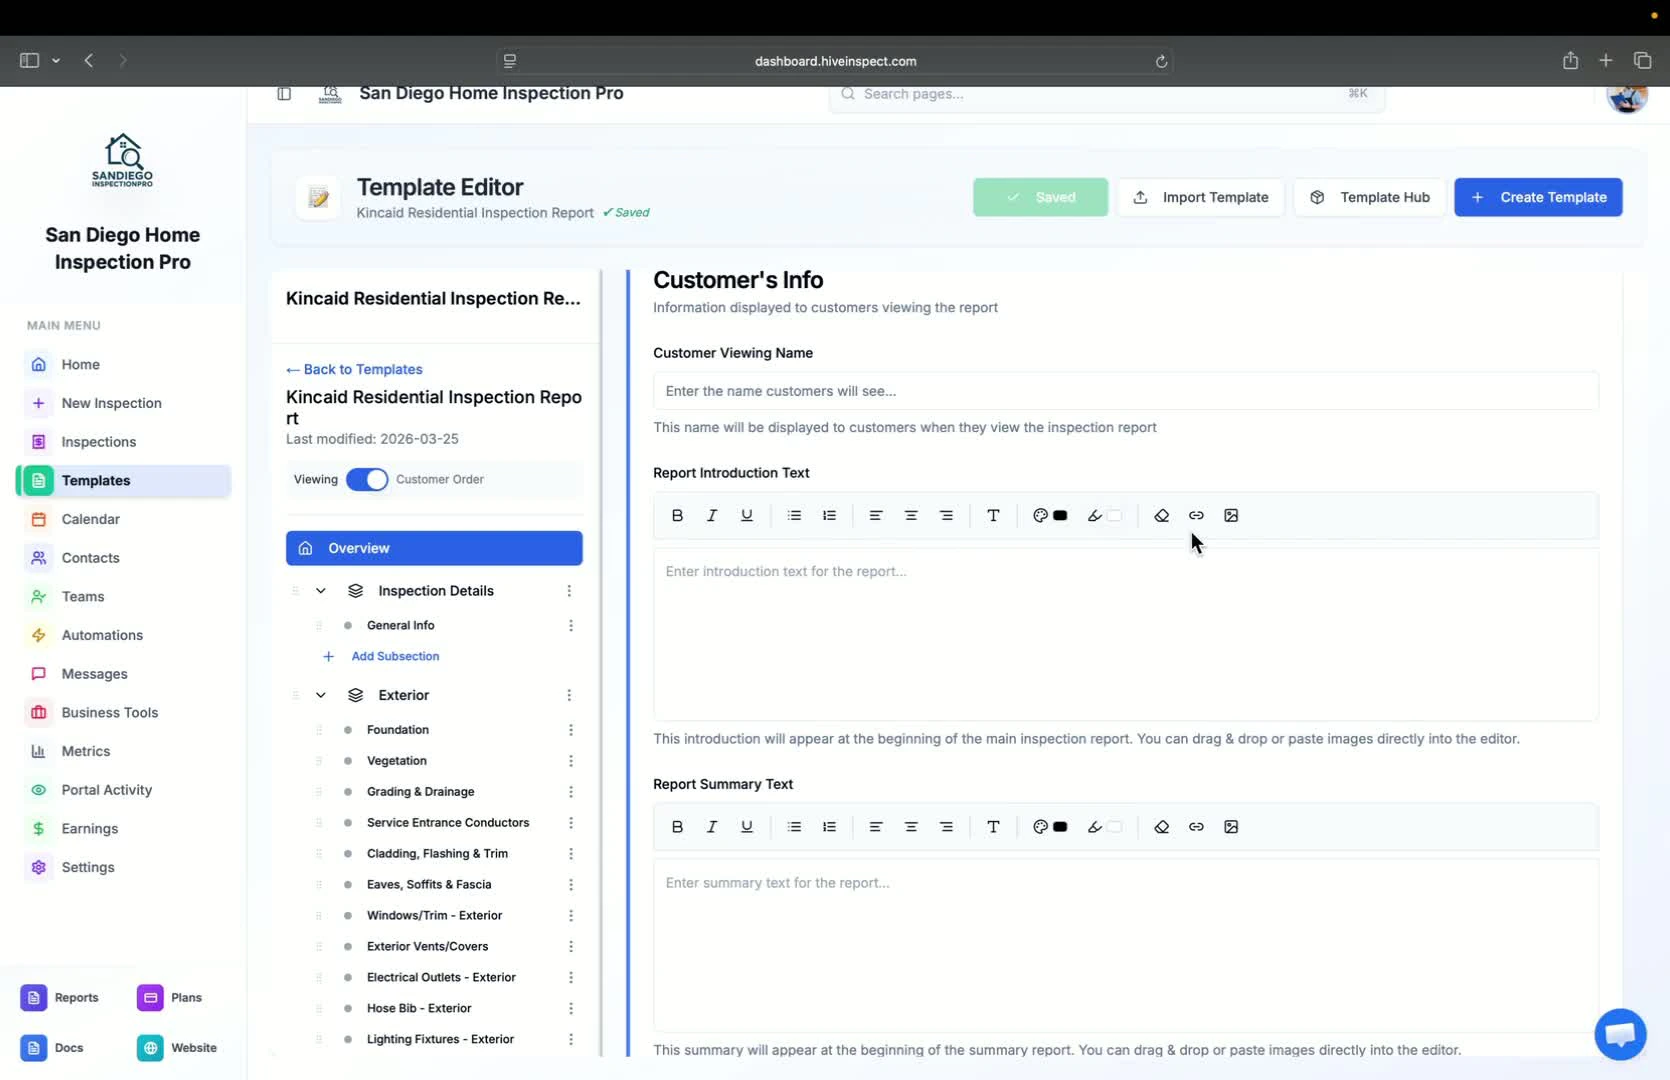
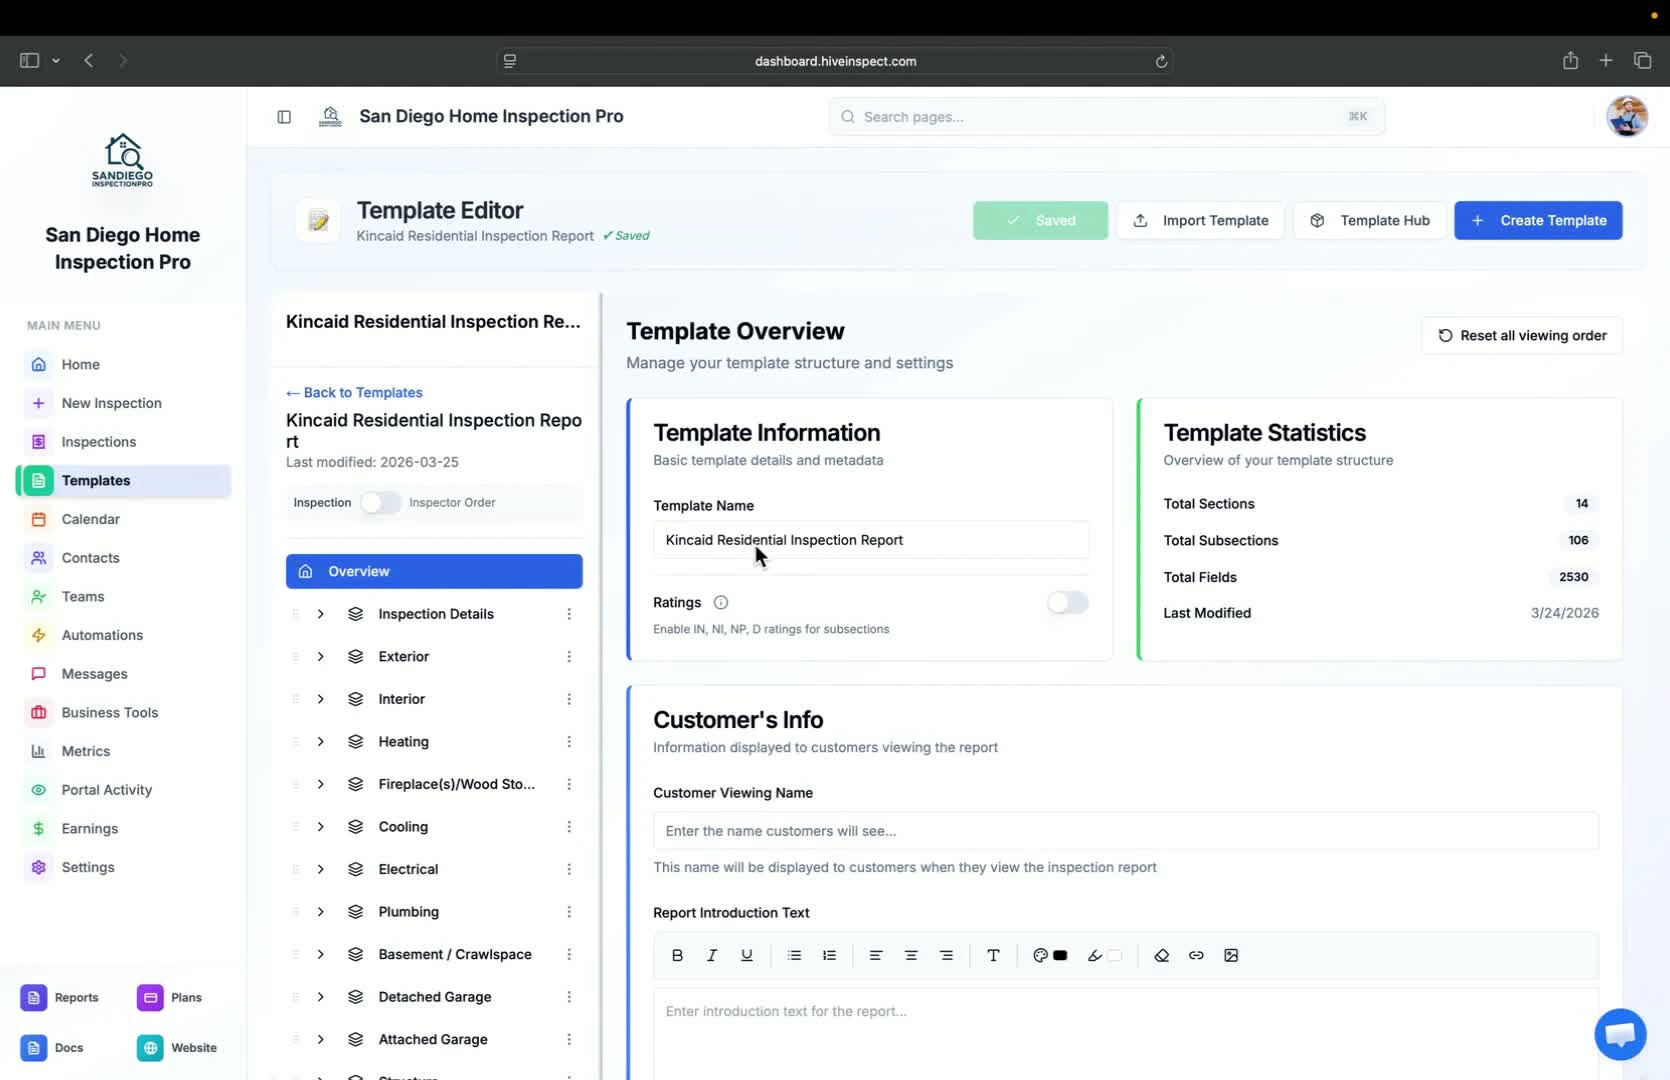 * The Overview section includes:
* Template name
* Enable/disable rating flags (IN and INP)
* Customer viewing name
* Report introduction text (main inspection)
* Report summary text (summary report)
* The Overview section includes:
* Template name
* Enable/disable rating flags (IN and INP)
* Customer viewing name
* Report introduction text (main inspection)
* Report summary text (summary report)
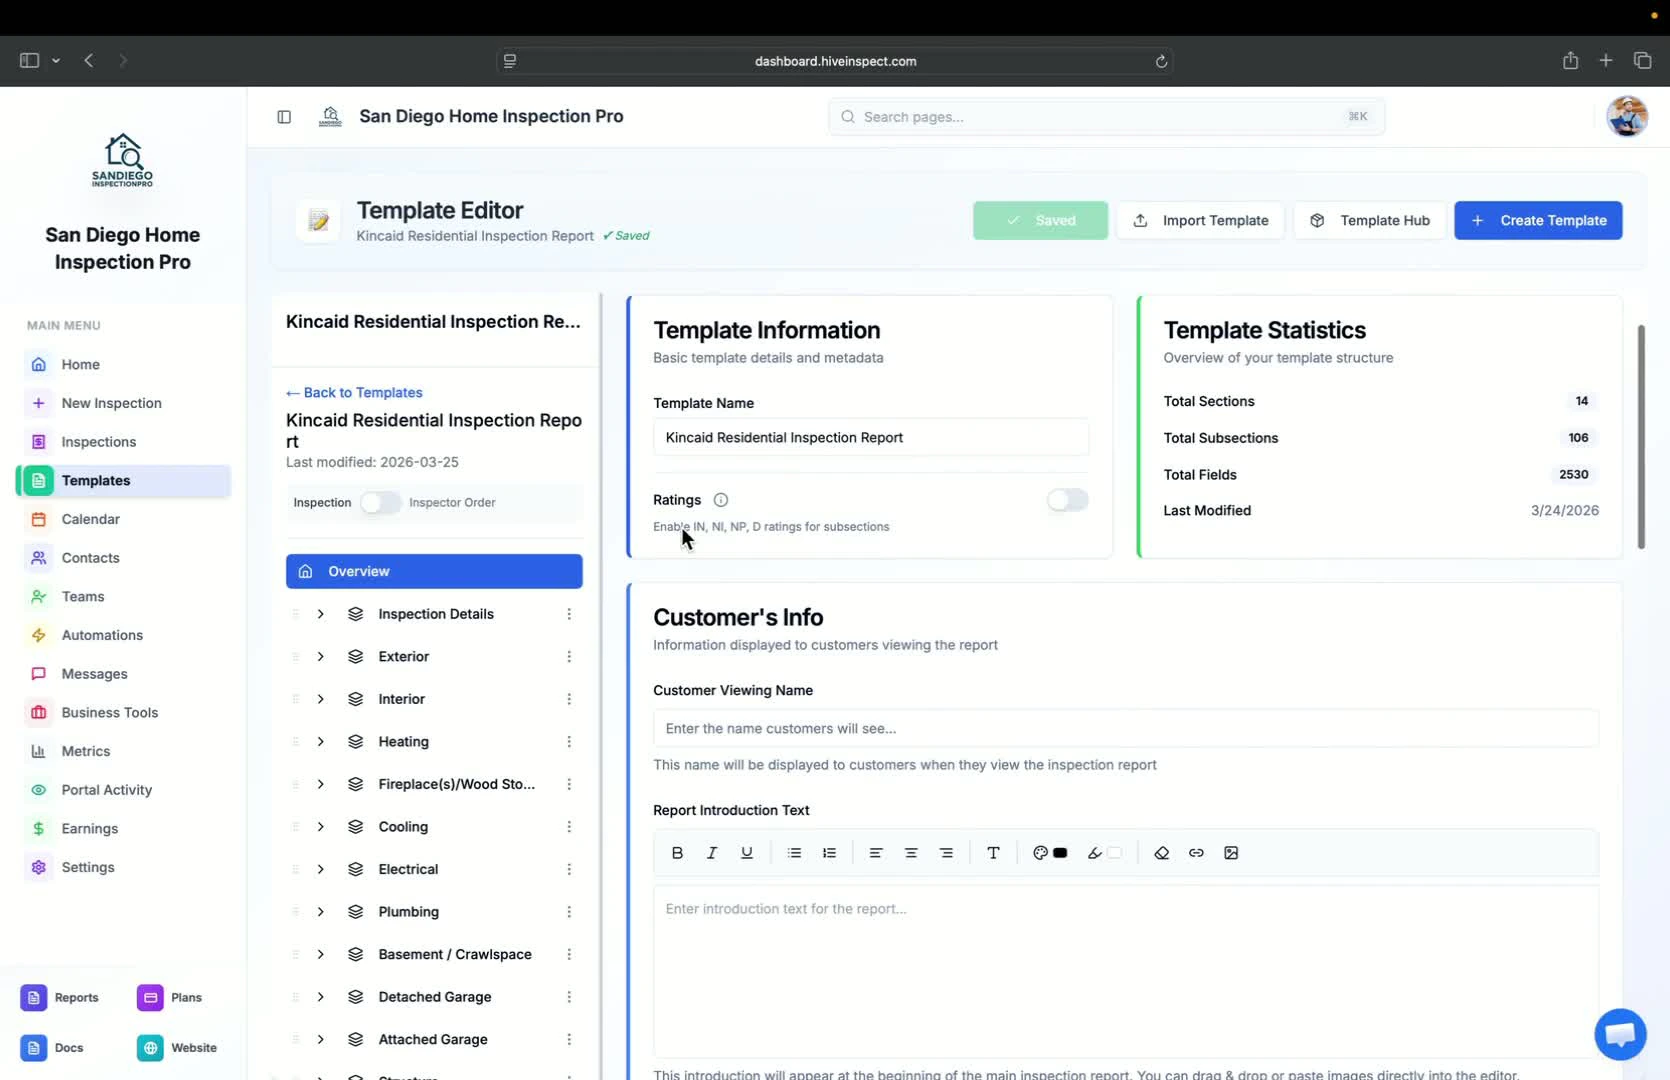 * Attach PDFs, PNGs, or other files to the template
* These documents will be visible to customers in their reports
* Attach PDFs, PNGs, or other files to the template
* These documents will be visible to customers in their reports
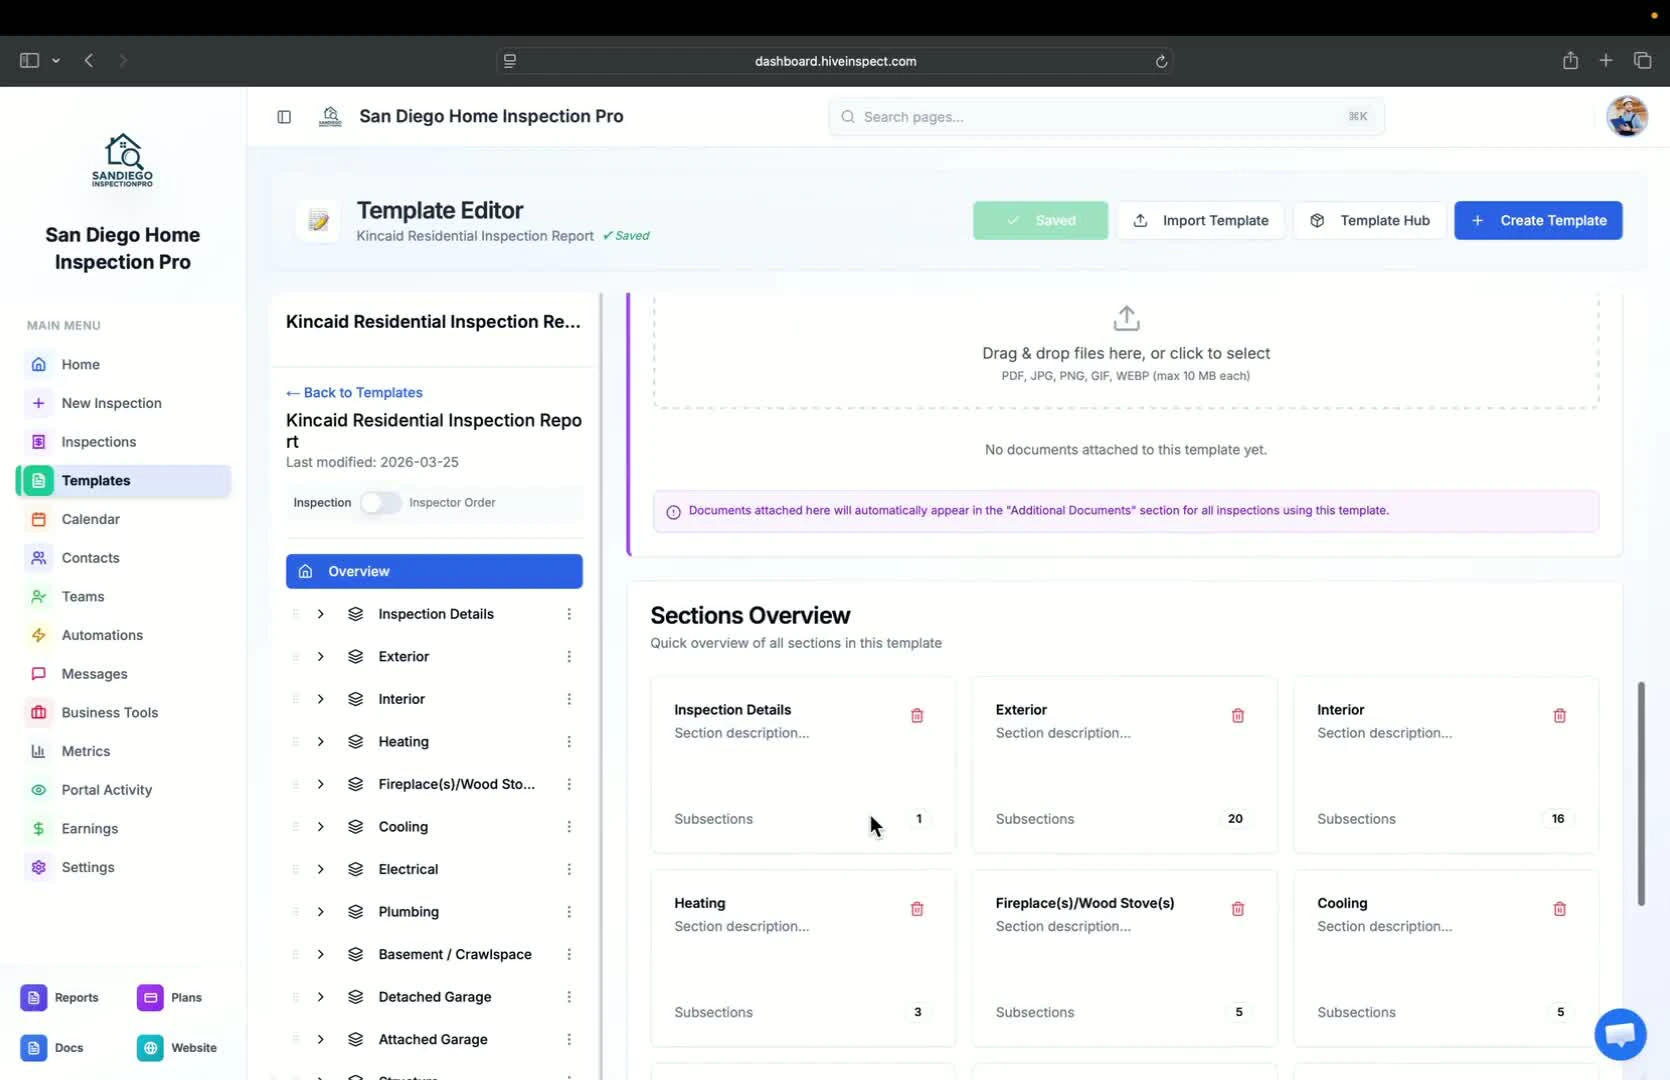
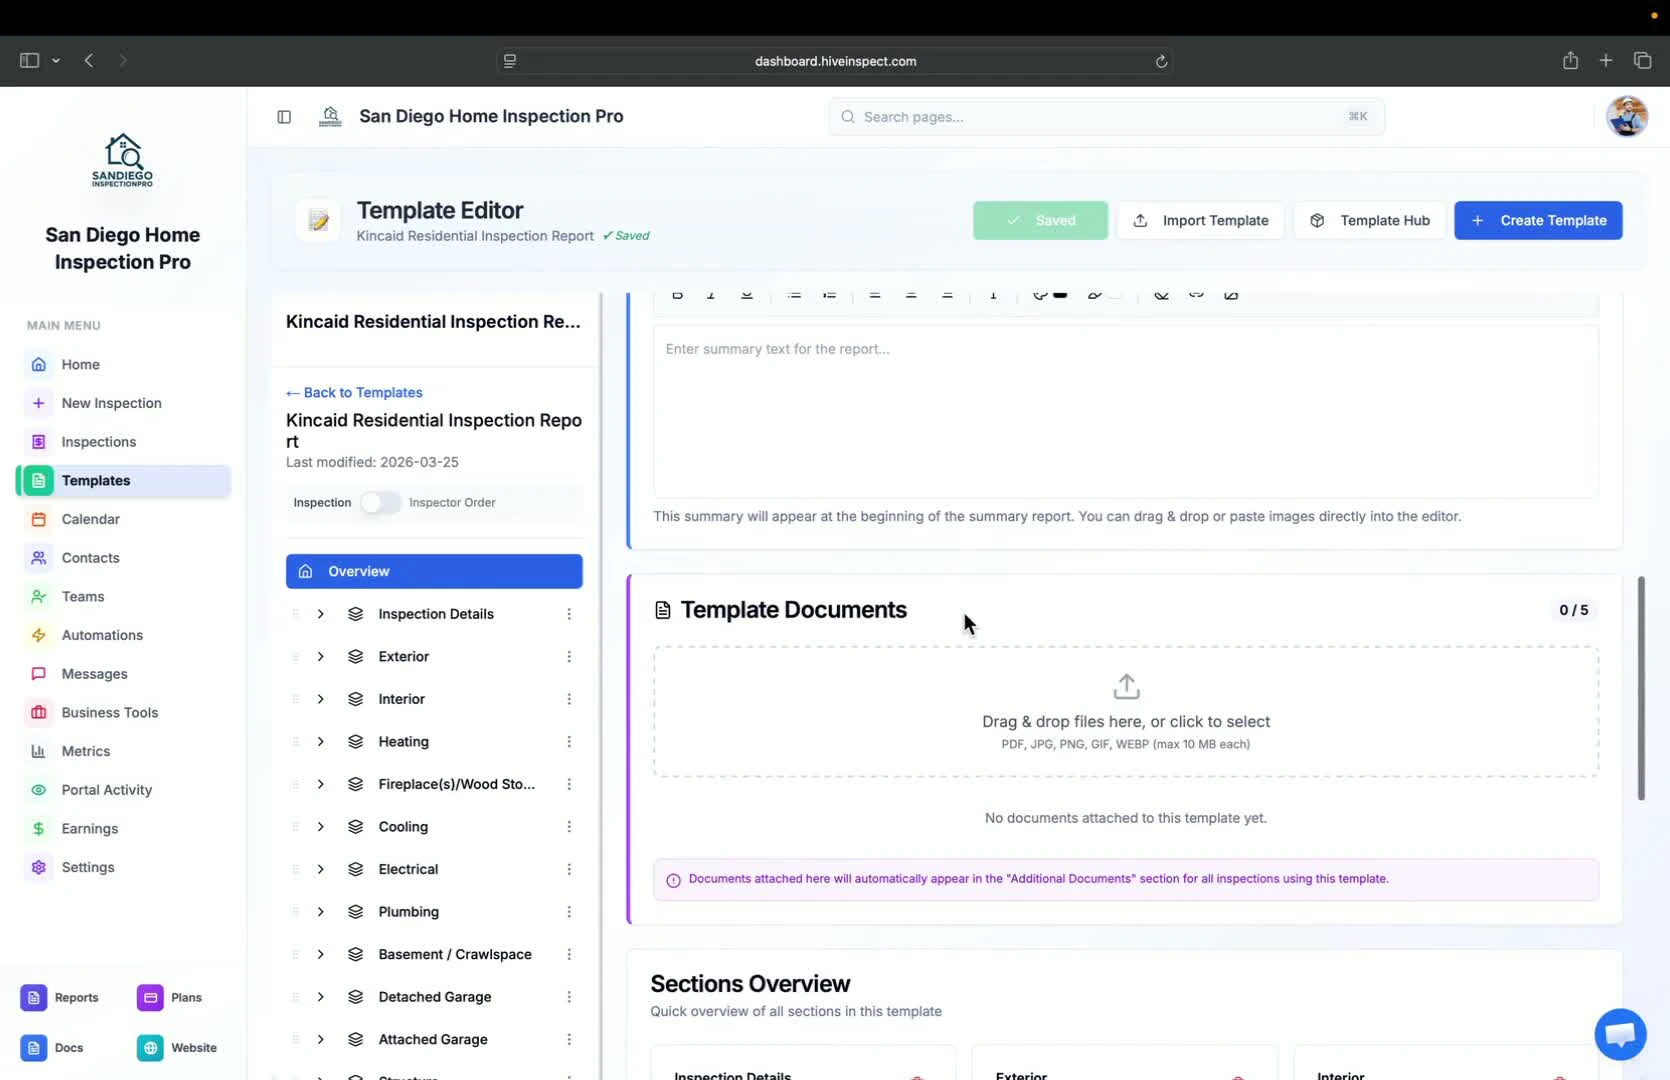 * Adjust the sequence of sections in the report for customer viewing
* Drag and drop sections to reorder them
* Adjust the sequence of sections in the report for customer viewing
* Drag and drop sections to reorder them
 * After making edits, click **Save Changes** to apply your modifications
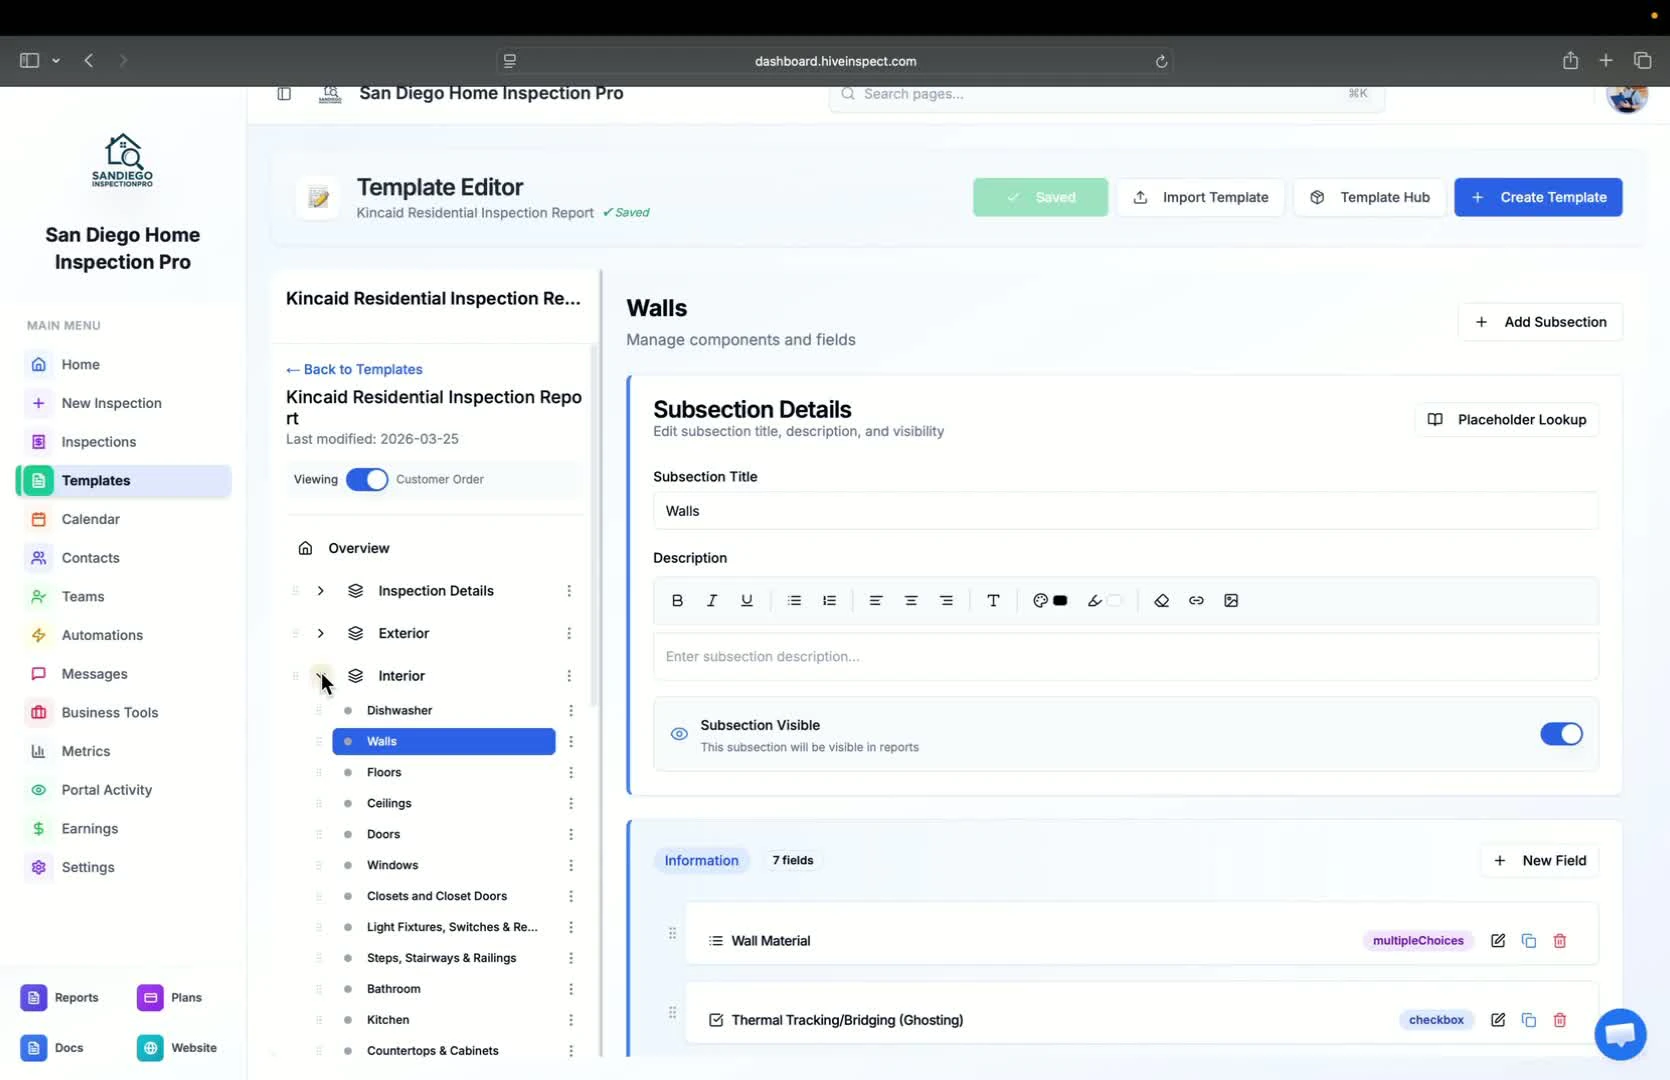
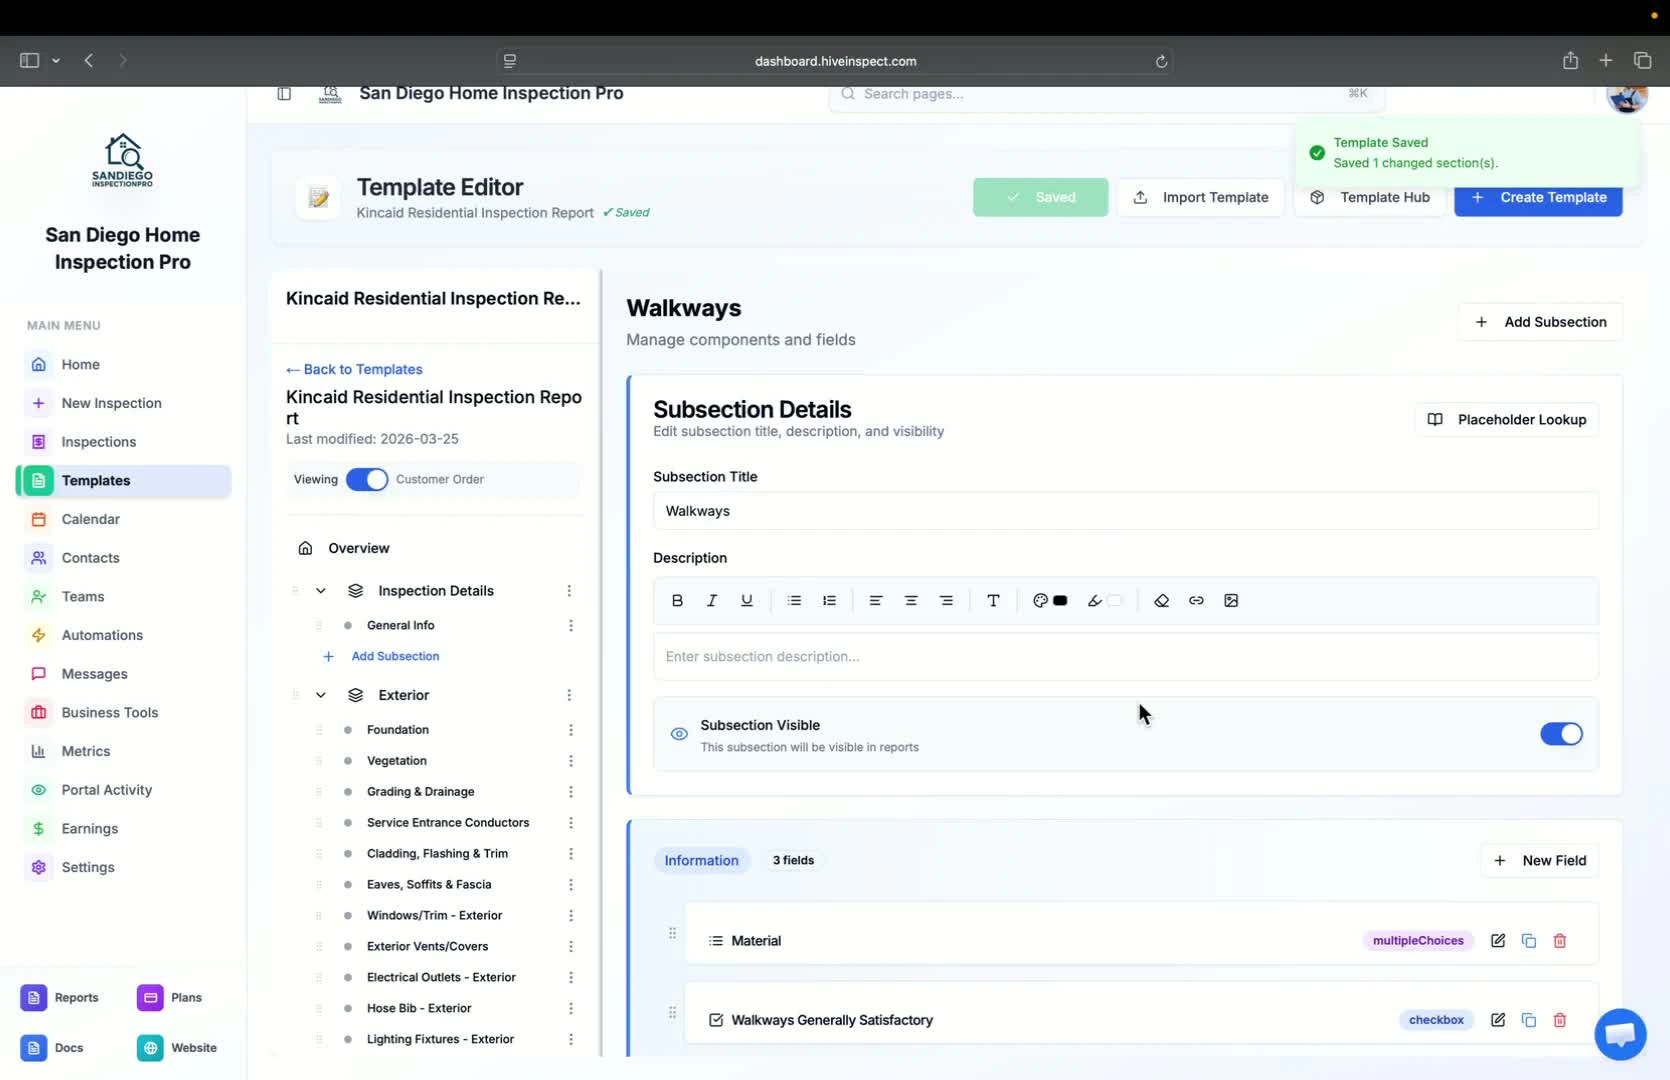 * Customize text with brand colors and images in the introduction and report sections
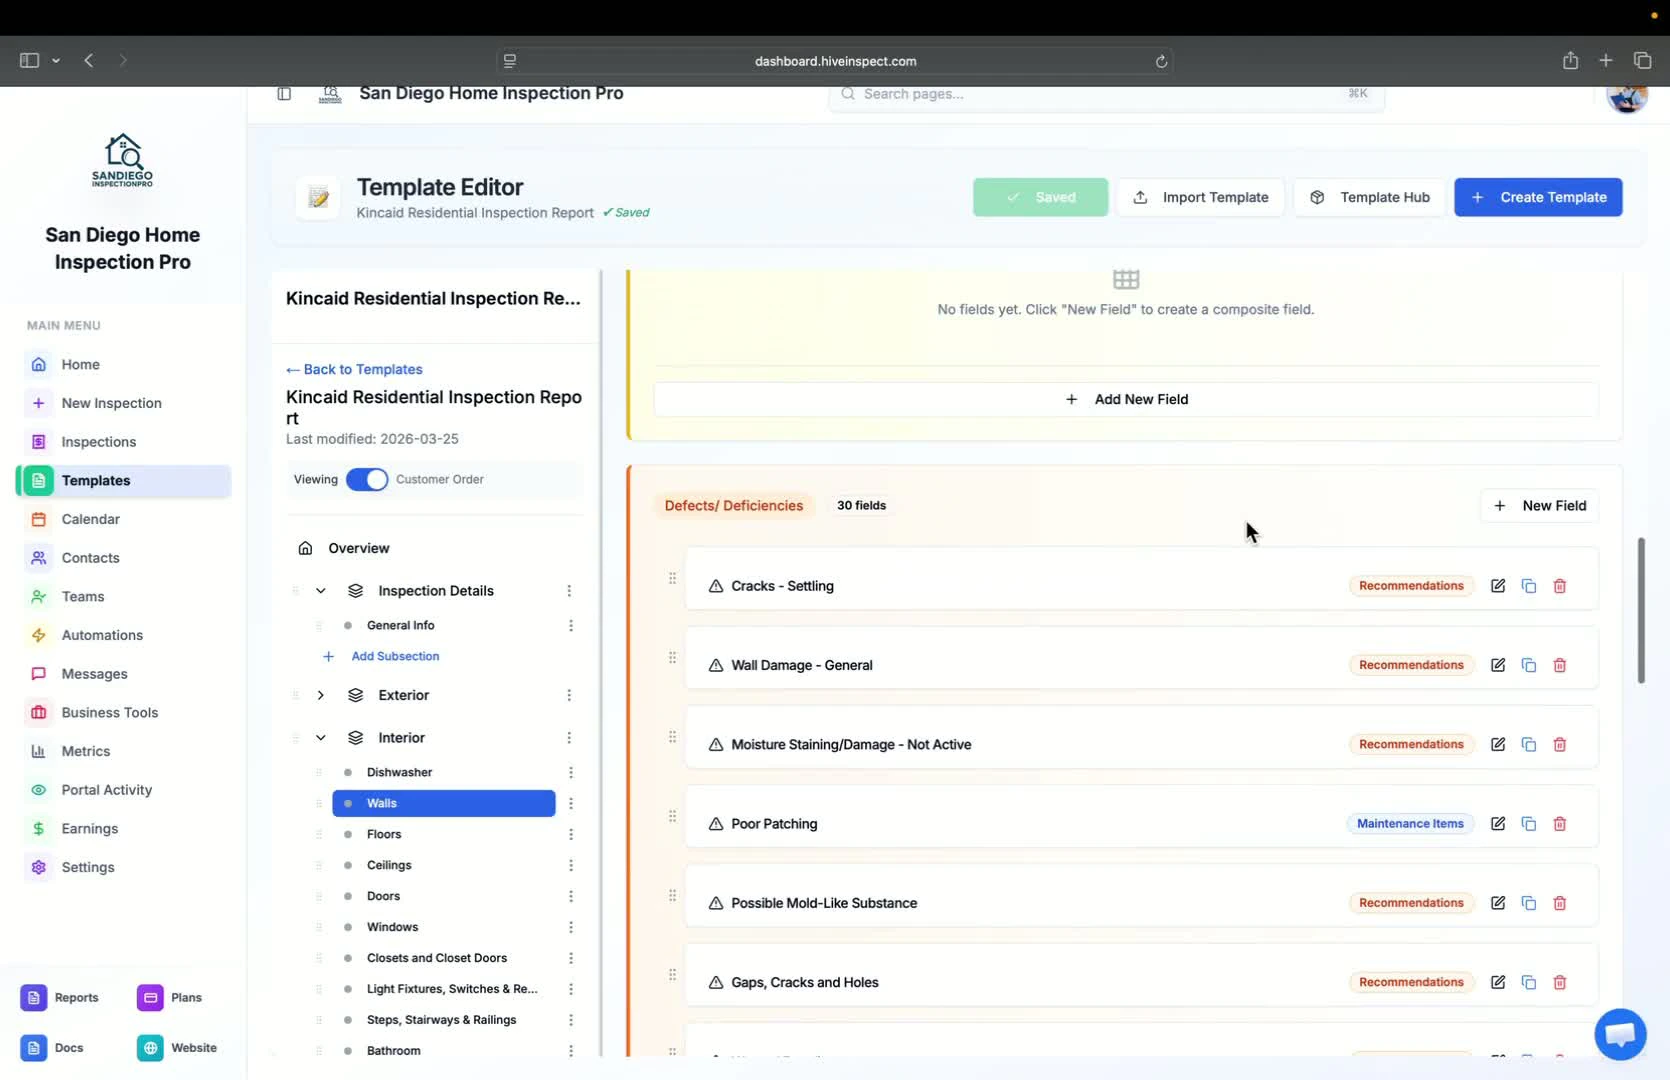
 * Three types of comments can be added:
* Information
* Limitations
* Defects or deficiencies
* Use **New Field** to add comments and descriptions
* Three types of comments can be added:
* Information
* Limitations
* Defects or deficiencies
* Use **New Field** to add comments and descriptions
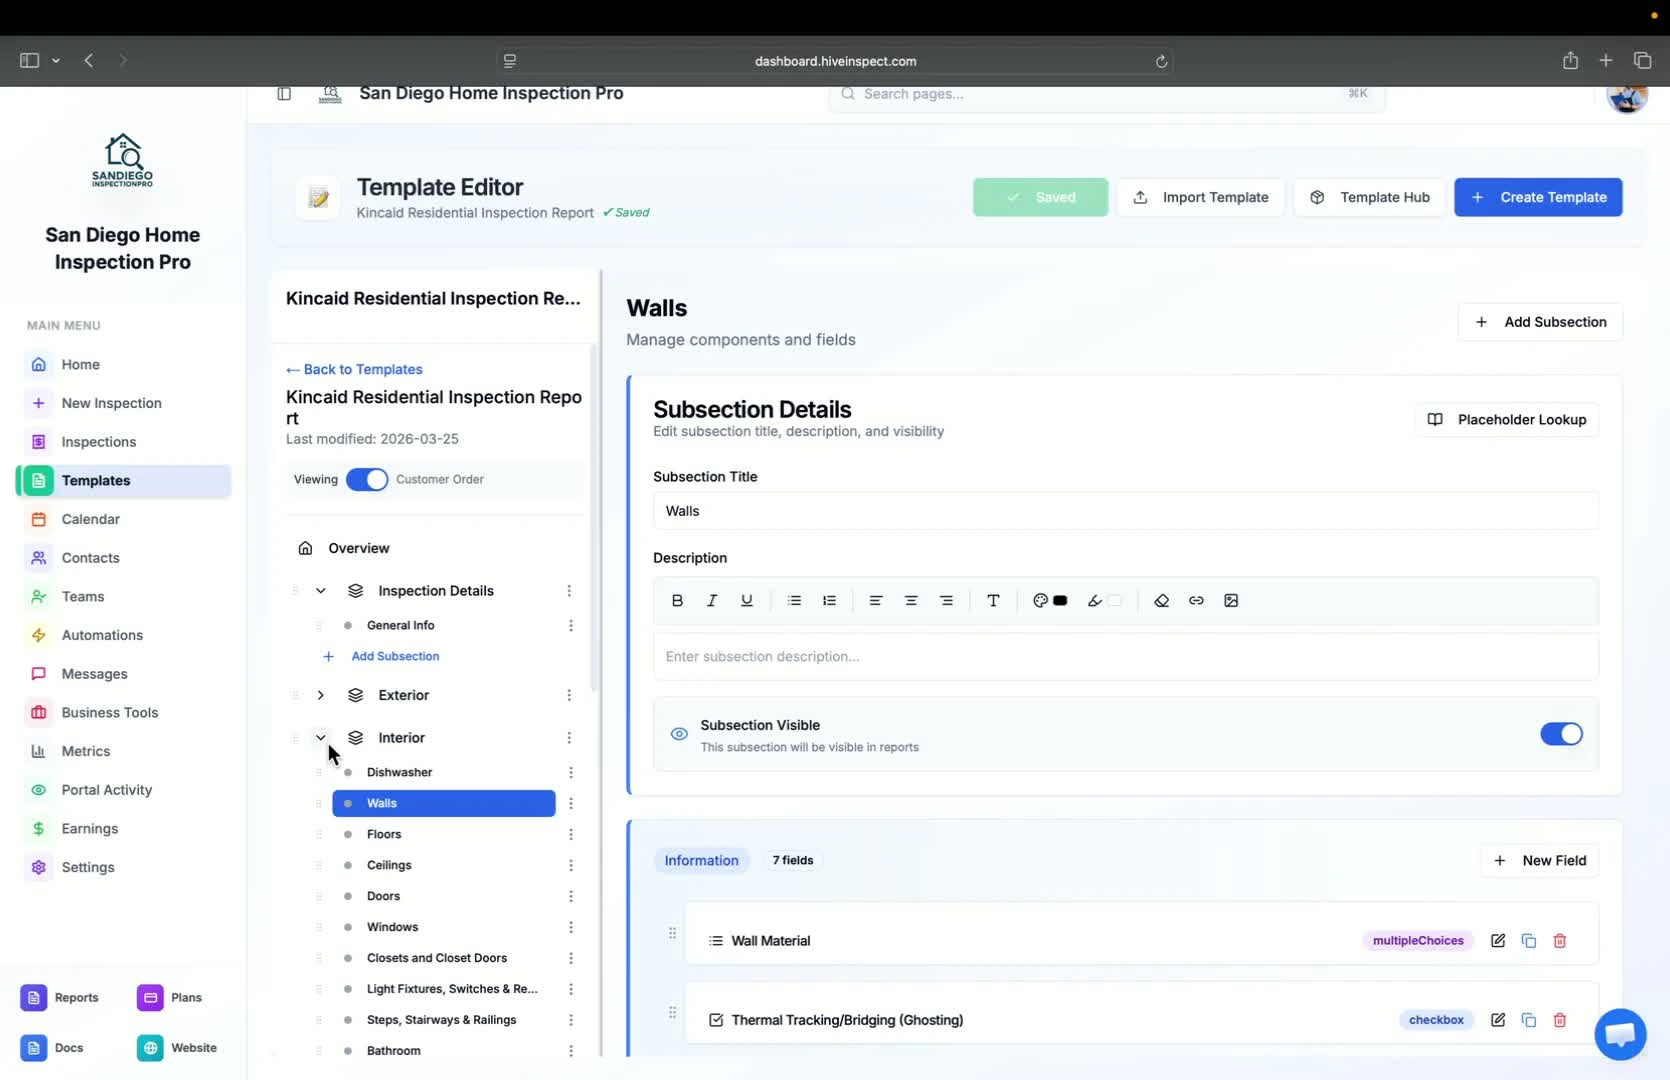
 * Use the **Save to Template** button to save new comments or changes to existing comments
 * If transitioning from Spectora or another company, select the option to import
* Ensure to export files in HTML format for proper text formatting
* If transitioning from Spectora or another company, select the option to import
* Ensure to export files in HTML format for proper text formatting