

Client Portal walkthrough
Logging into the Client Portal
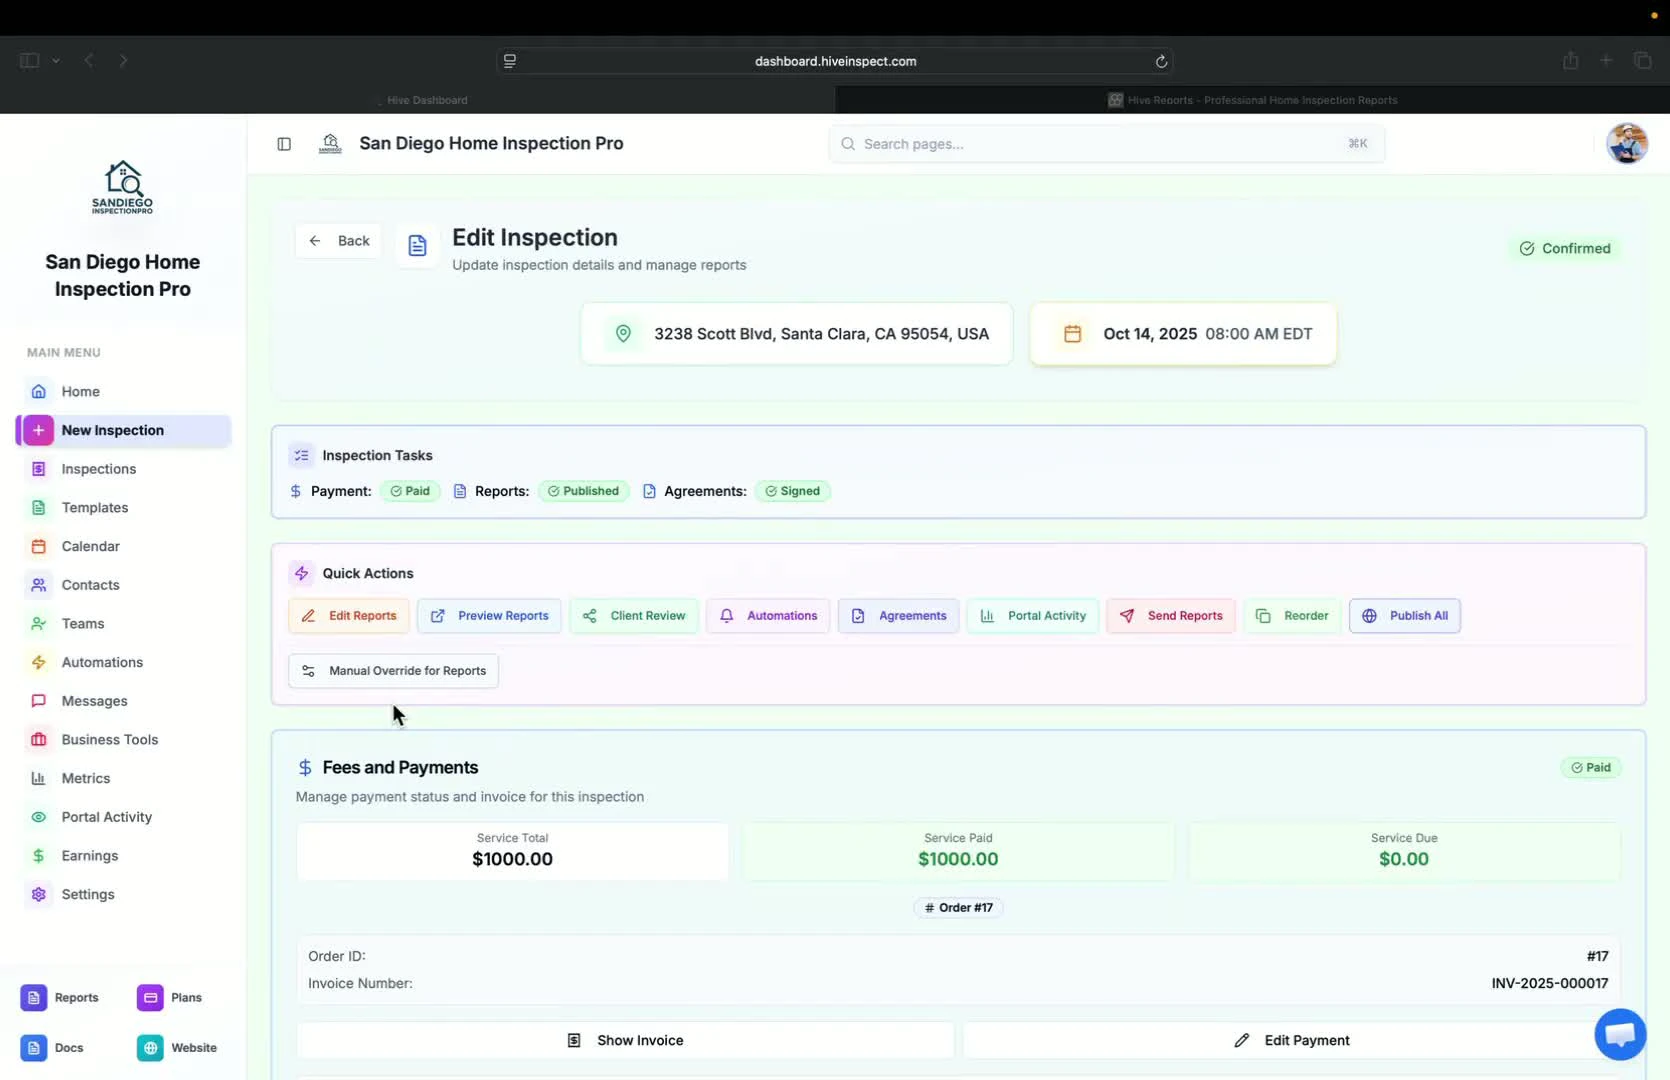
Overview of client dashboard
0:14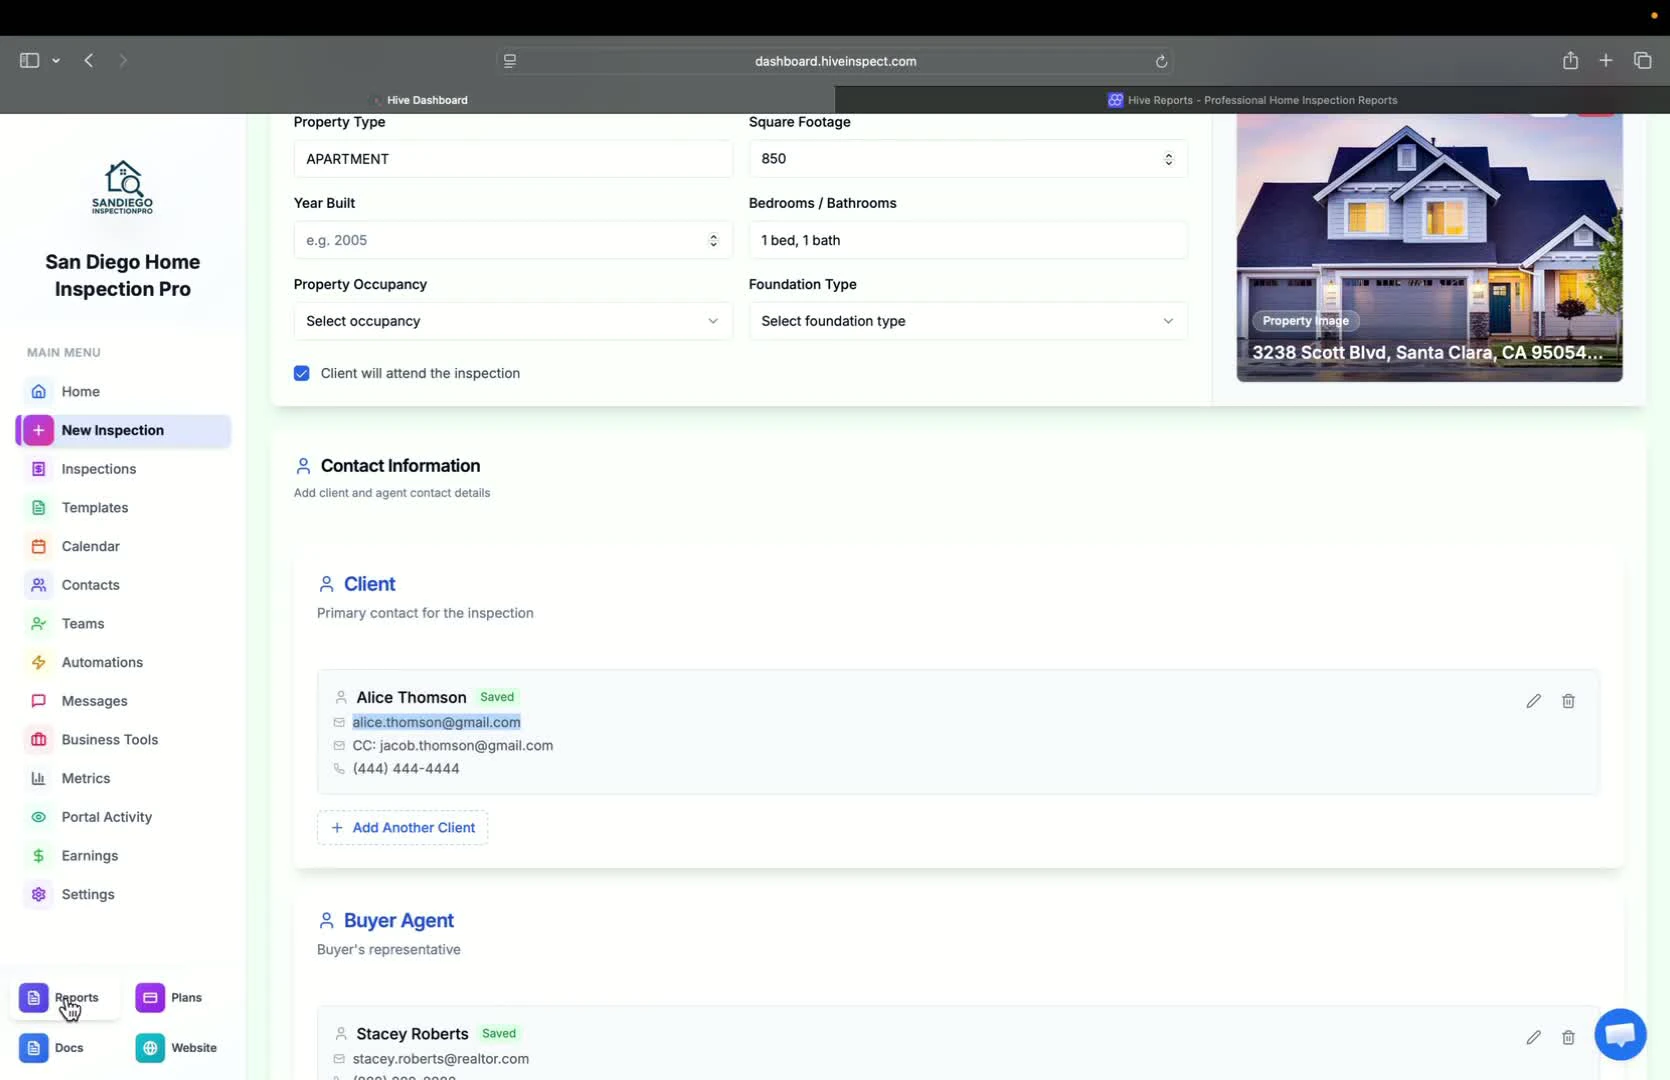
- The client sees a list of all inspections completed
- Clients can search for inspections by property address
Accessing order details
0:28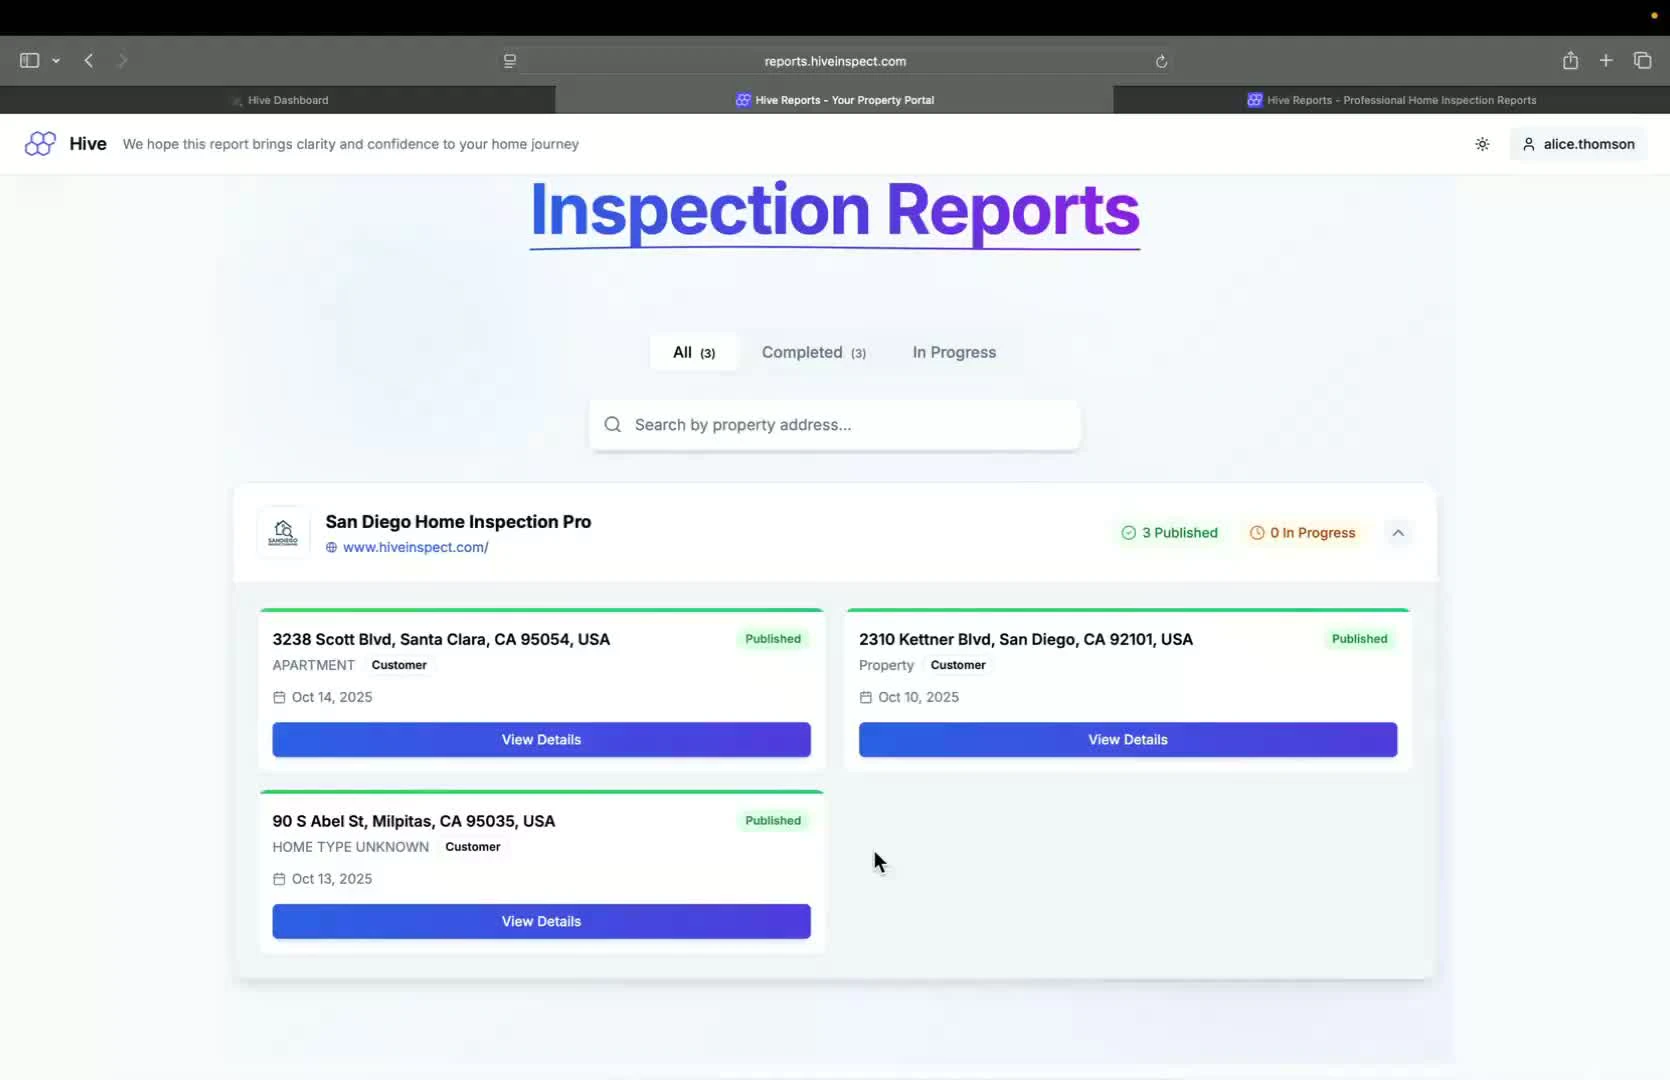
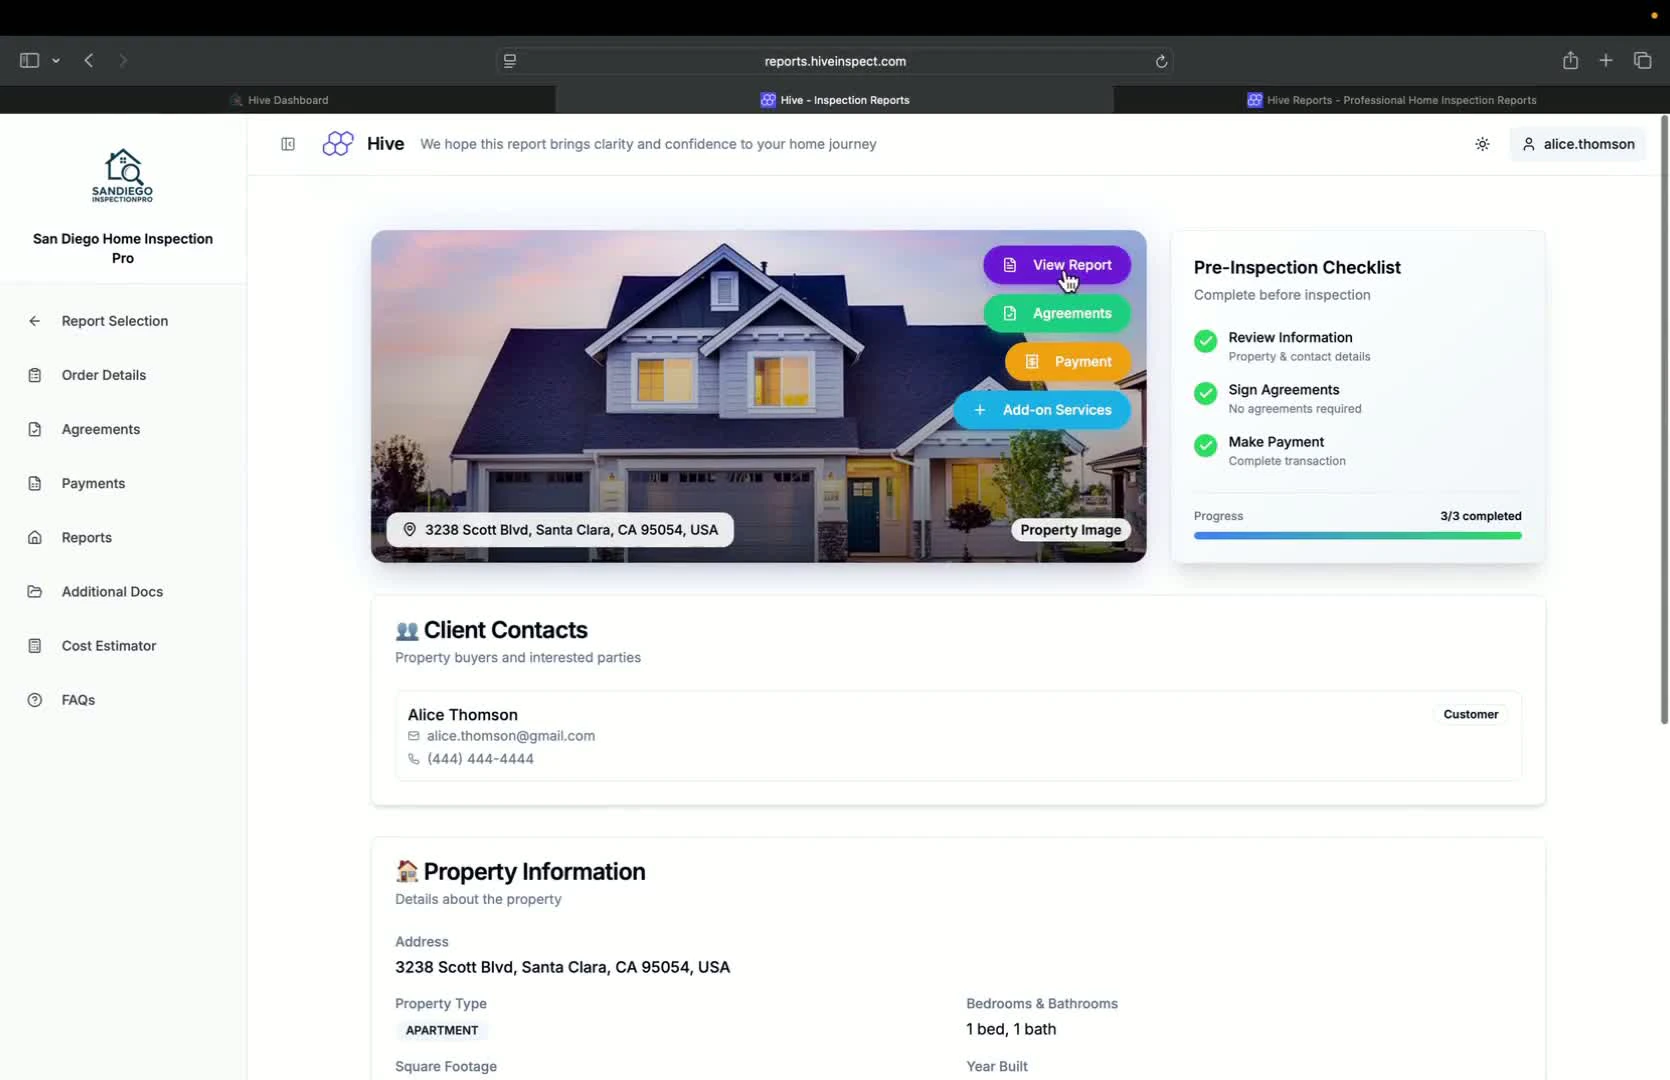
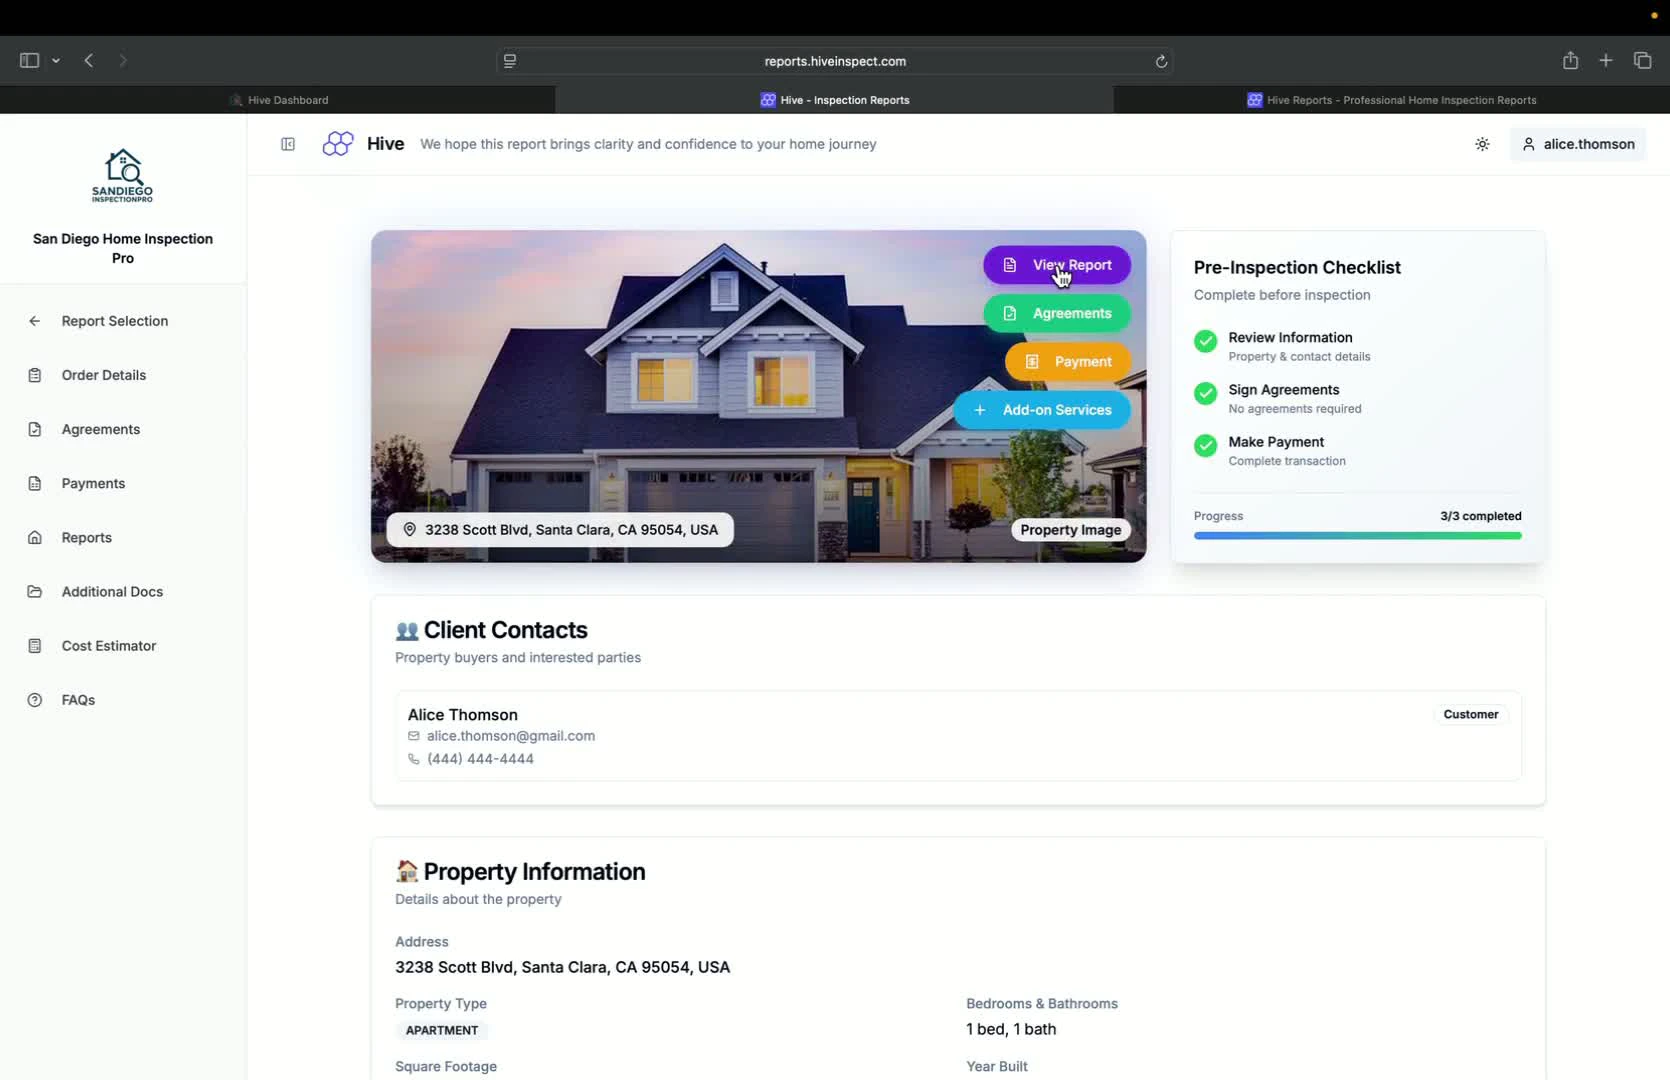
- Select an inspection to view the main order details page
- Summary of inspection details is displayed
Payment and agreement status
Viewing inspection reports
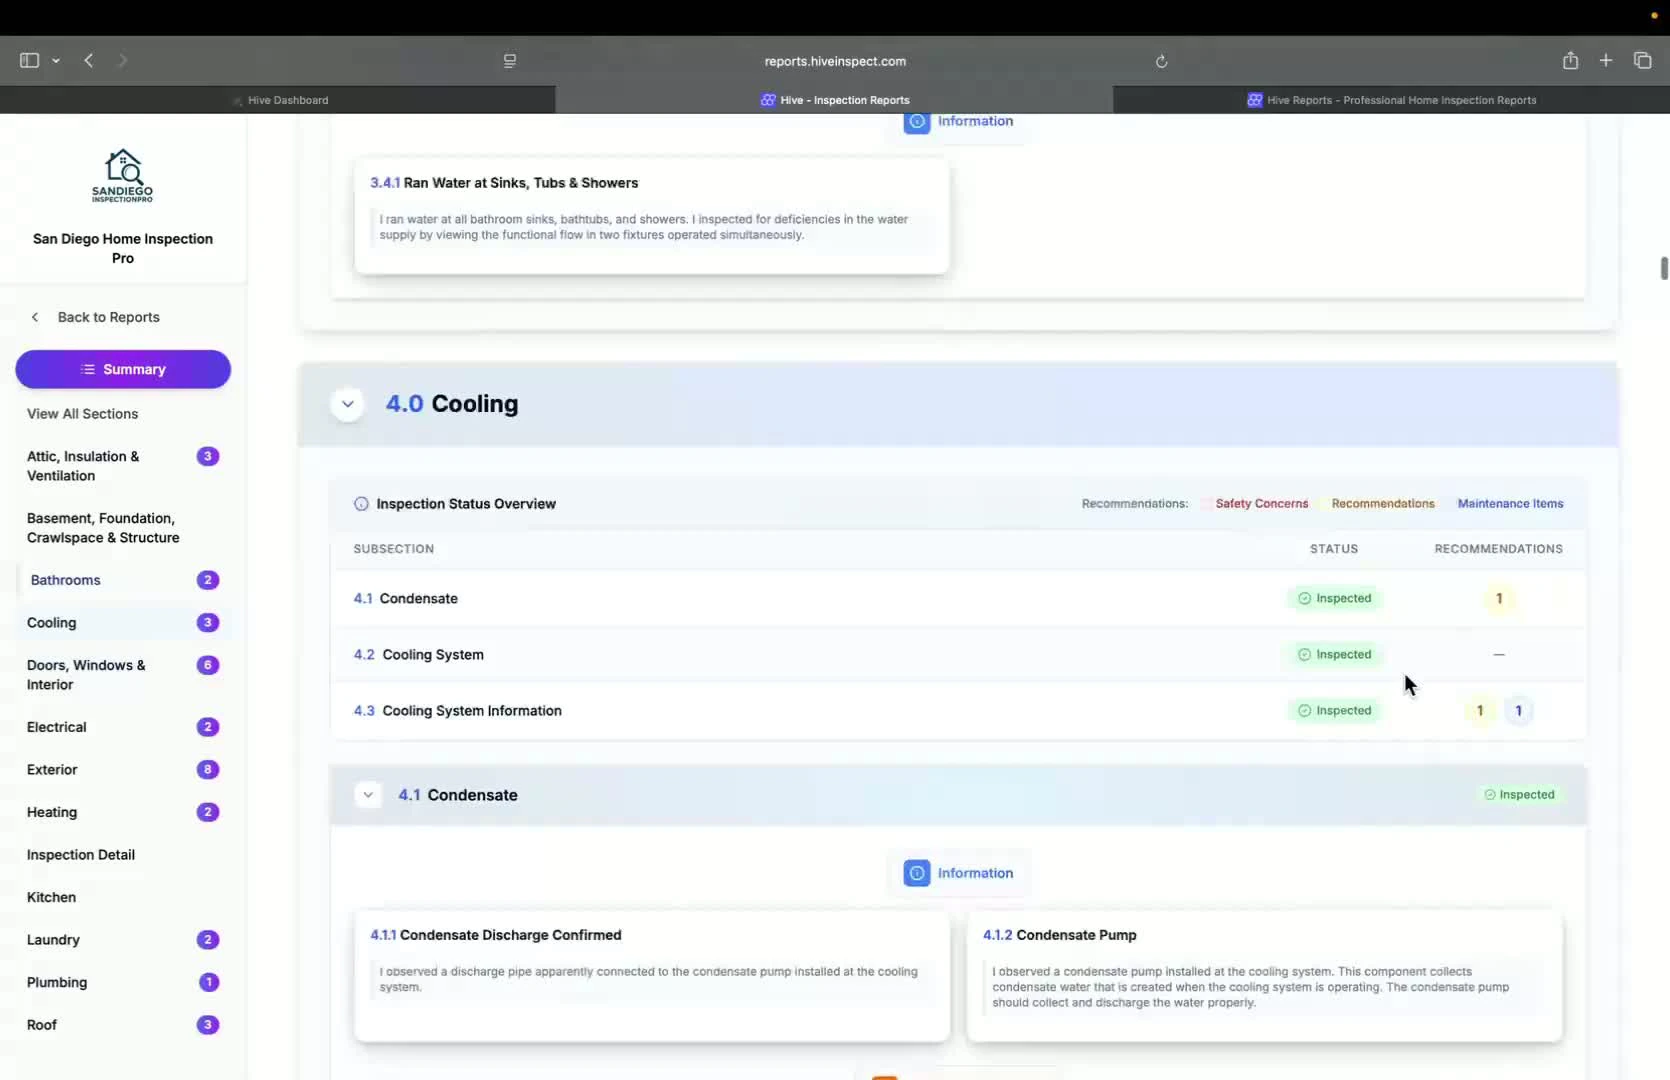
Summary view of defects
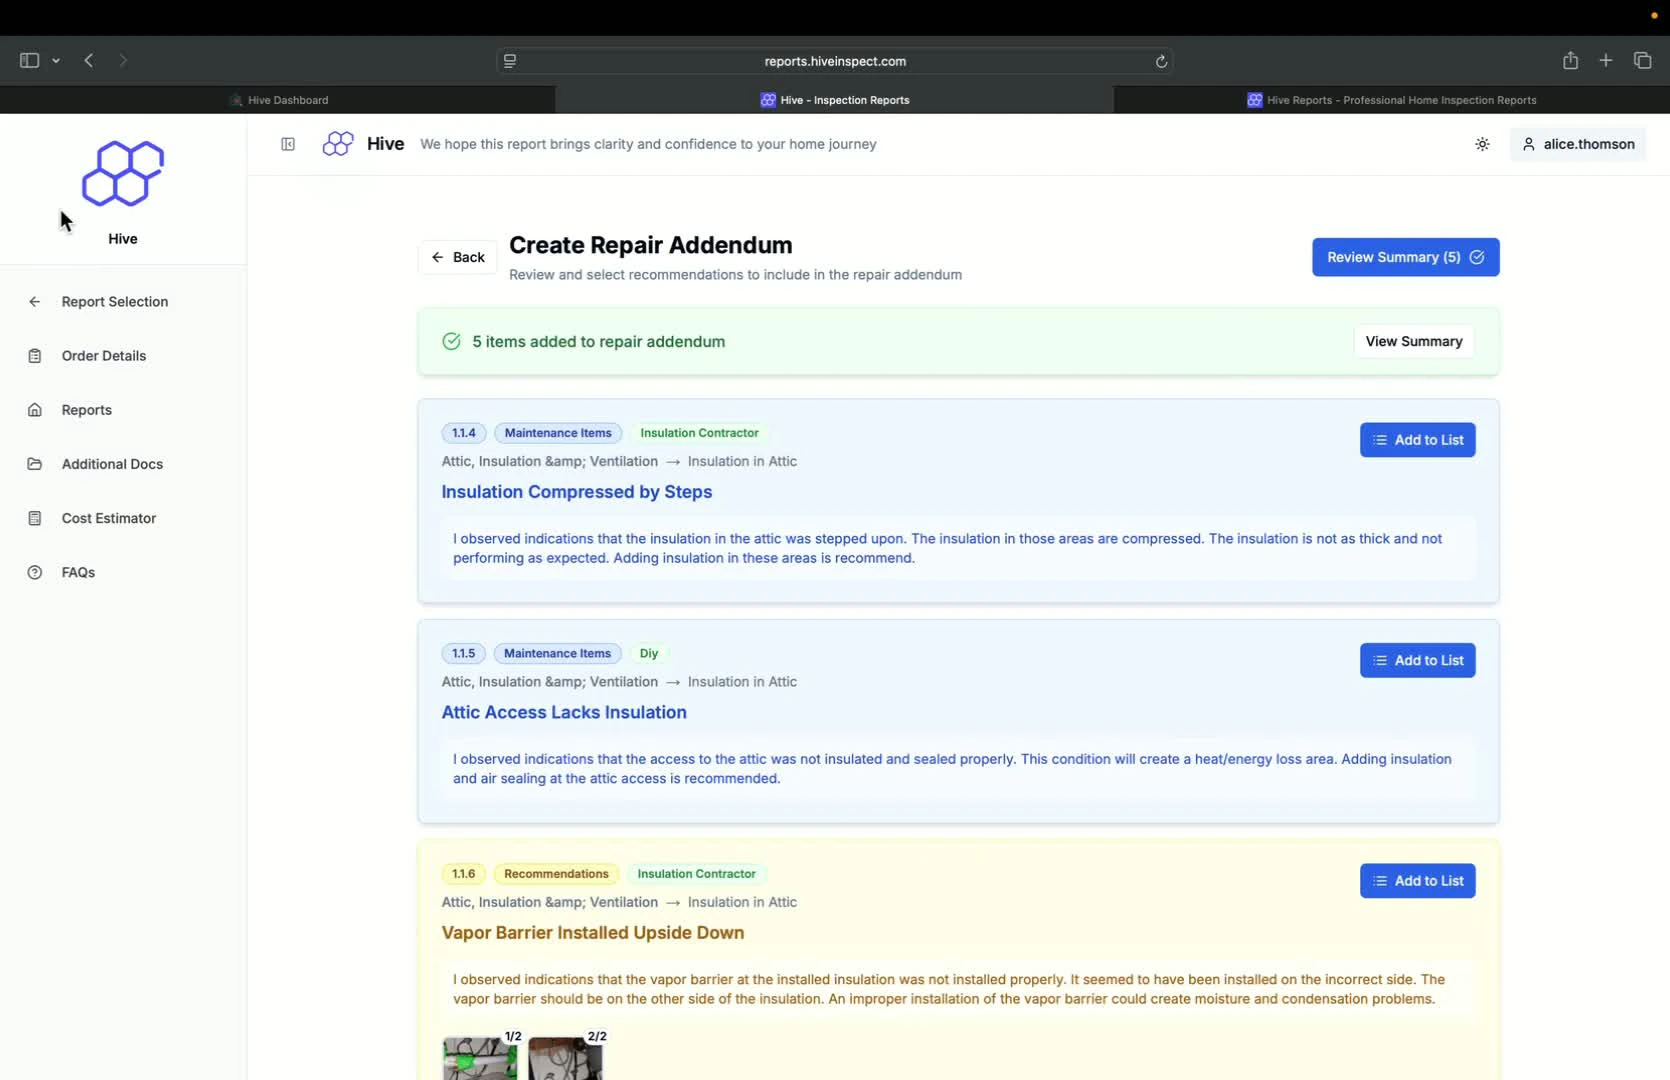
Creating repair and random section
Branding with logo
Signing the agreement
1:57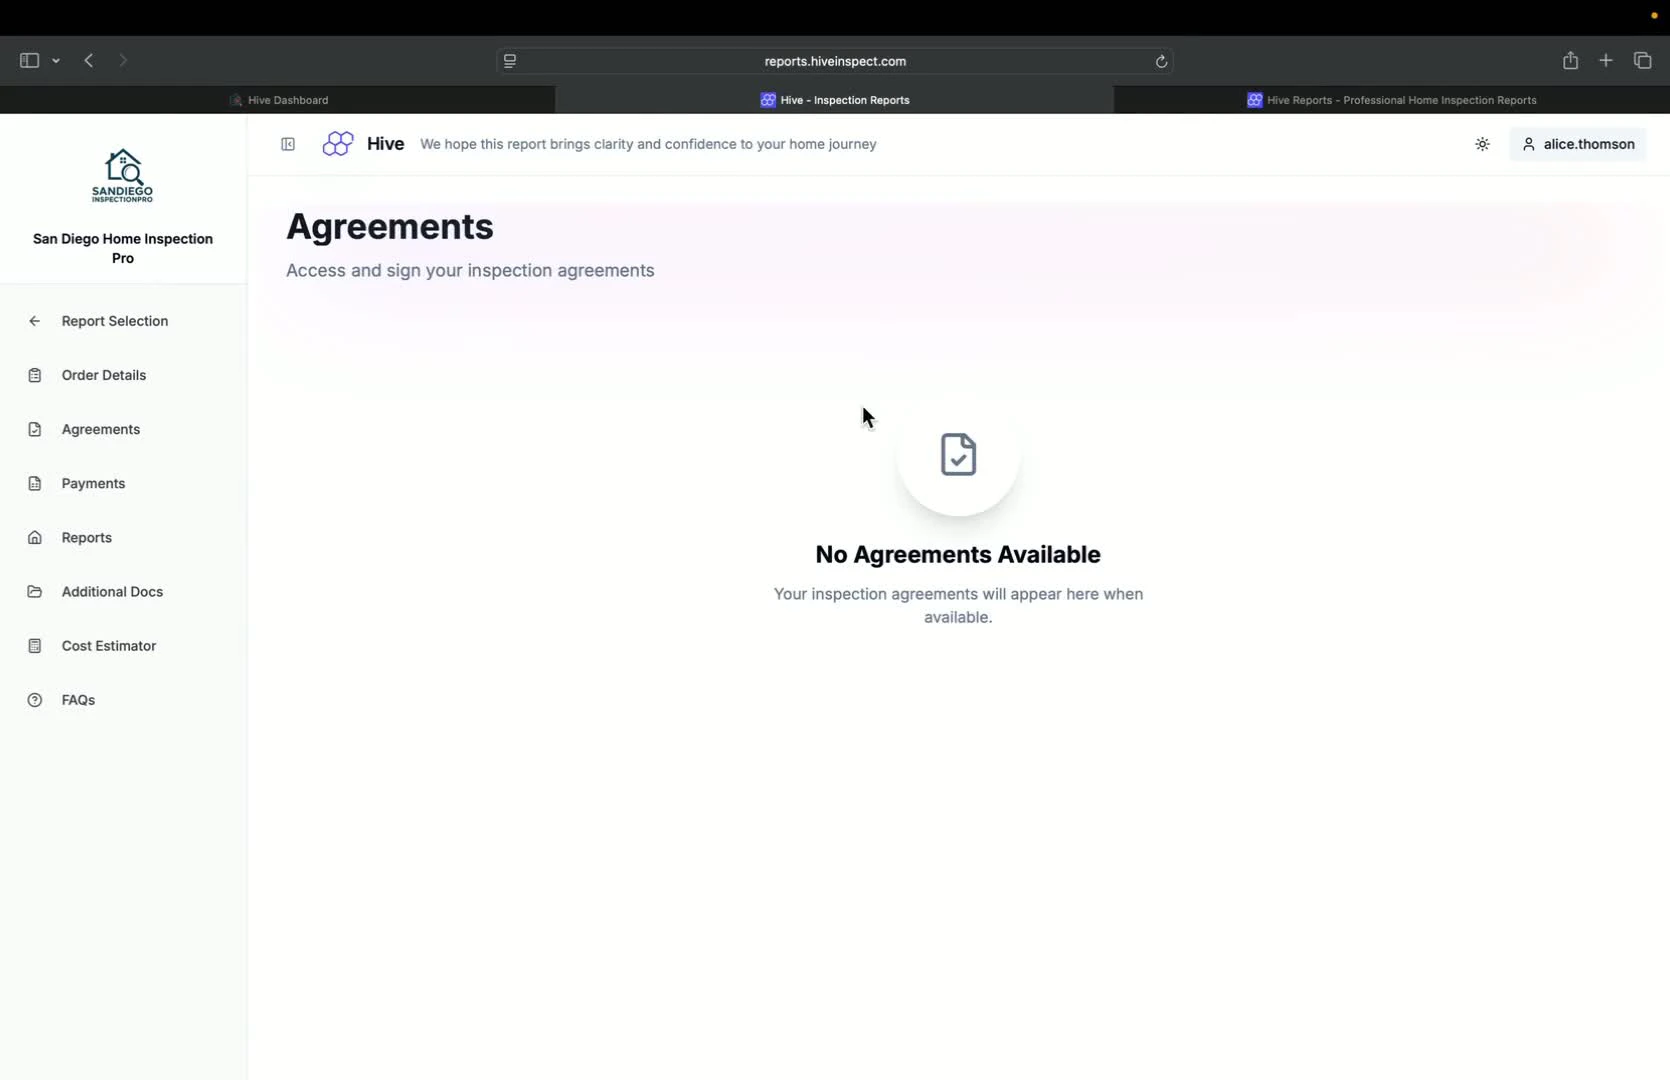
- Clients can sign the agreement directly from the portal
- If no agreement exists, they will see an option to sign
Making payments
2:05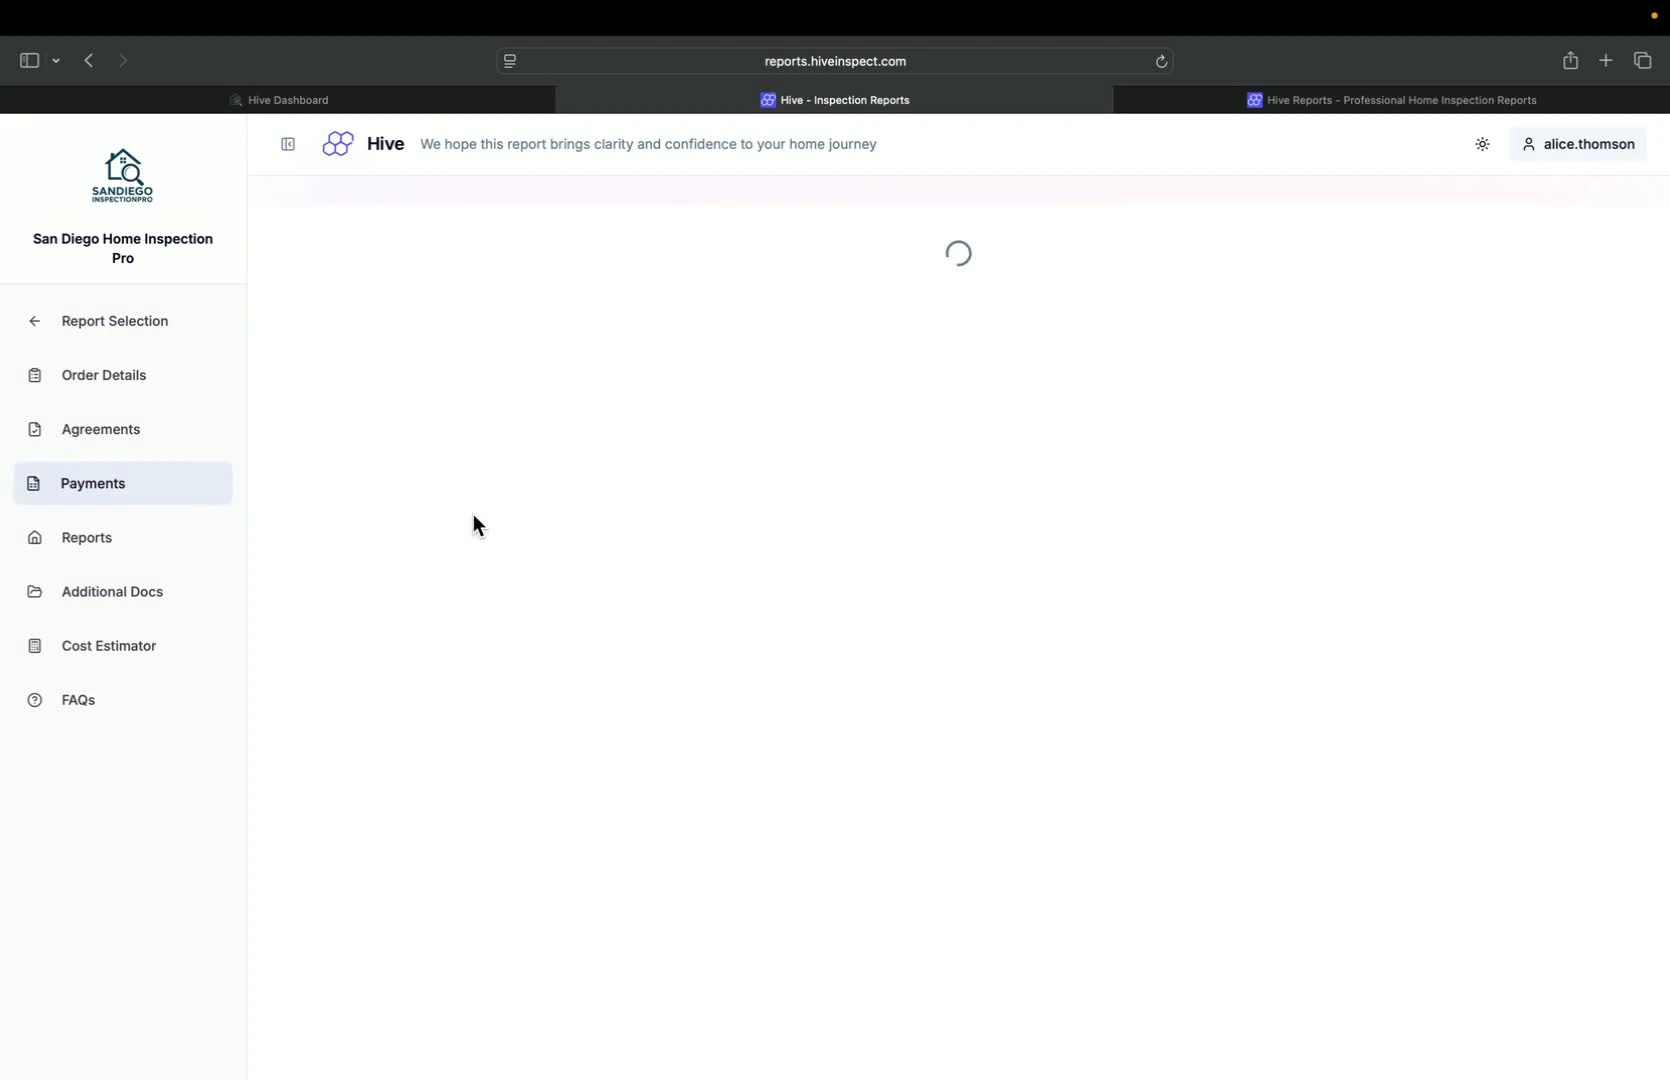
- Integrated payment options (e.g., Stripe) allow clients to pay easily
- Invoice will be generated after payment
Accessing additional documents
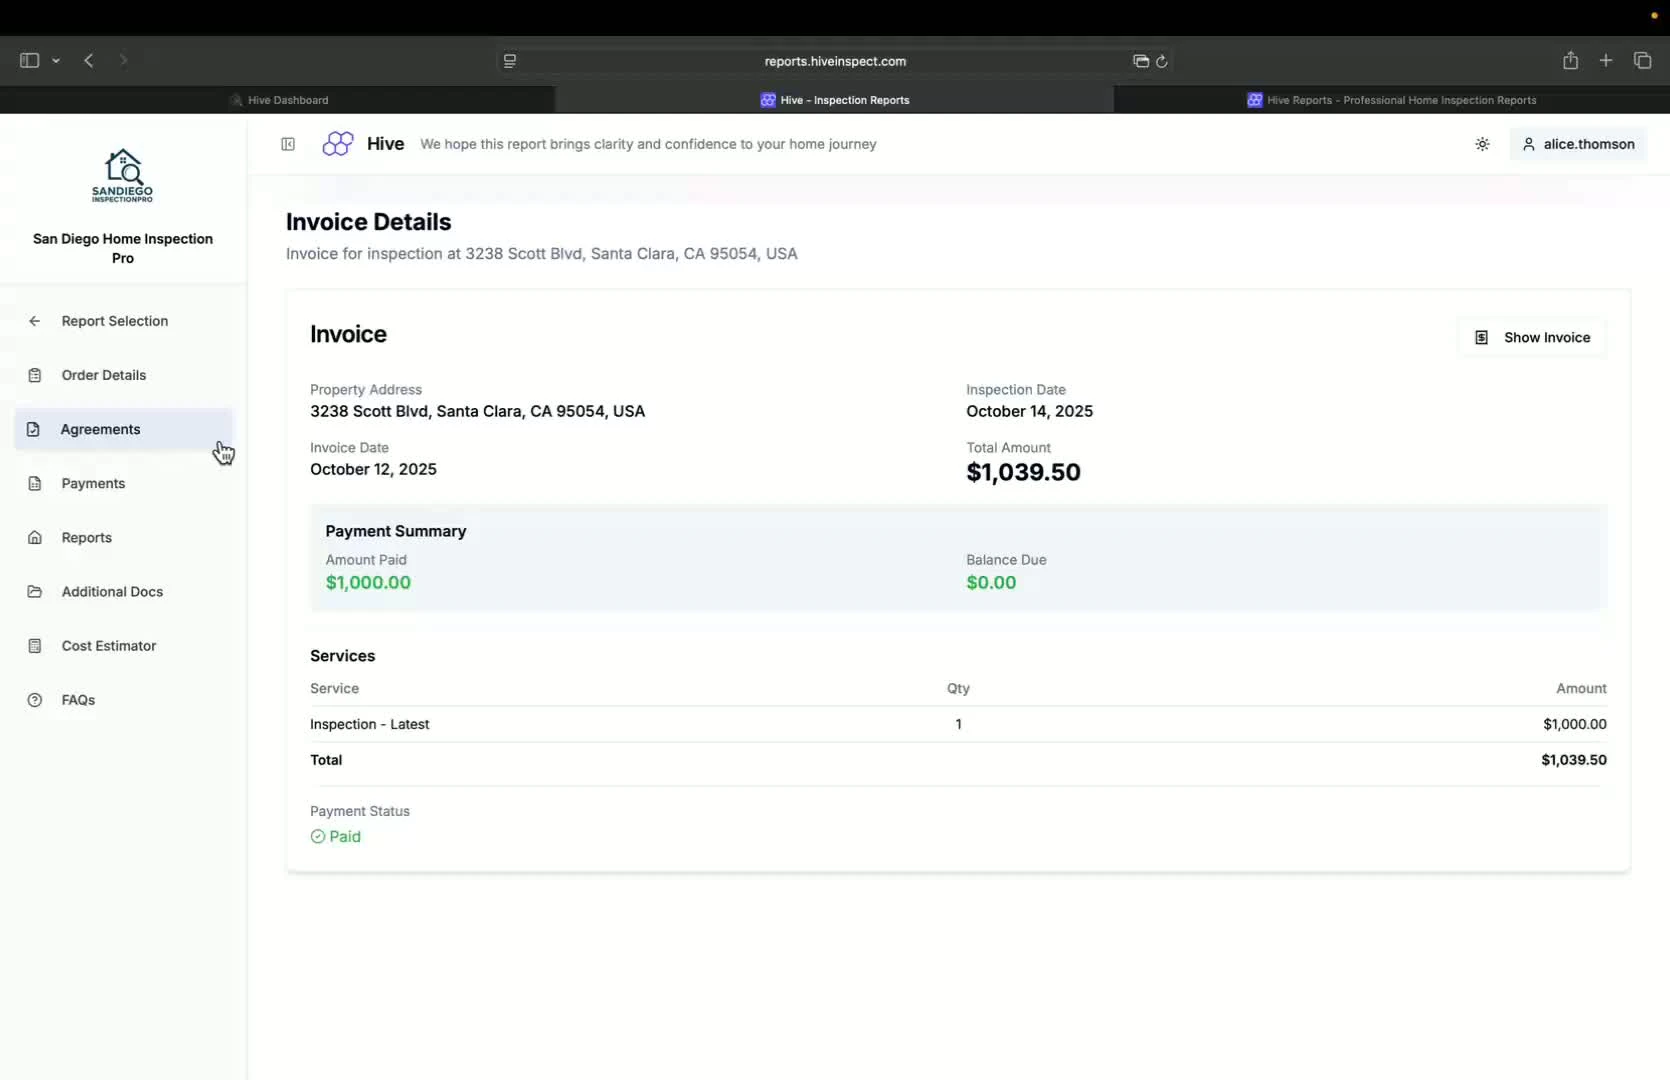
Adding third-party reports
2:30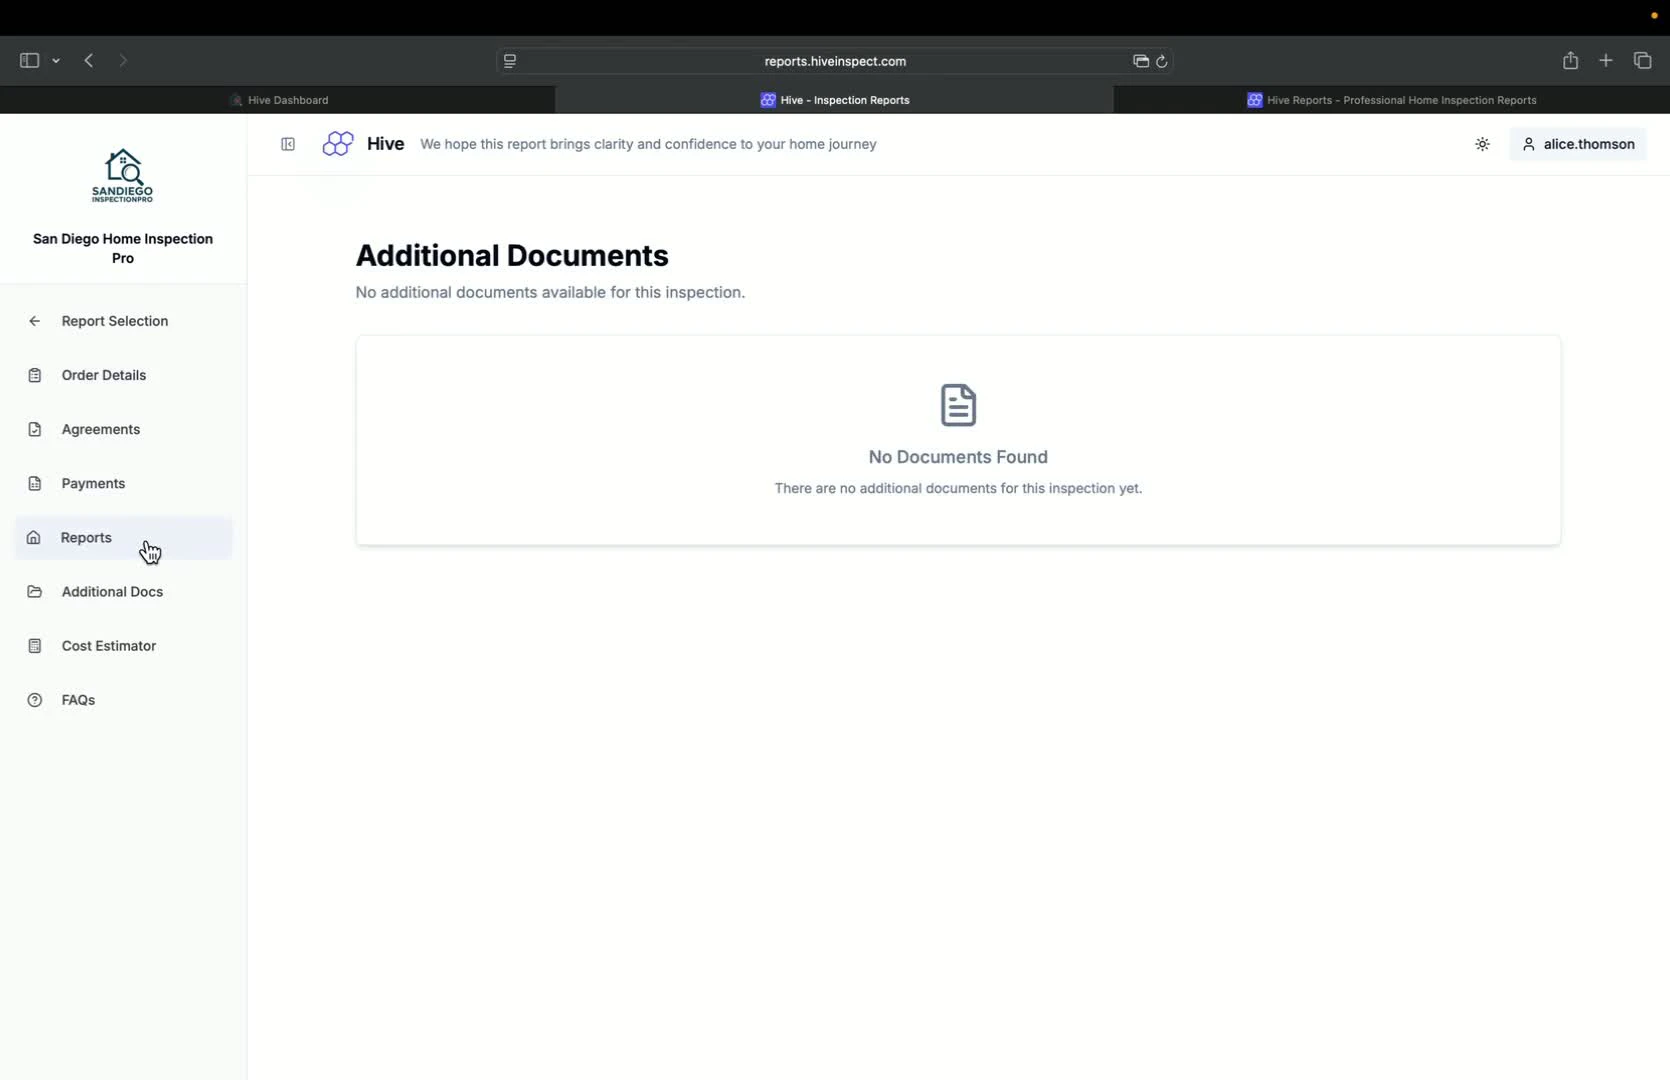
- Clients can view additional reports from third-party inspections
- Reports can be uploaded with a name and description
Locked features for pending actions
3:06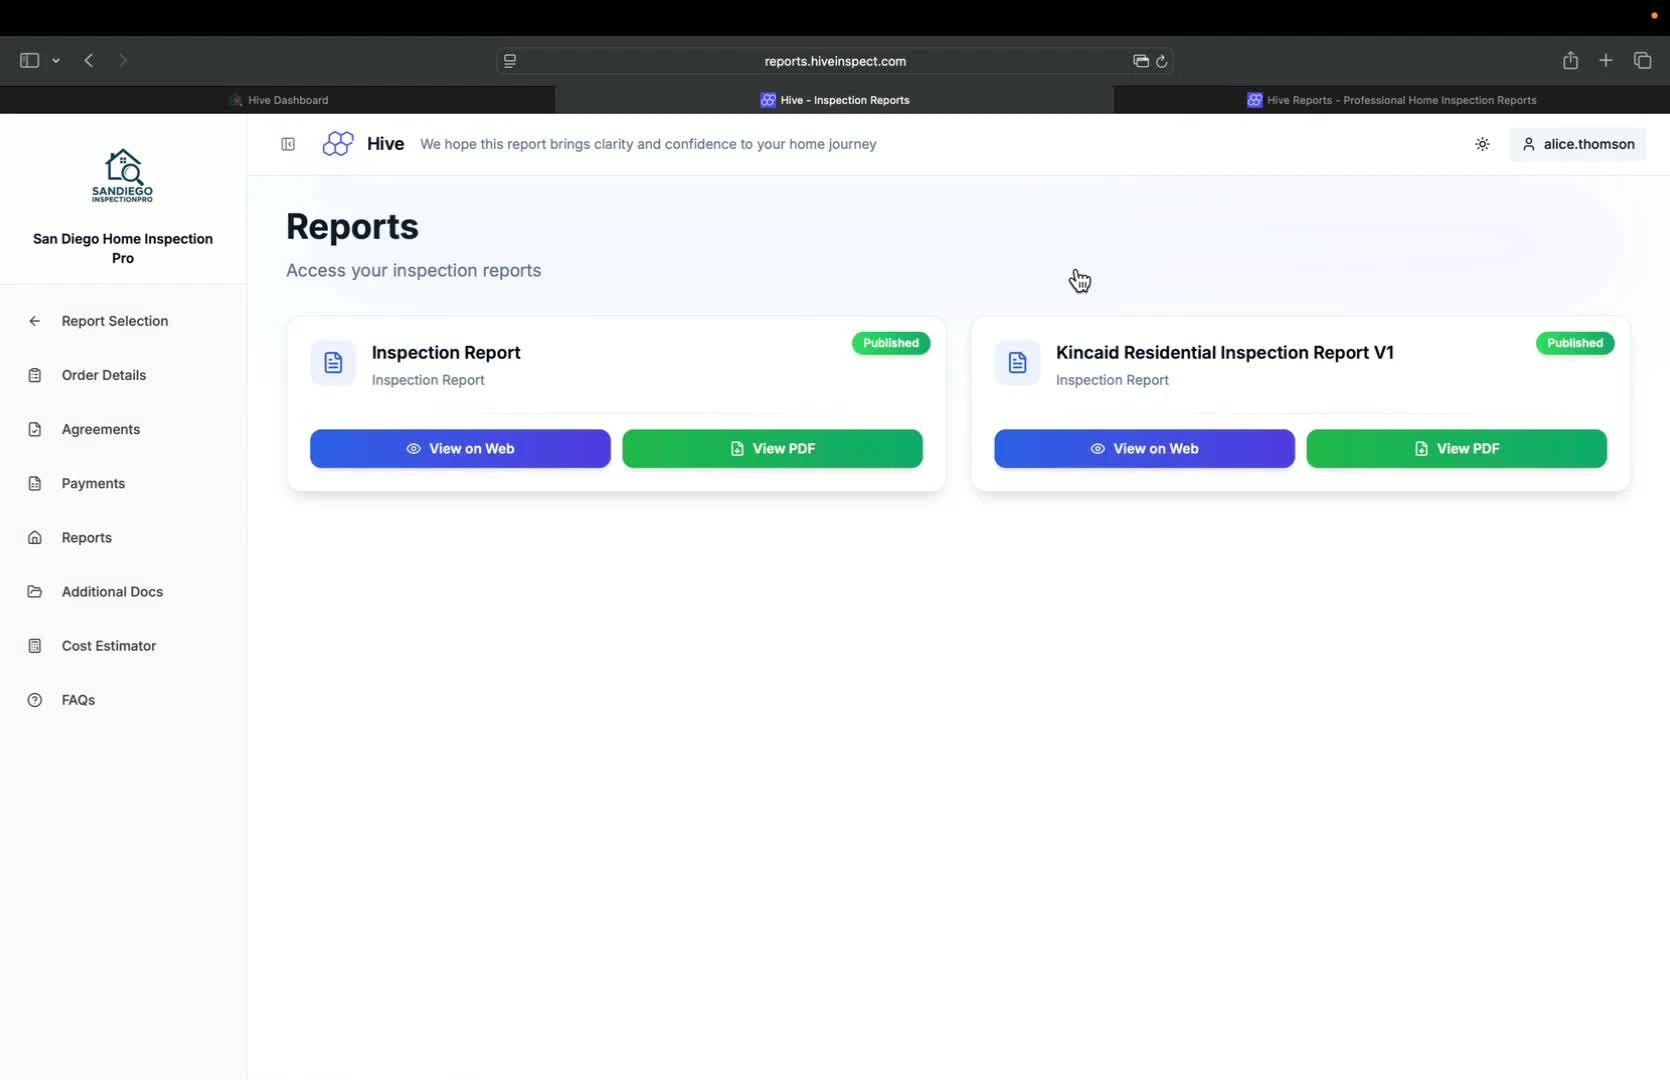
- If the agreement is not signed or payment is pending, buttons will be locked
- Clients will see options to make payment or sign the agreement
Completing the process
Next step
Related