Video Tutorial
Setting Up Your Hiven Inspect Account
1
Sign Up and Access Dashboard — 0:01
- Sign up and confirm your email
- You will be redirected to the dashboard or access it directly by typing
dashboard.hiveinspect.com

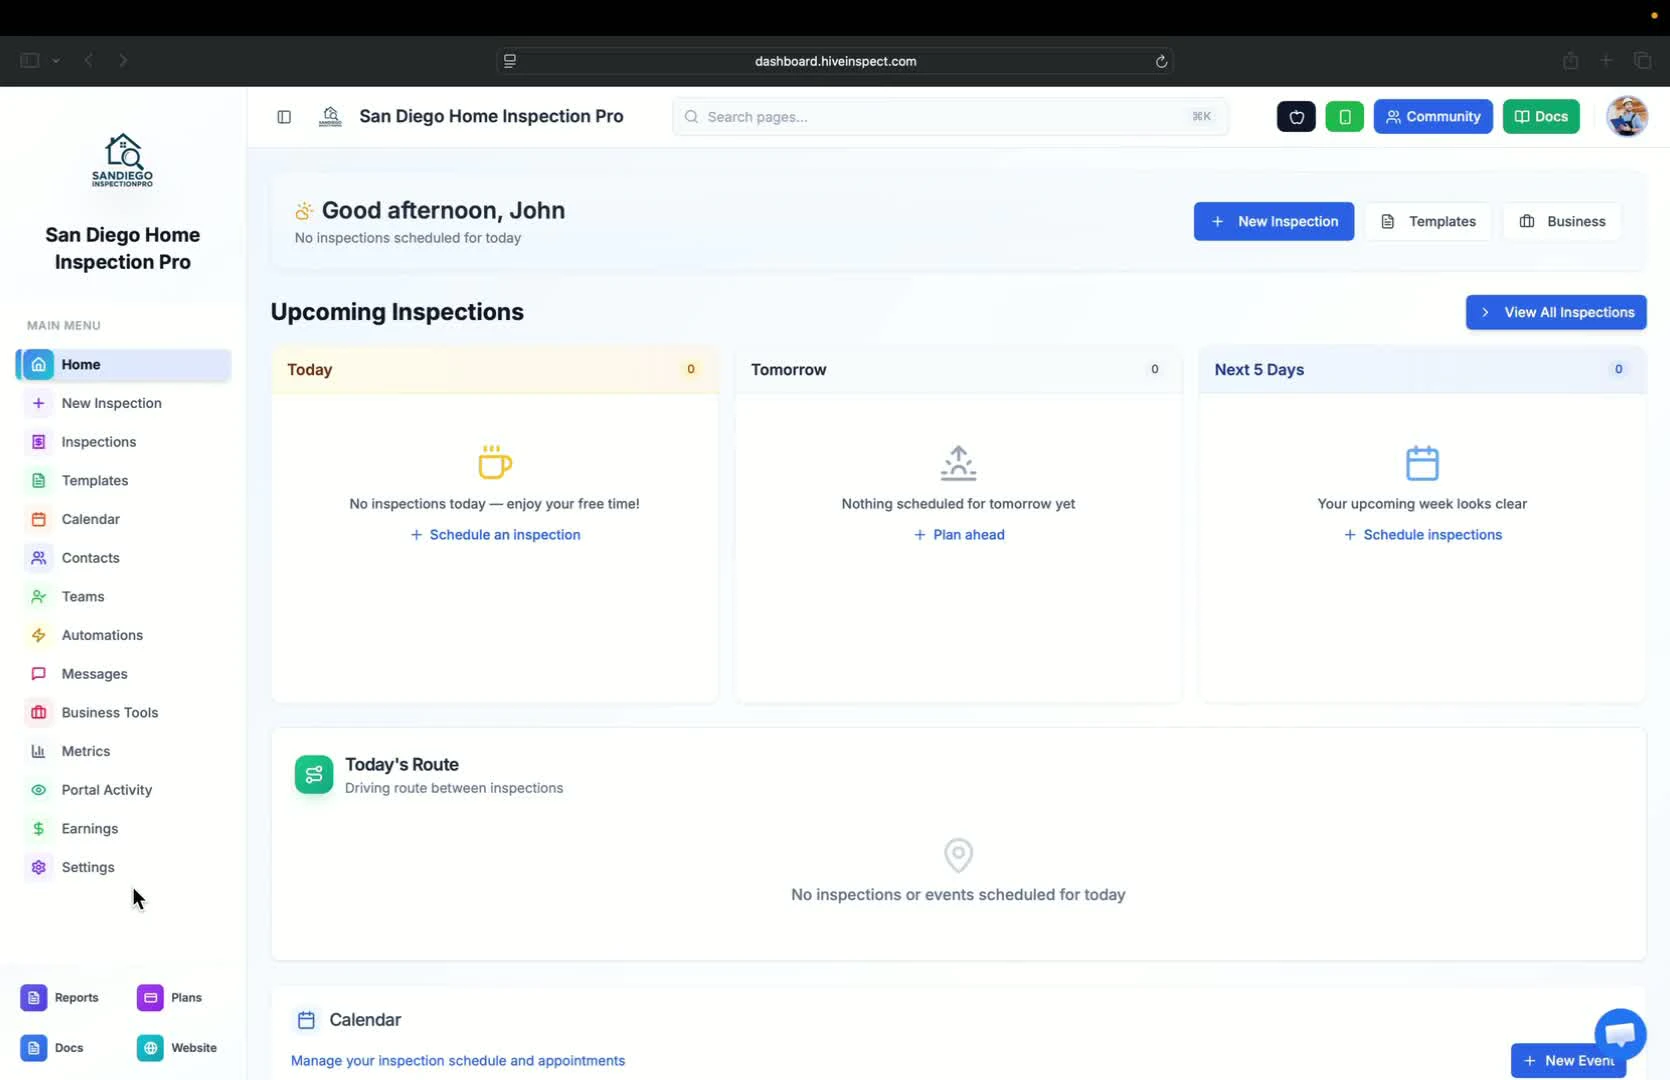
2
Connect Your Calendar — 0:15
- On the home screen, connect your calendar
3
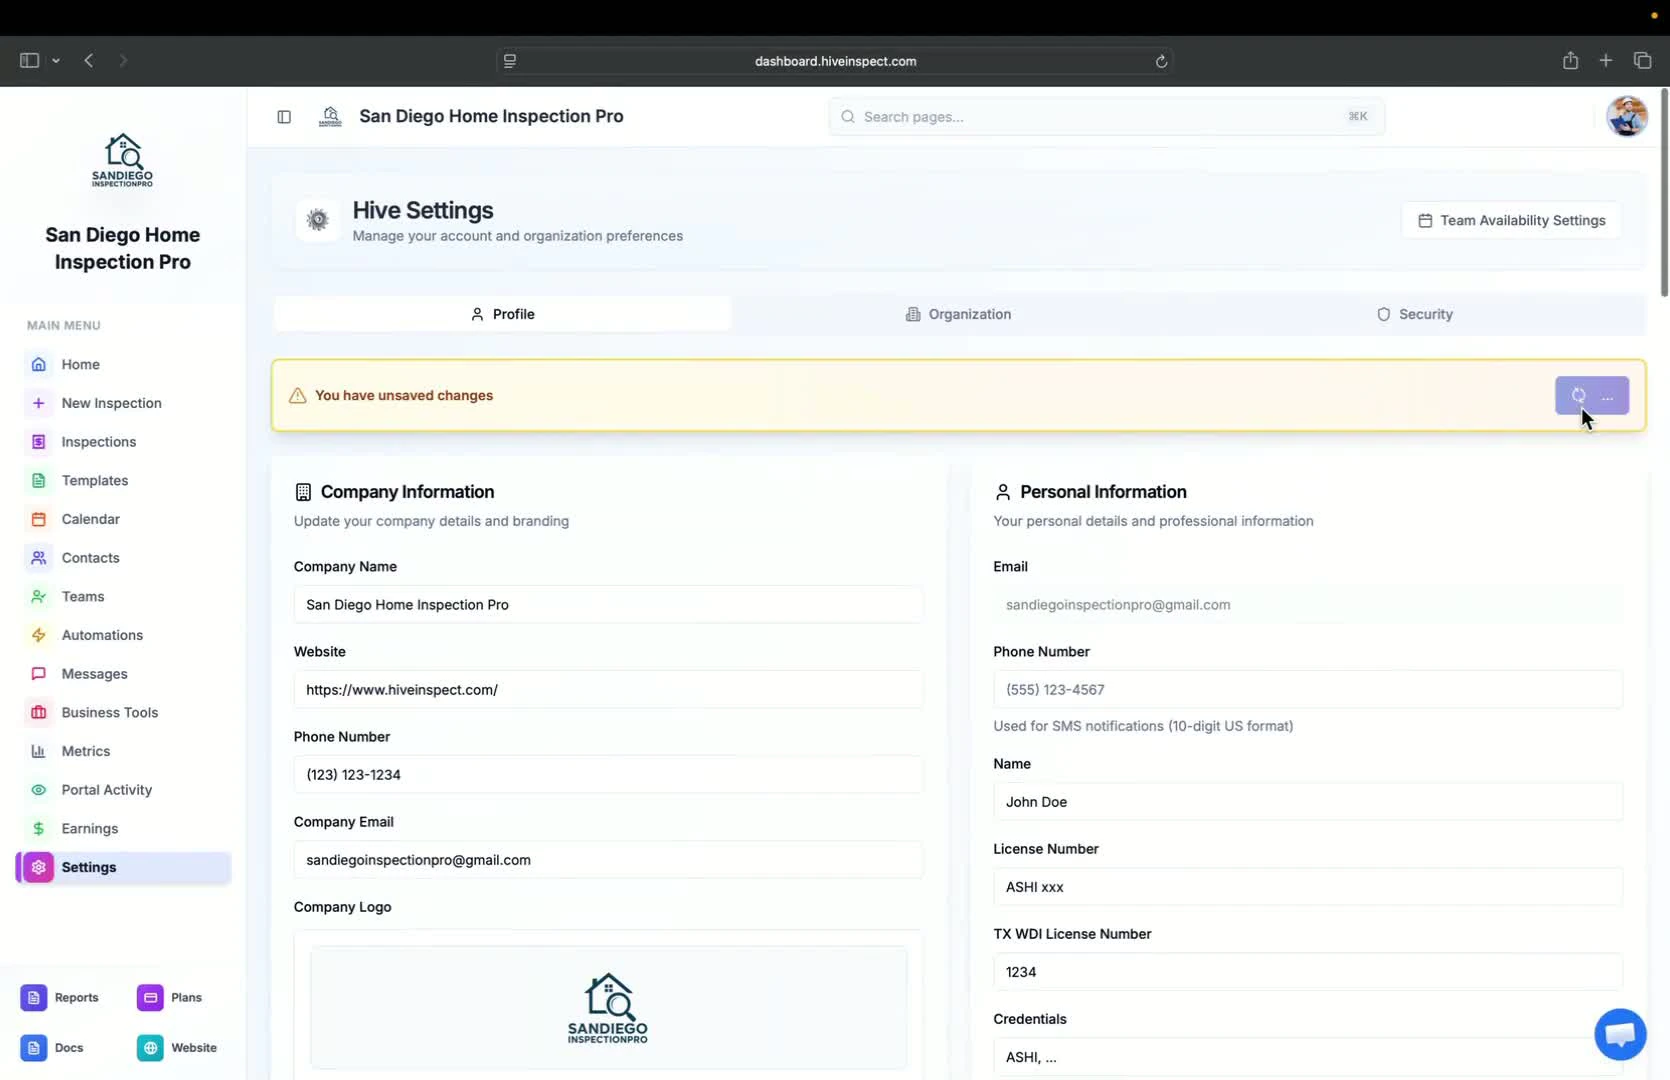
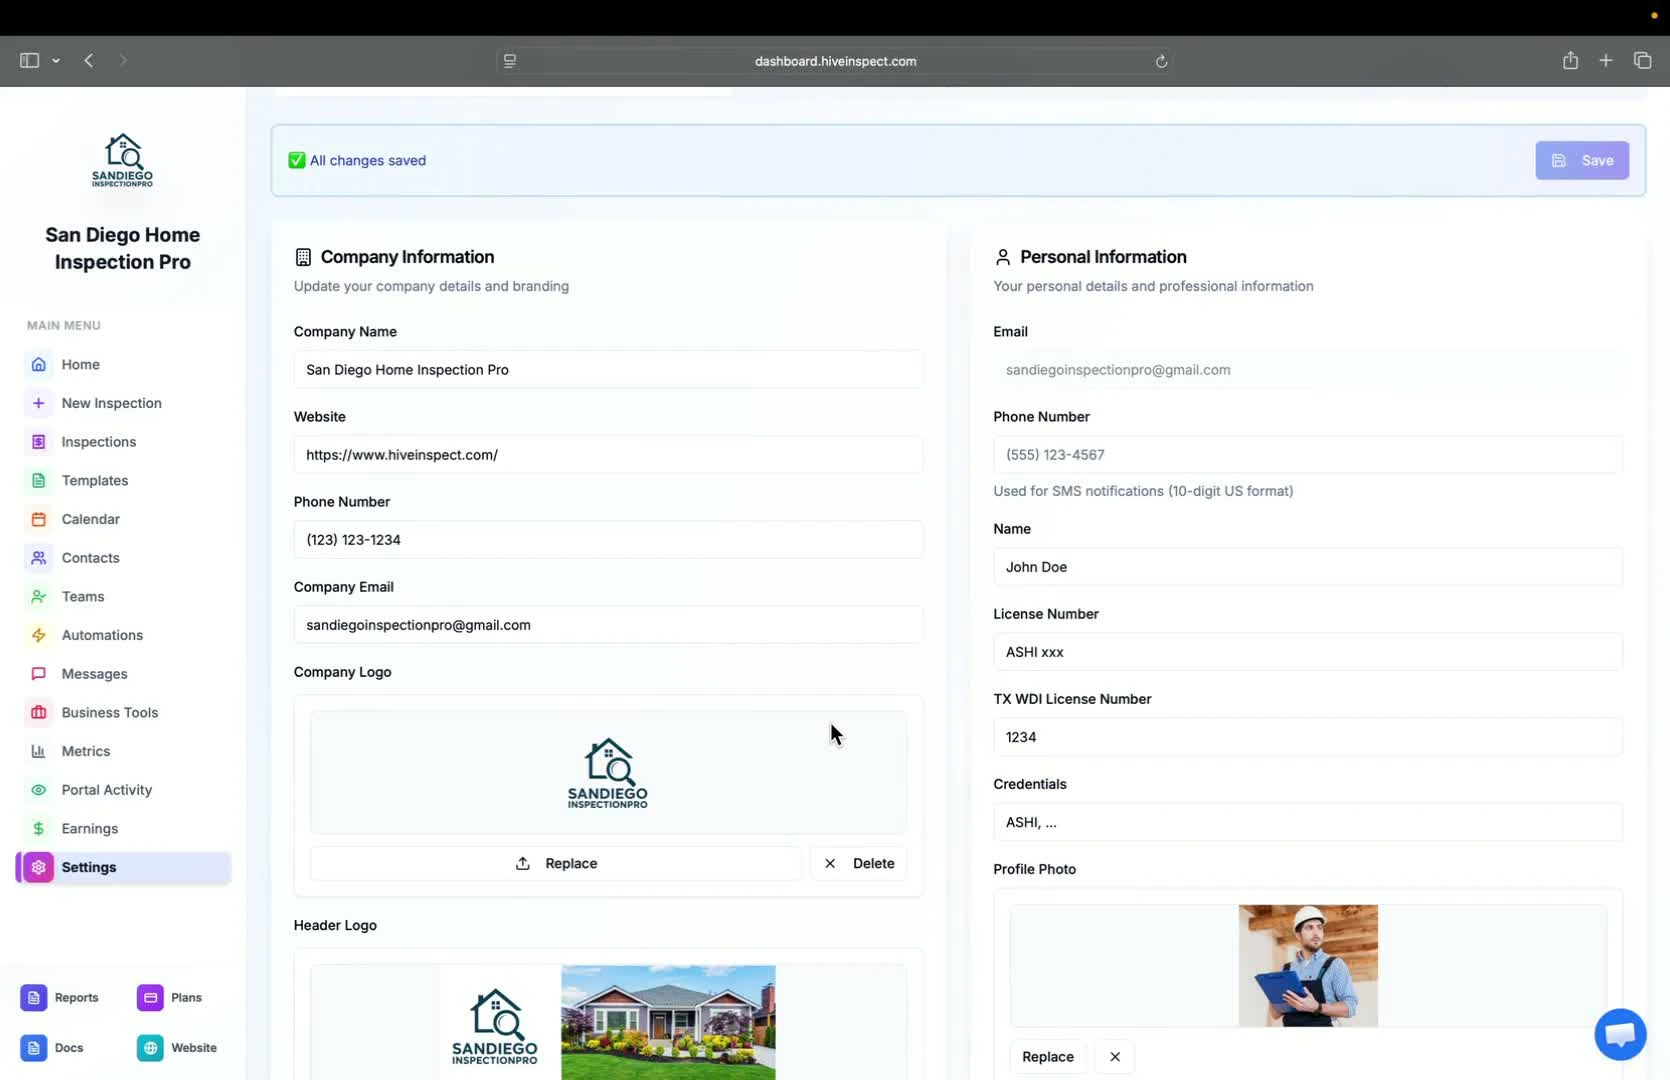
Fill in Your Information — 0:22
- Go to the settings page
- Enter the following information:
- Company name
- Business website
- Phone number
- Company email (for replies)
- Your name
- License number (e.g., Texas WDA license number)
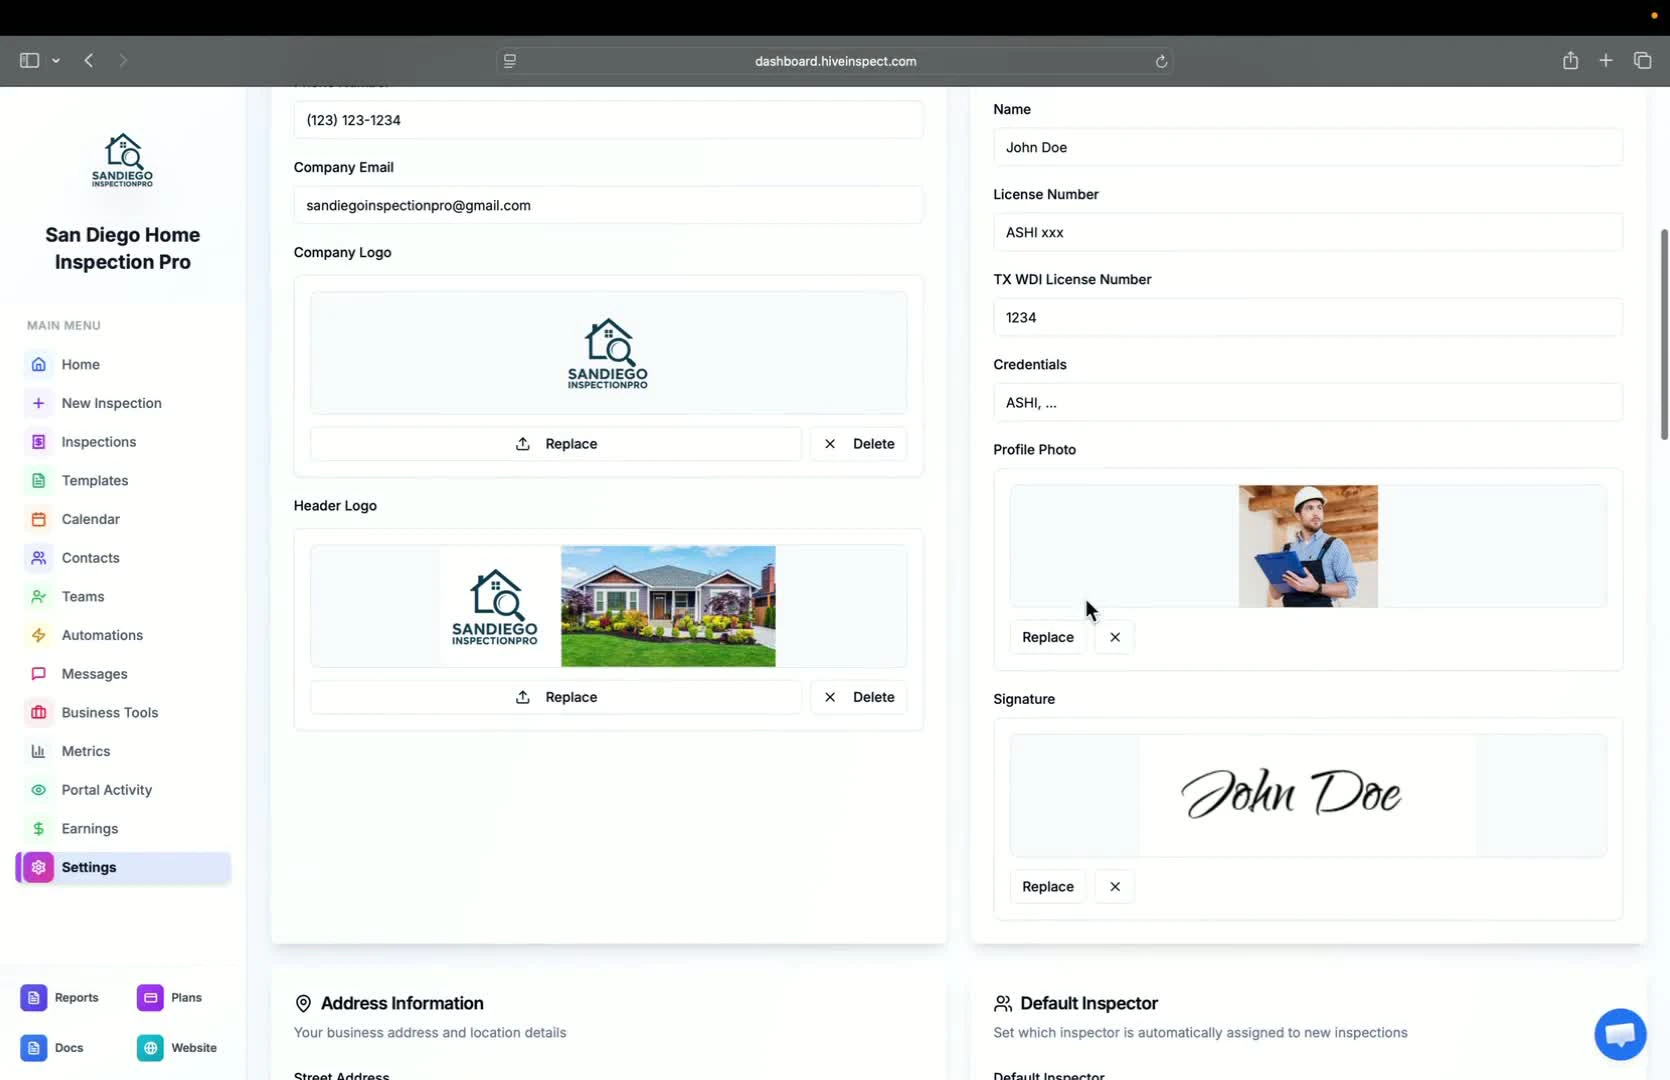
- Logos, profile photo, and signature
4
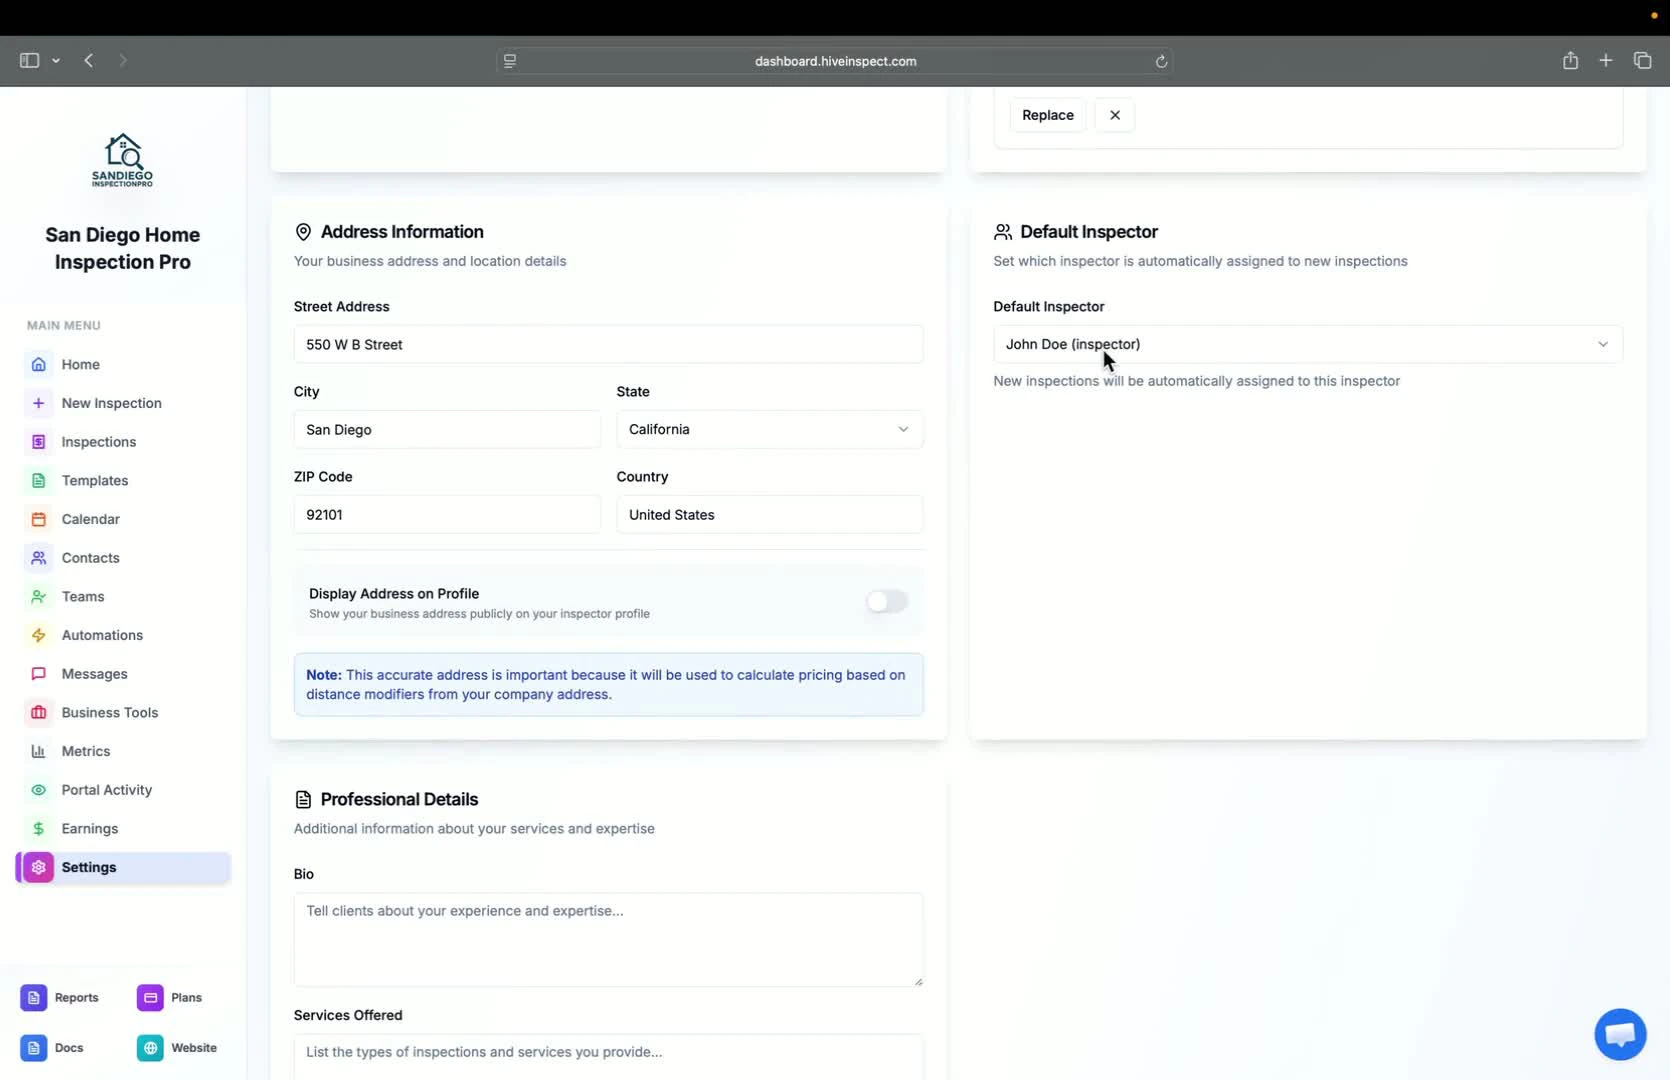
Address and Privacy Settings — 1:02
- Enter your address information (required for location-based modifiers)
- Decide whether to display your information publicly by toggling the display flag
5
Set Default Inspector — 1:34
- If you are a solo inspector, you will see one default inspector
- If you have multiple inspectors, select the default inspector
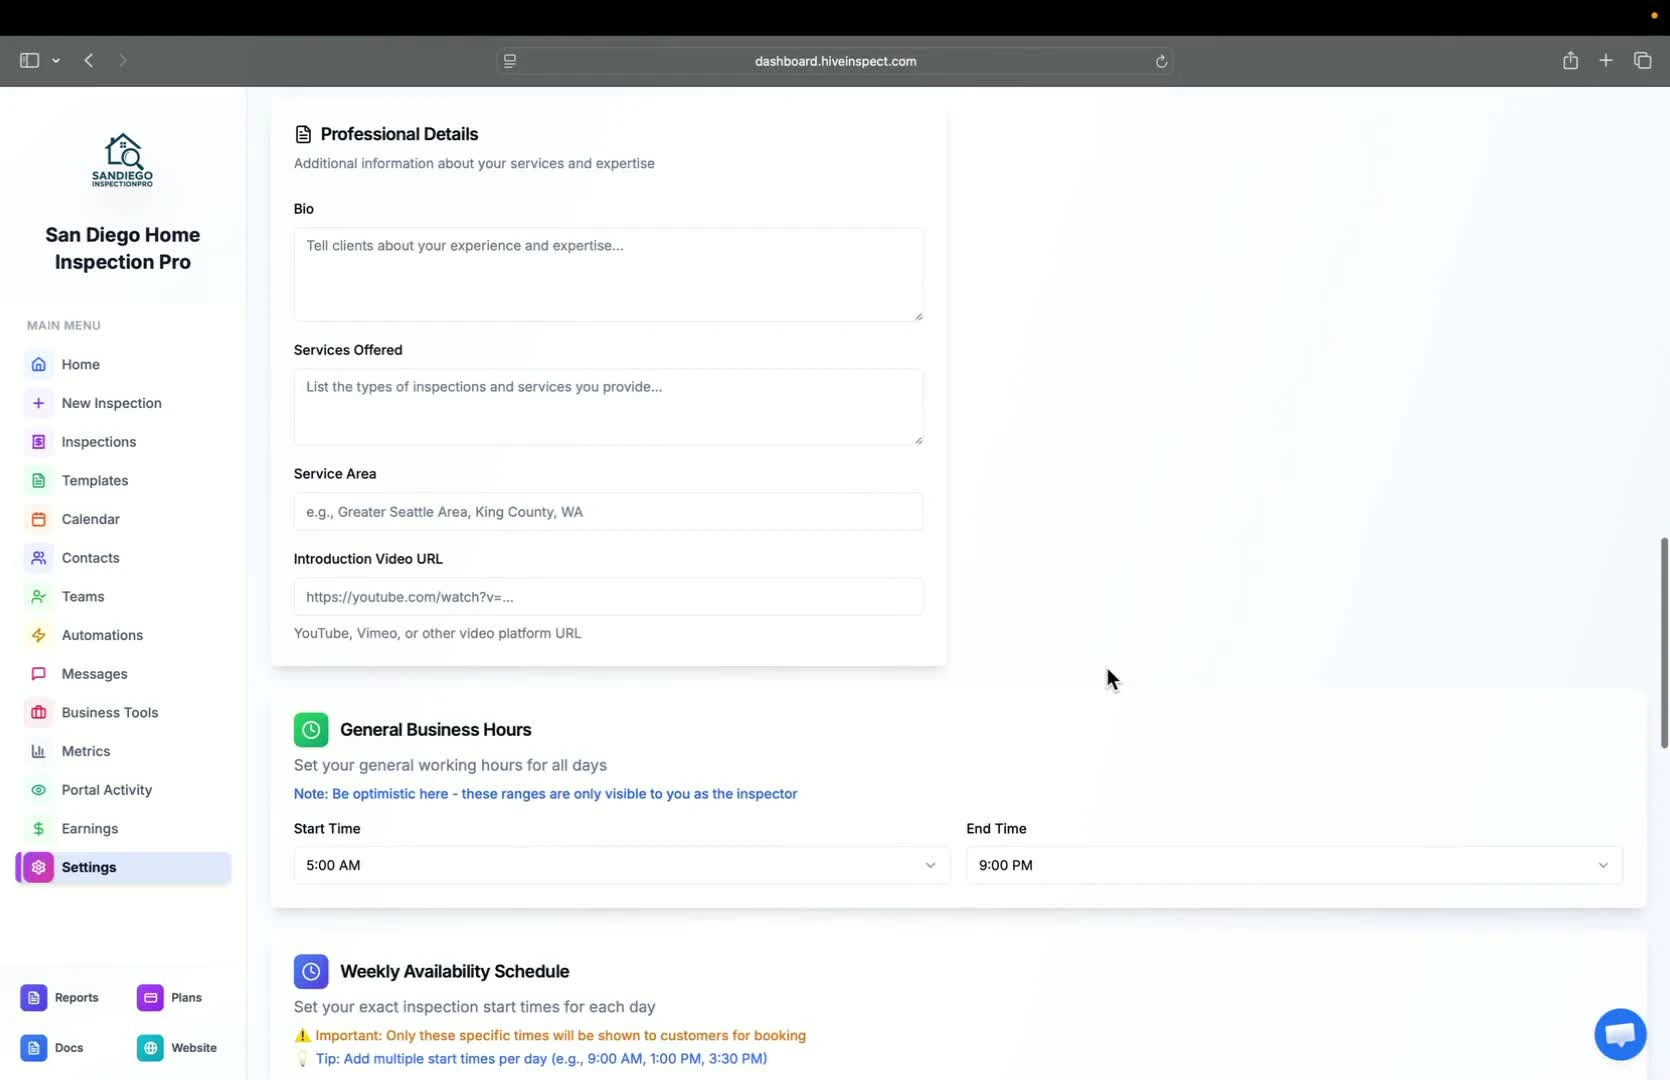
6
Configure Business Hours — 1:42
- Set two sets of business hours:
- Internal Use: Set hours from 5 a.m. to 9 p.m. (for your scheduling flexibility)
- Customer Booking: Select start times for your online scheduler widget
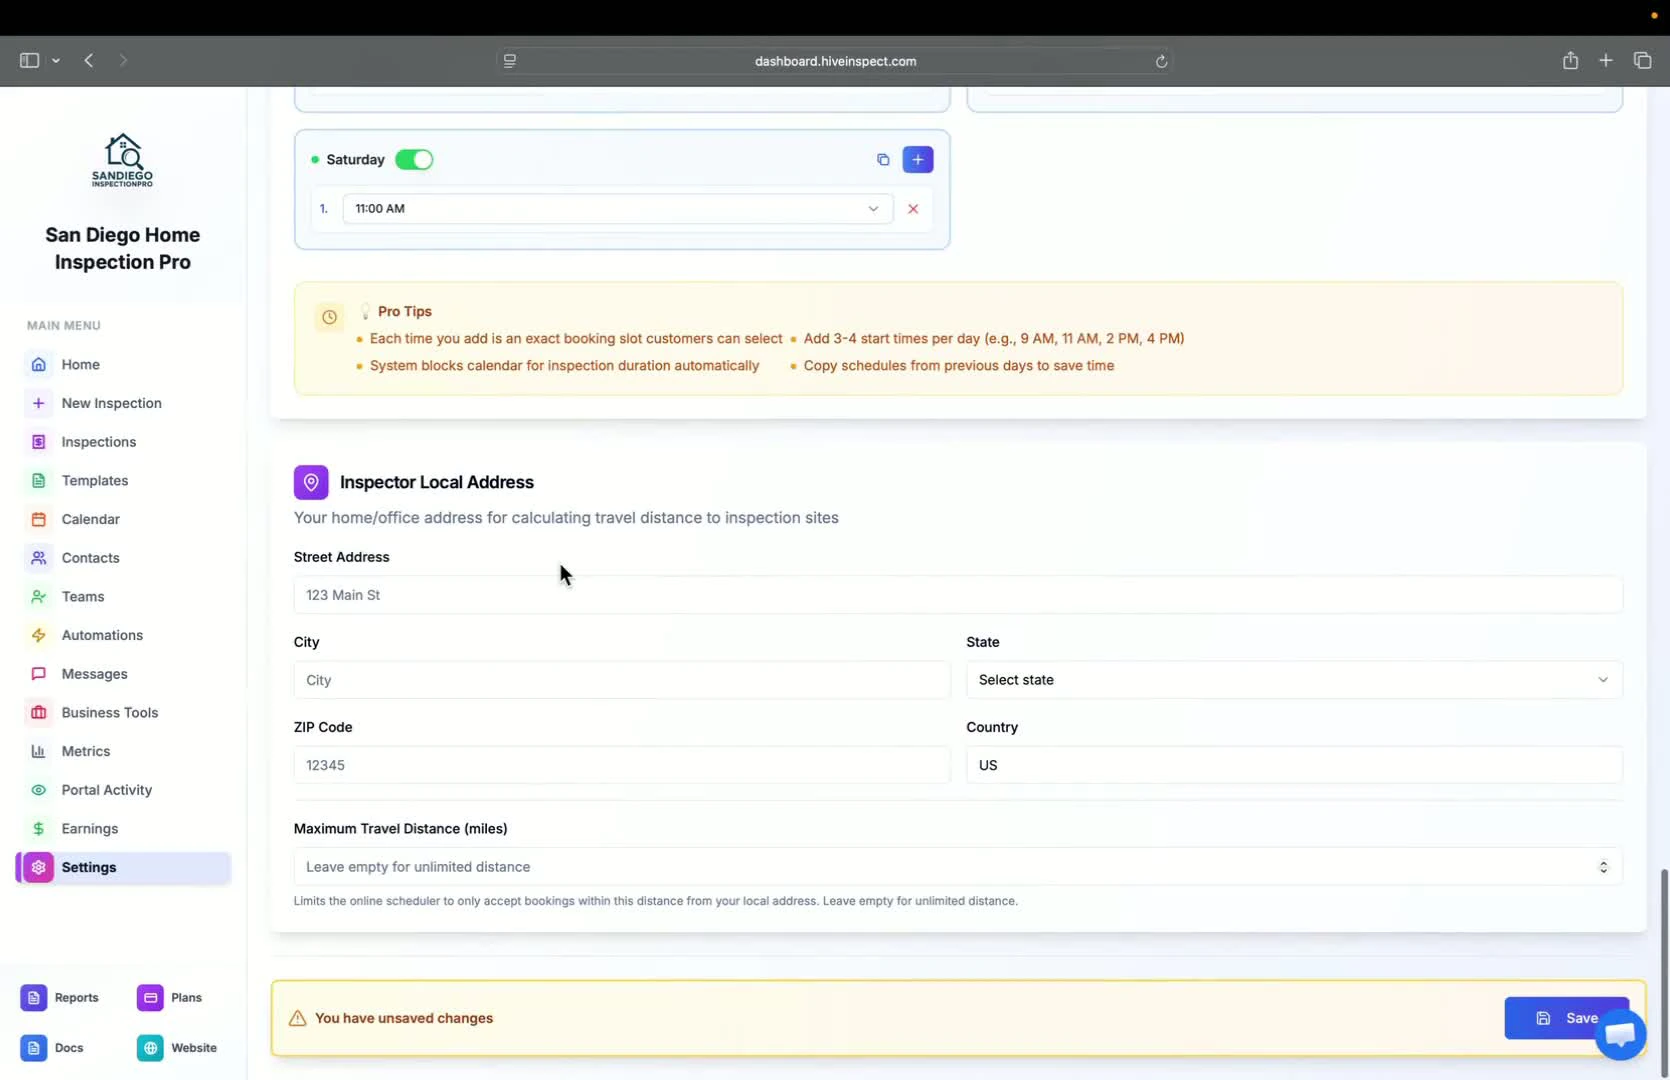
7
Save Changes — 2:28
- After entering all information and setting up your hours, click Save Changes
8
Completion — 2:38
- You have successfully set up your Hive Inspect account!