

Video Tutorial
Using Web Editor for Inspection Reports
1
Introduction to Web Editor — 0:00
- Overview of using Web Editor to add or update information
- Assumes prior inspection was completed using a mobile app

2
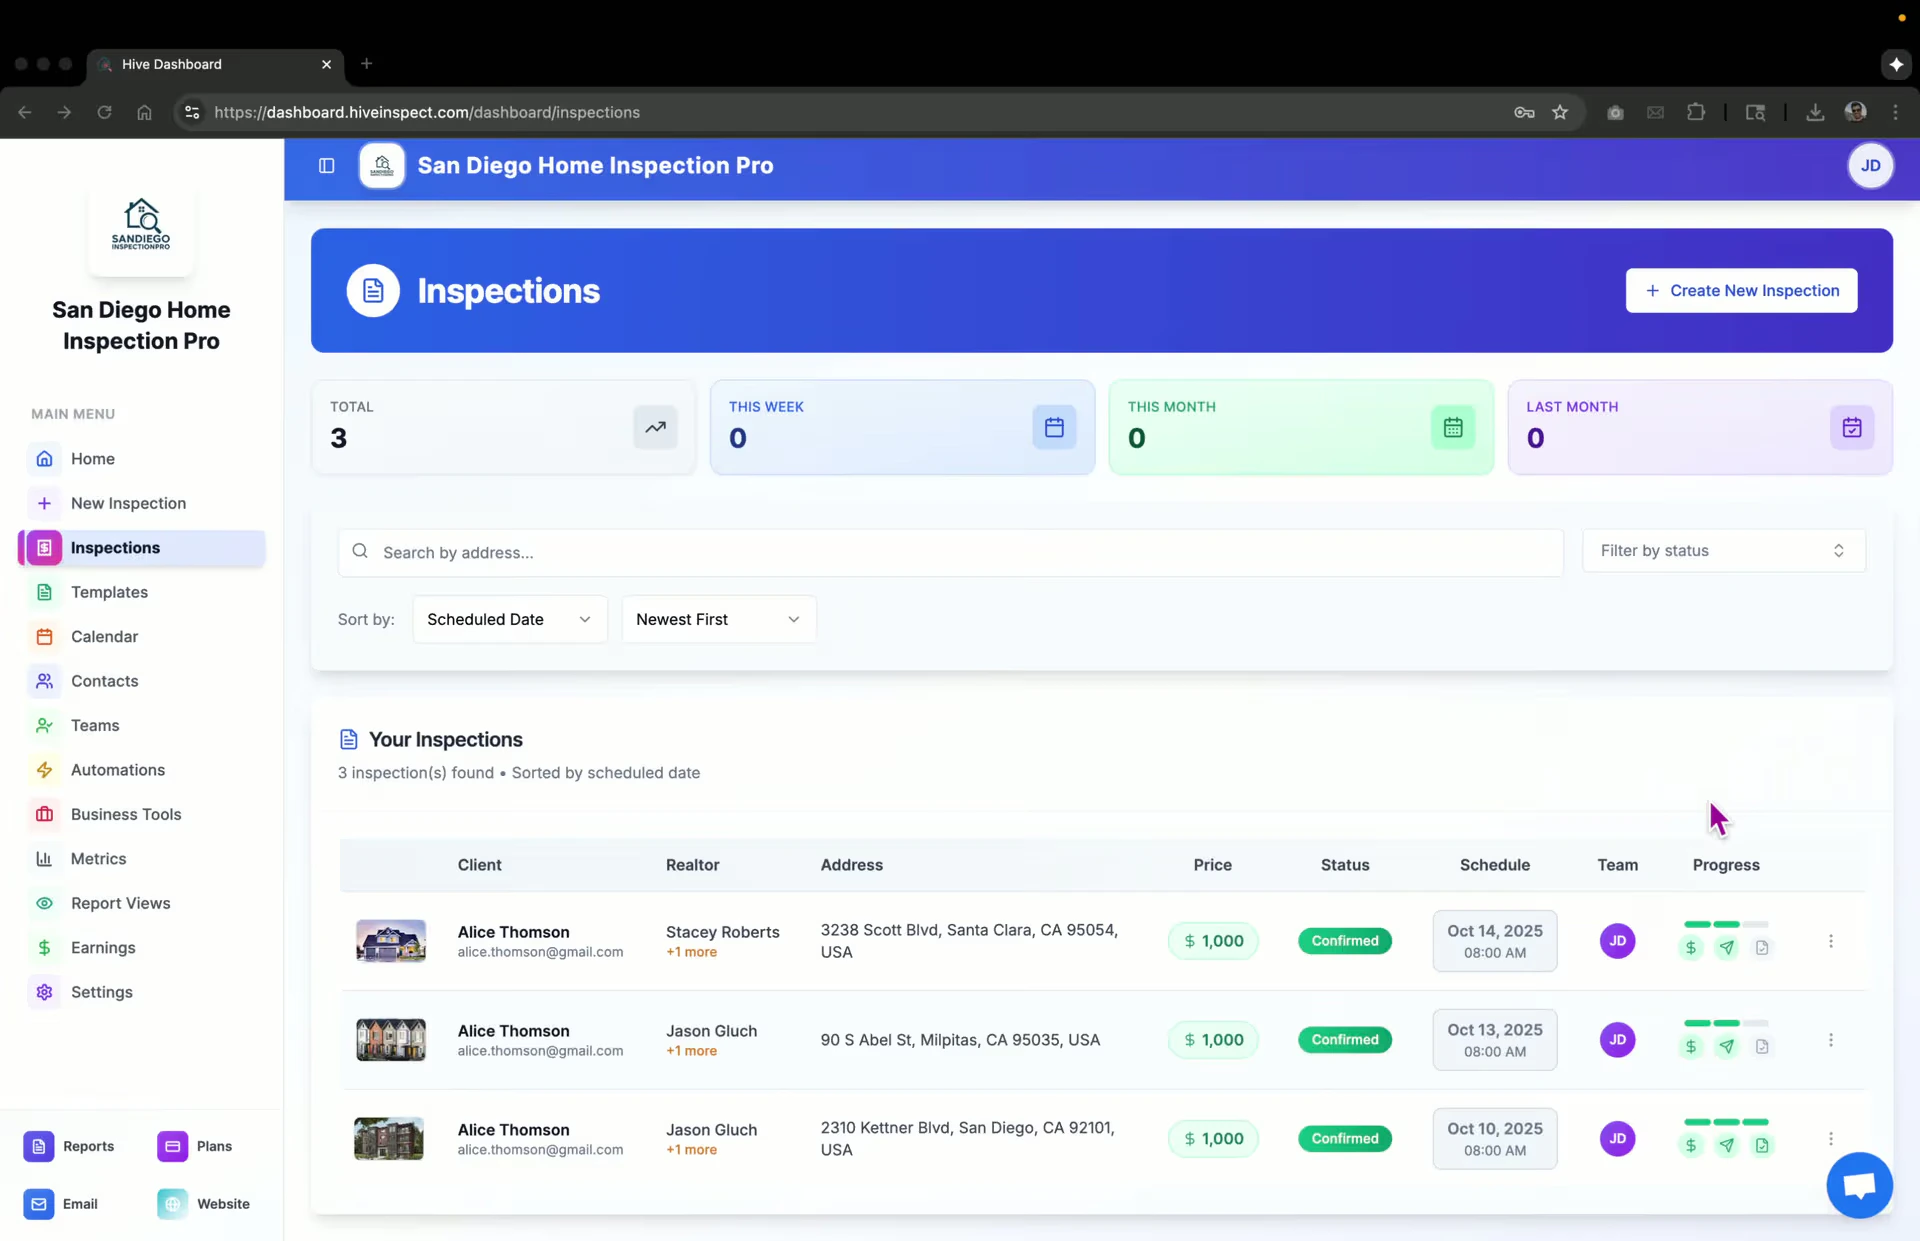
Accessing Inspections — 0:11
- Go to your dashboard
- Click on Inspections
- Locate the inspection you want to edit

3
Editing Reports — 0:24
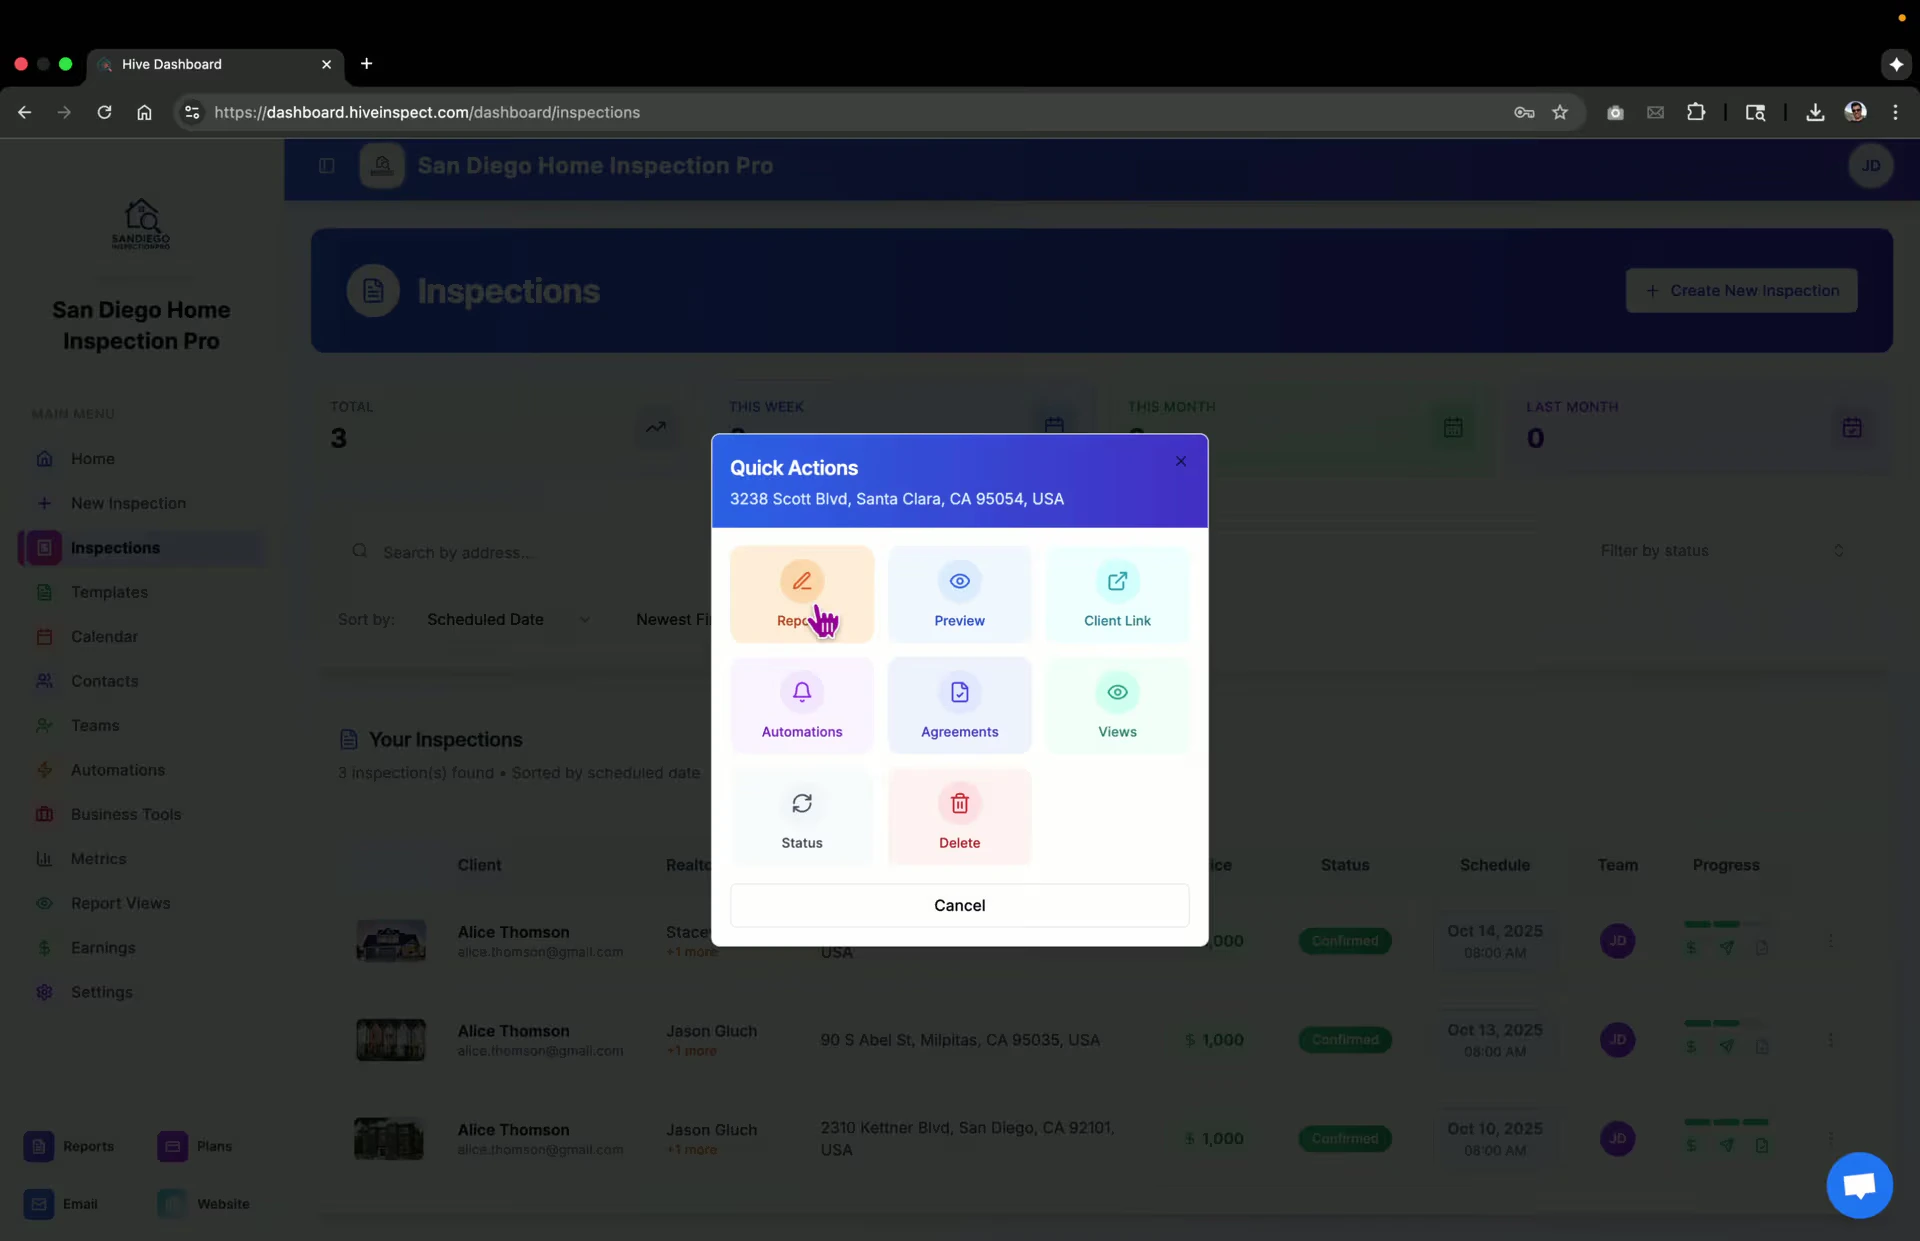
- Click on the three dots next to the inspection
- Select Reports
- Alternatively, click Edit Reports from the inspection management page
4
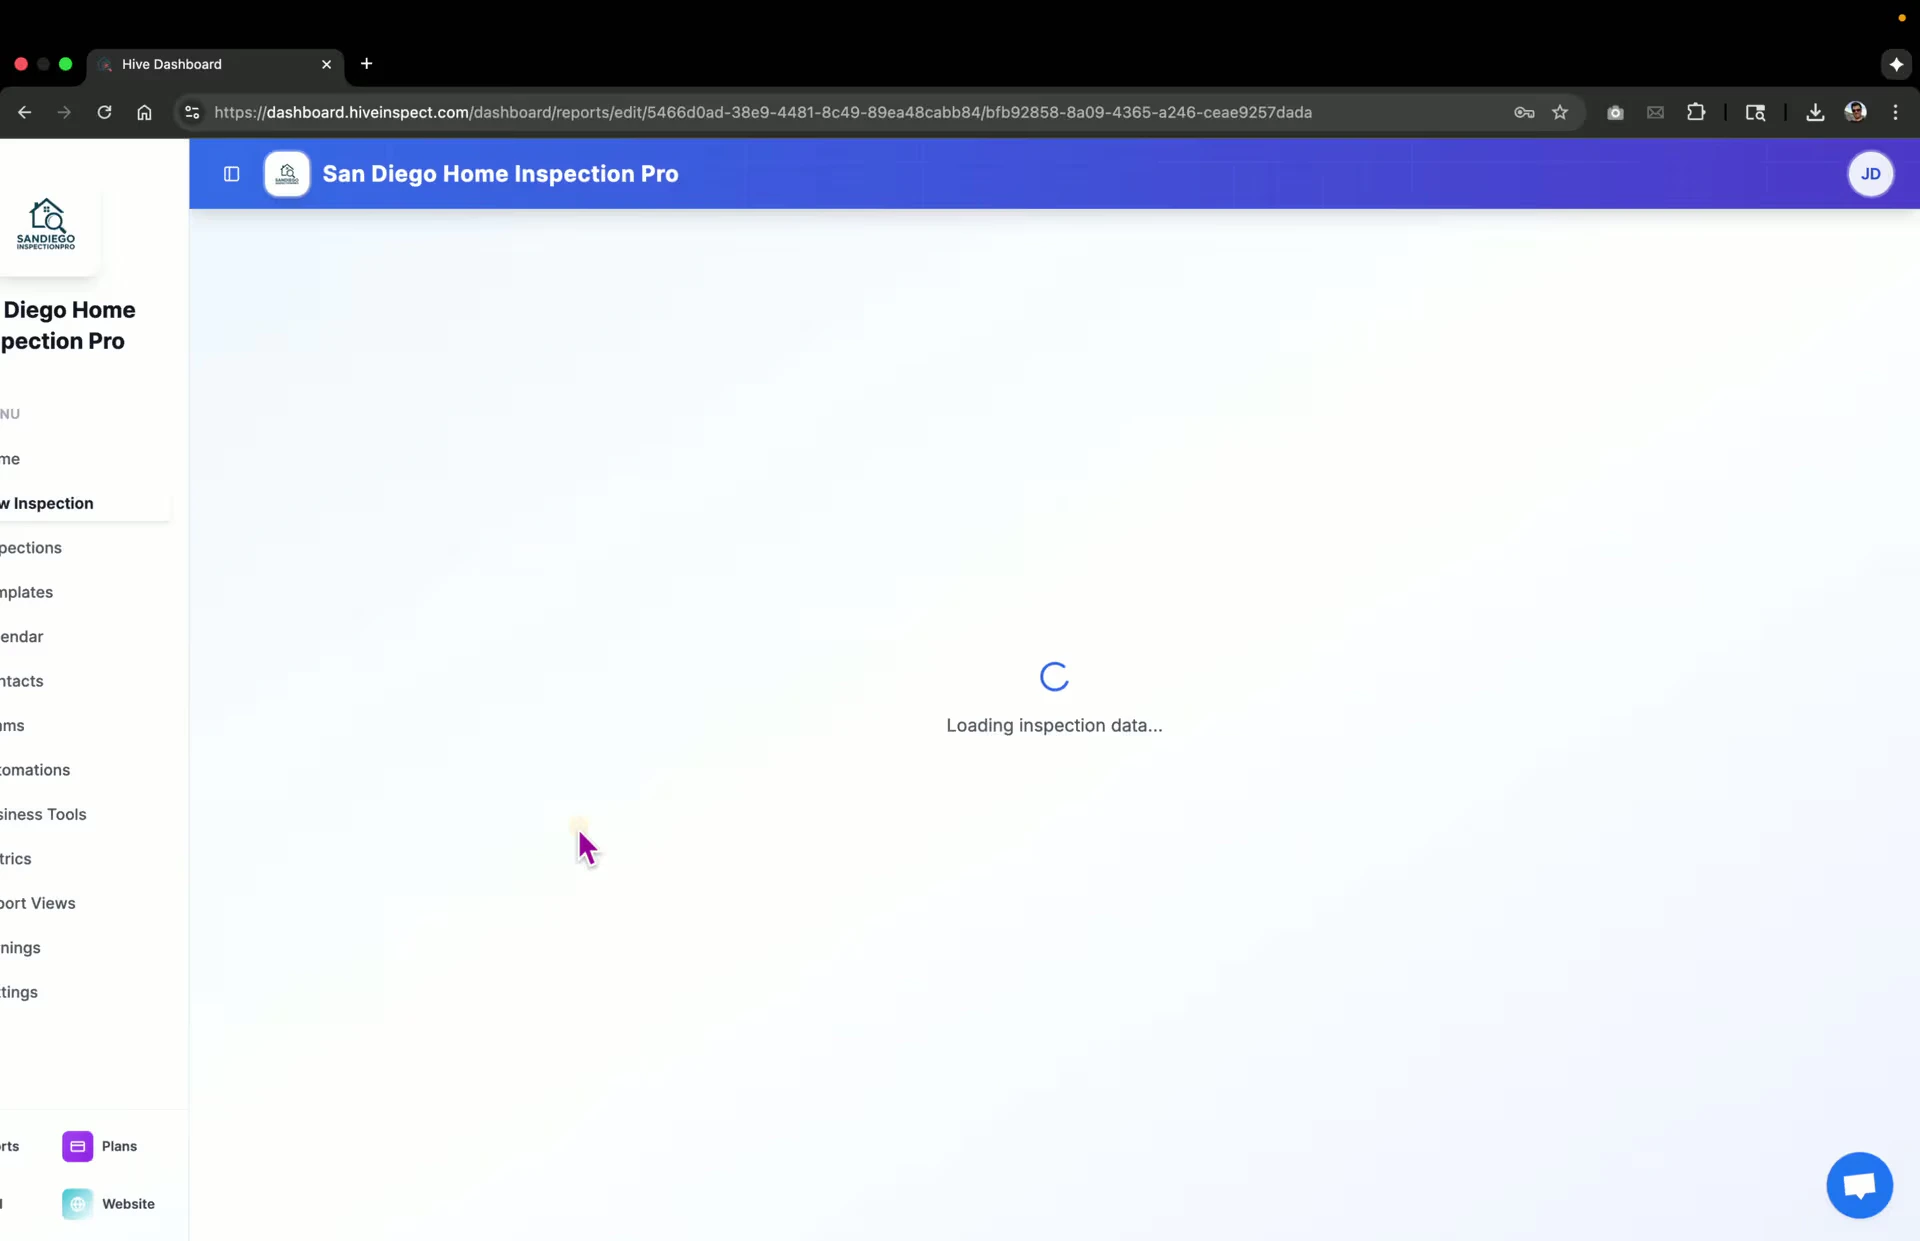
Adding or Updating Reports — 0:36
- View the list of templates/reports for the selected inspection
- To add a new report, click Add Report
- To edit an existing report, click Edit
5
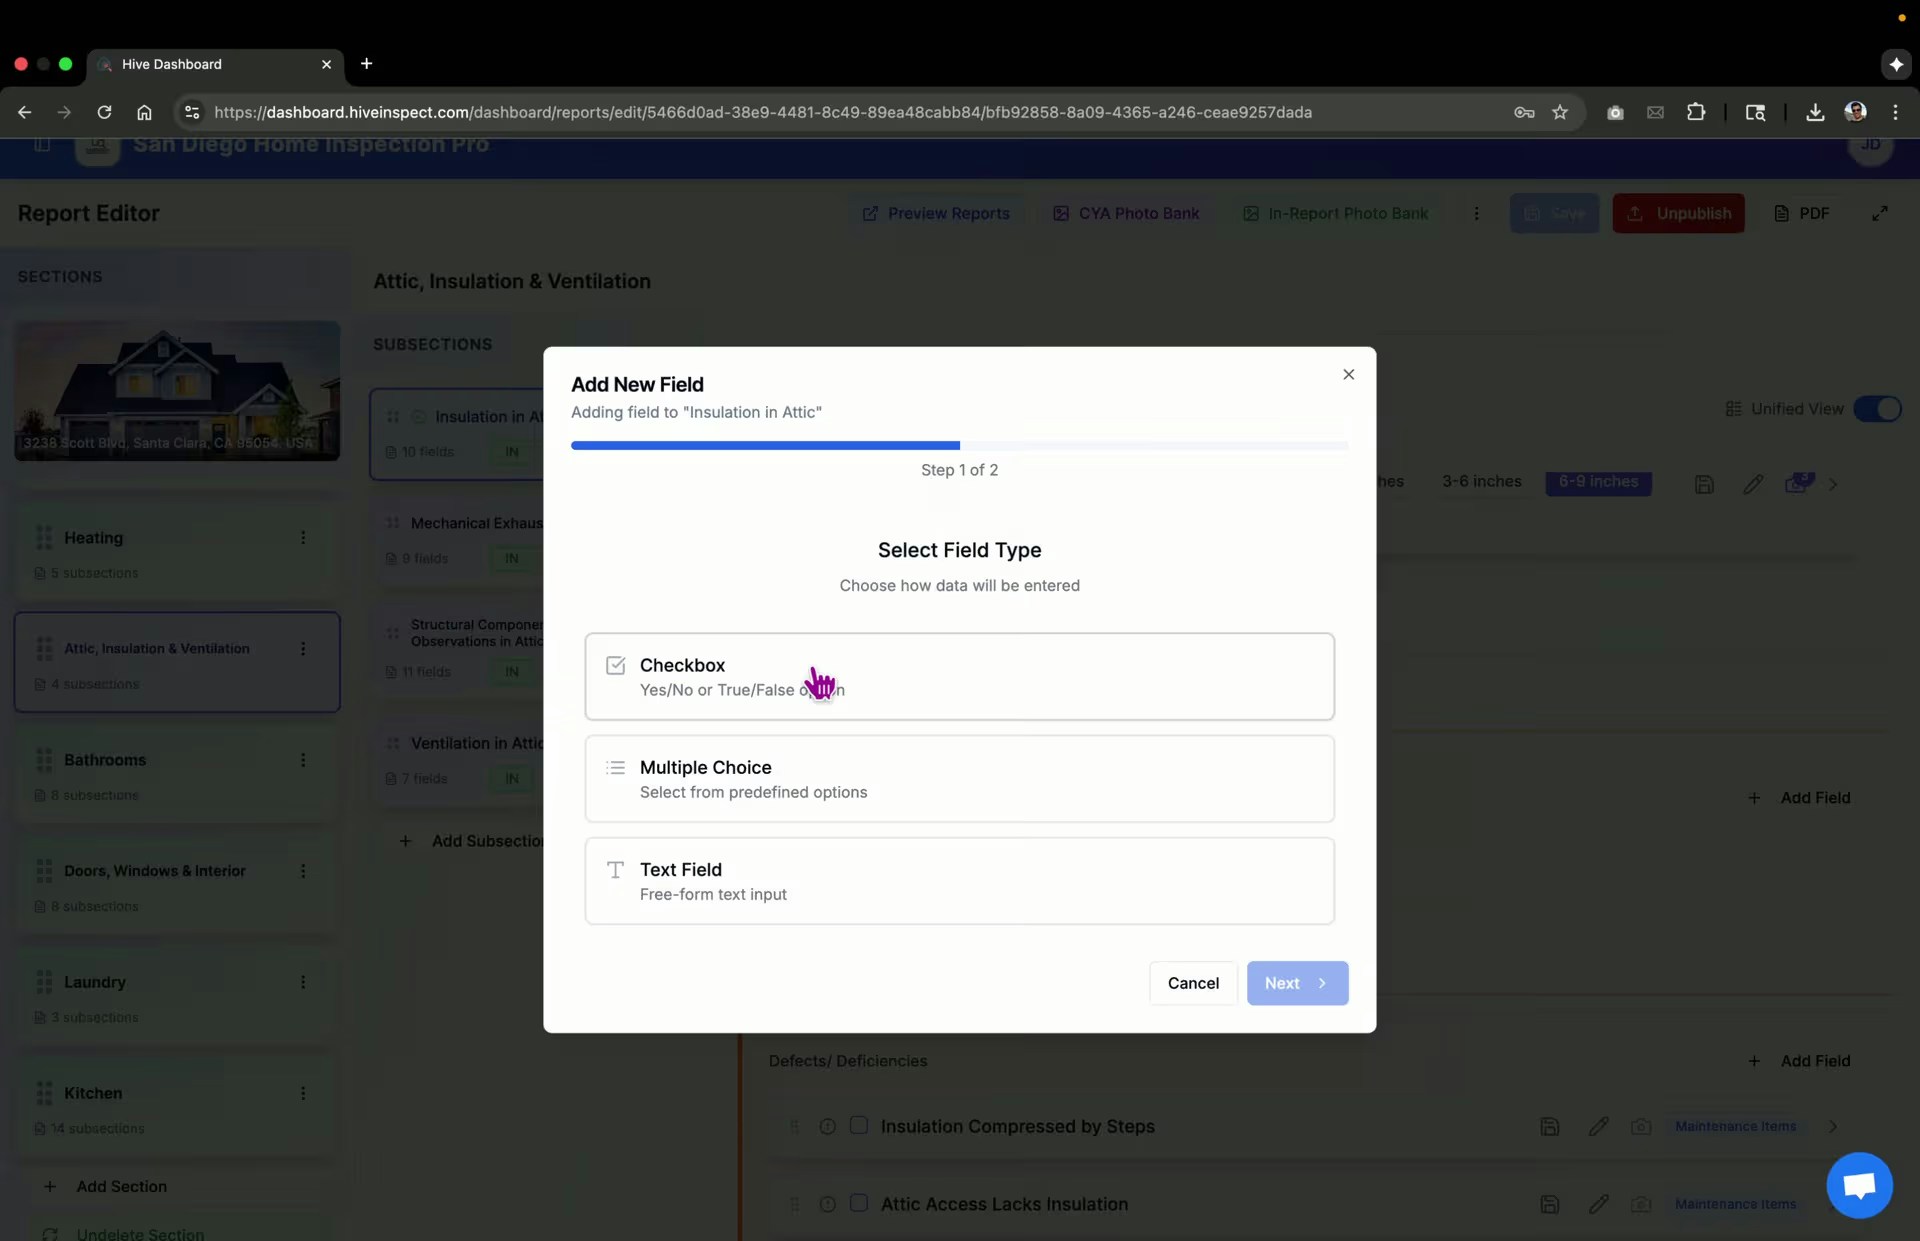
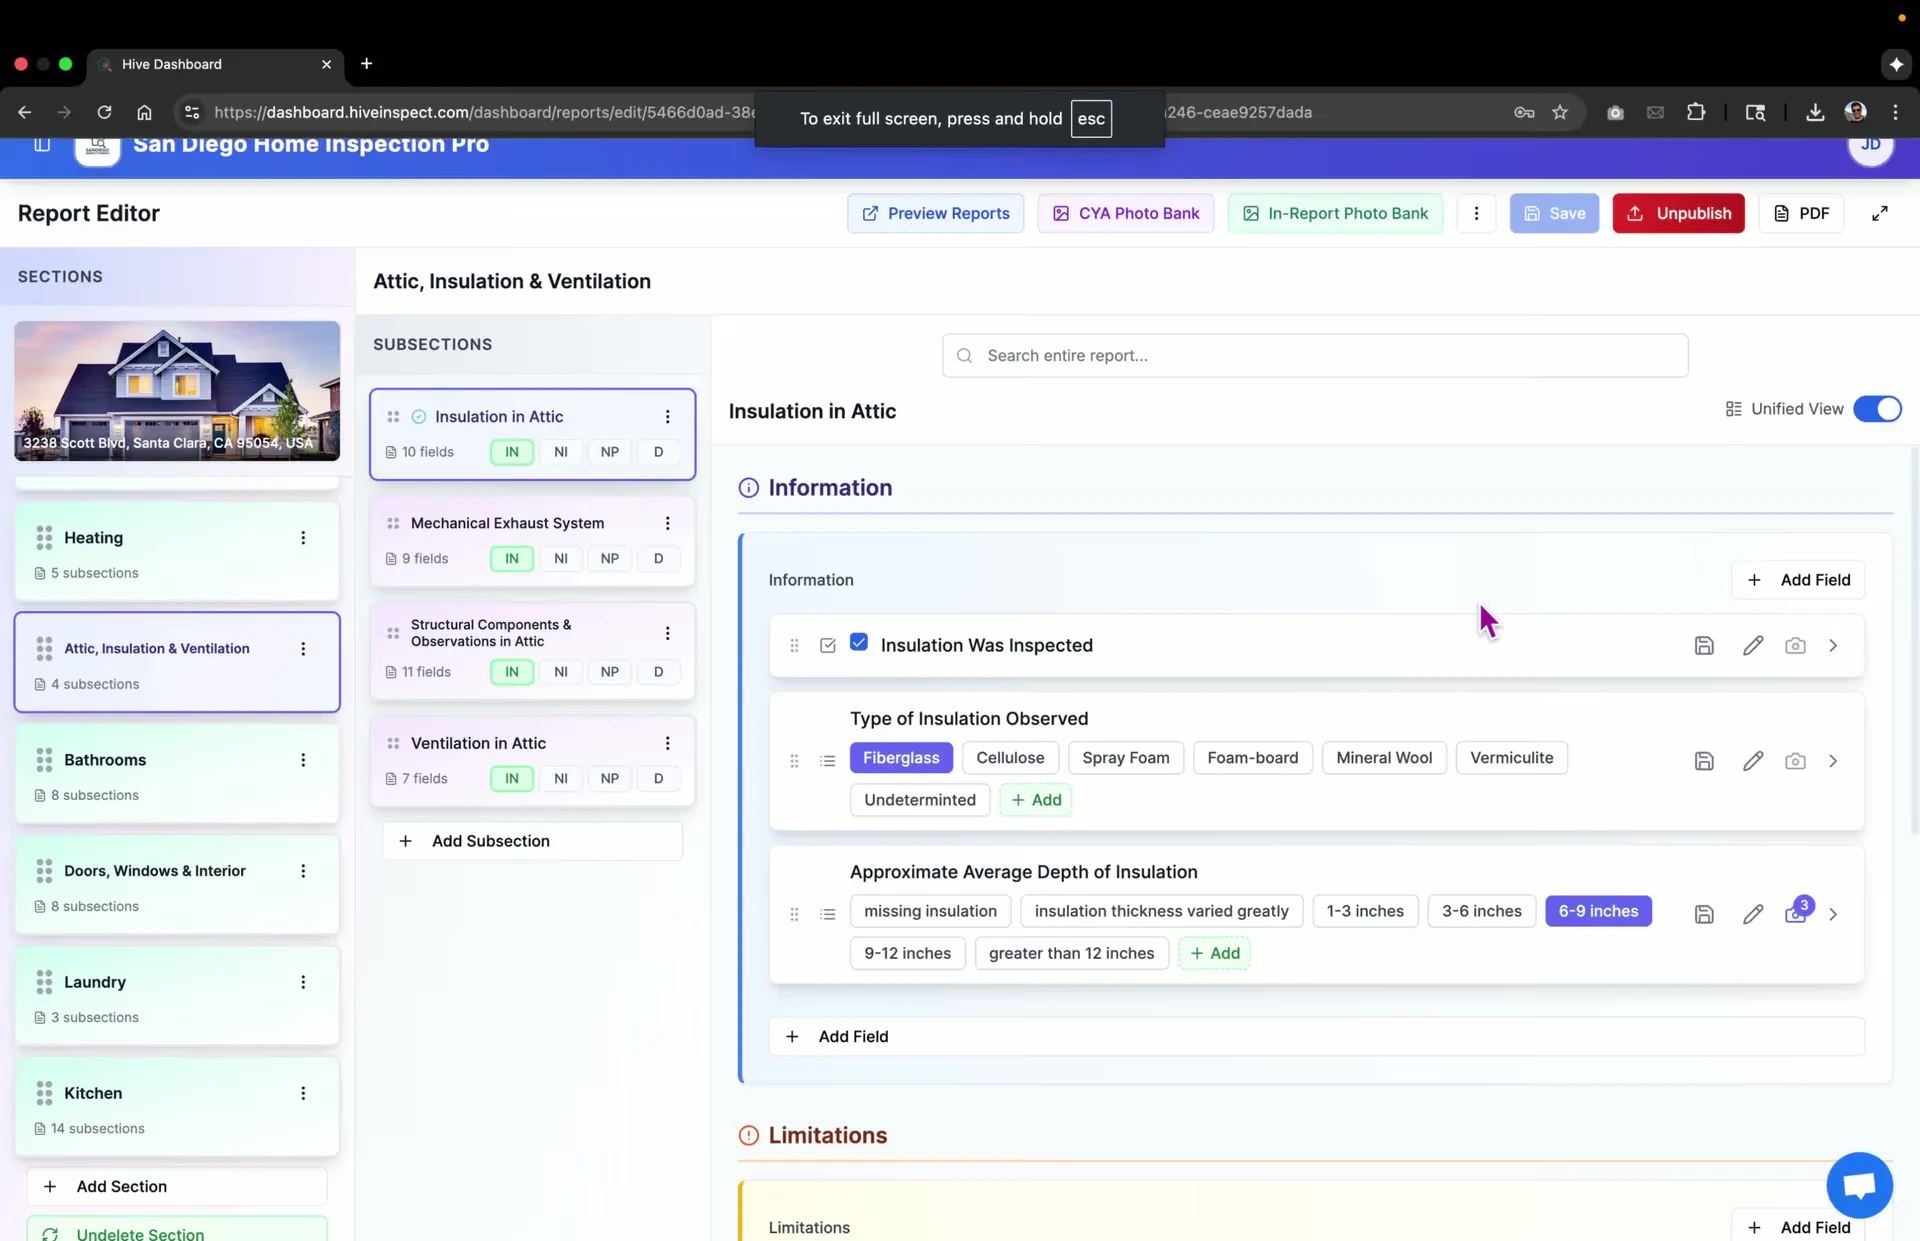
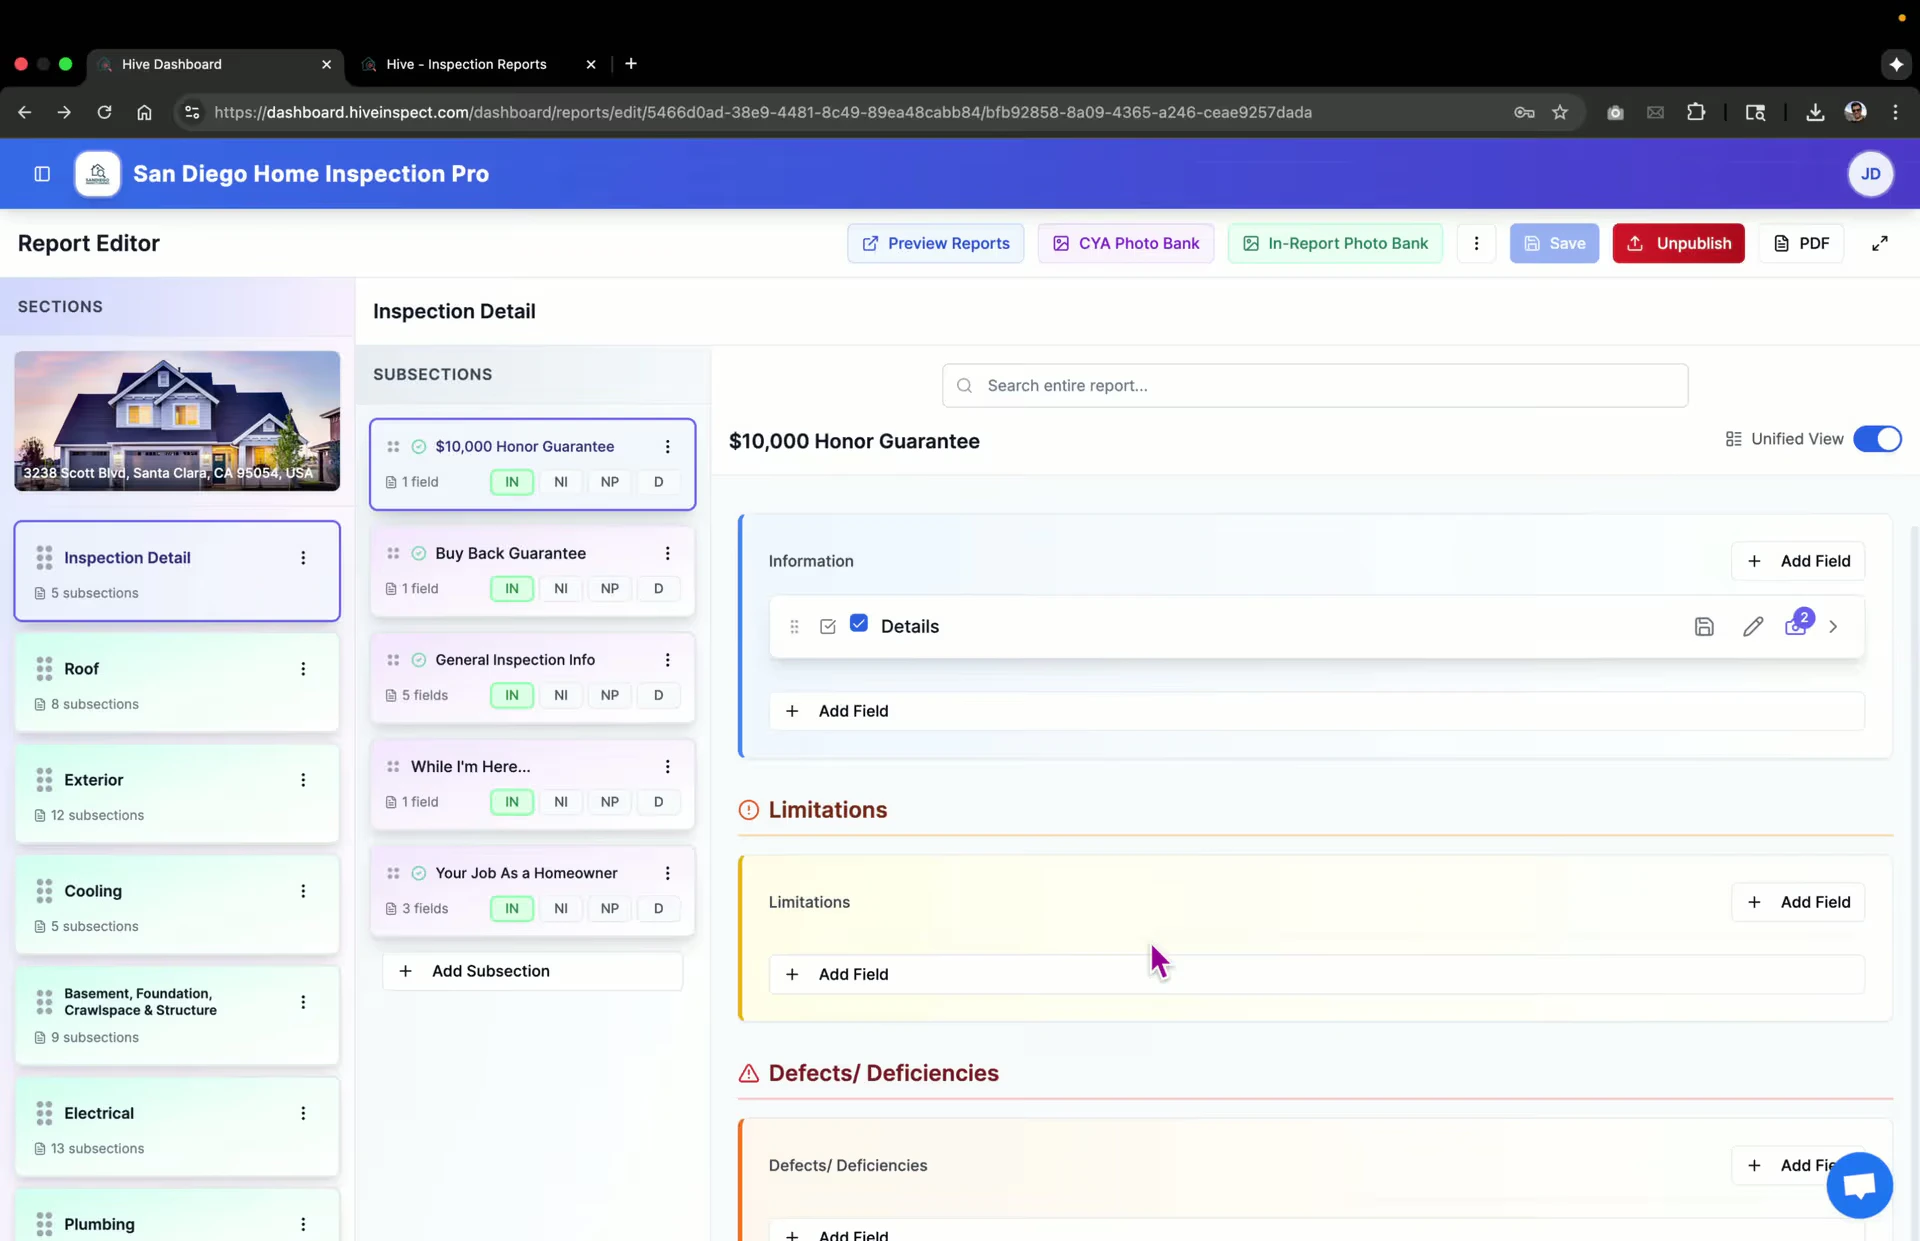
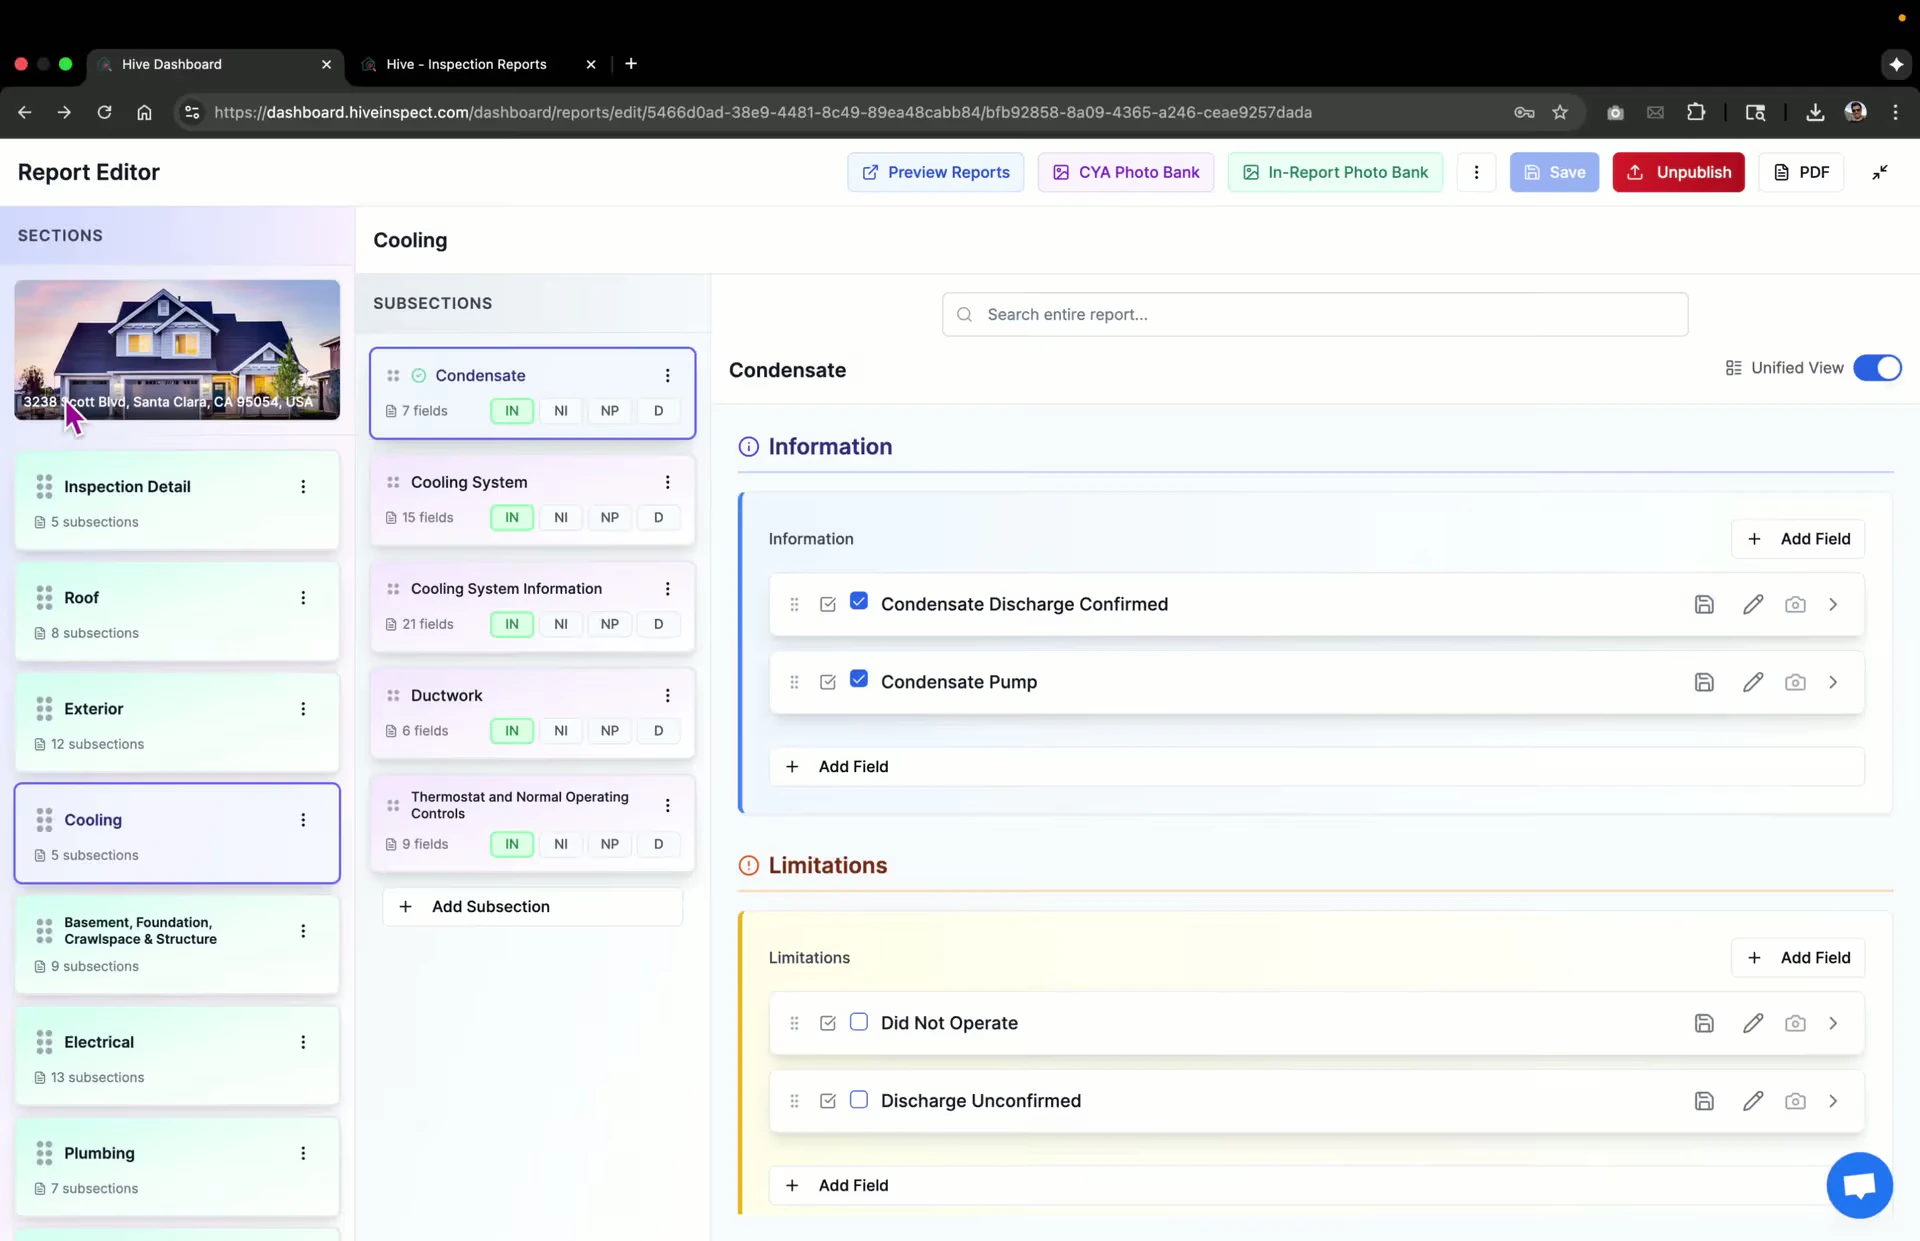
Navigating the Web Editor — 1:09
- Sections and subsections are displayed on the left
- Various fields are available for input, including checkbox items
6
Adding Images — 1:29
- Upload images captured (e.g., from a drone) by multi-selecting files from your laptop
- Uploaded images will update the count and check relevant fields automatically
7
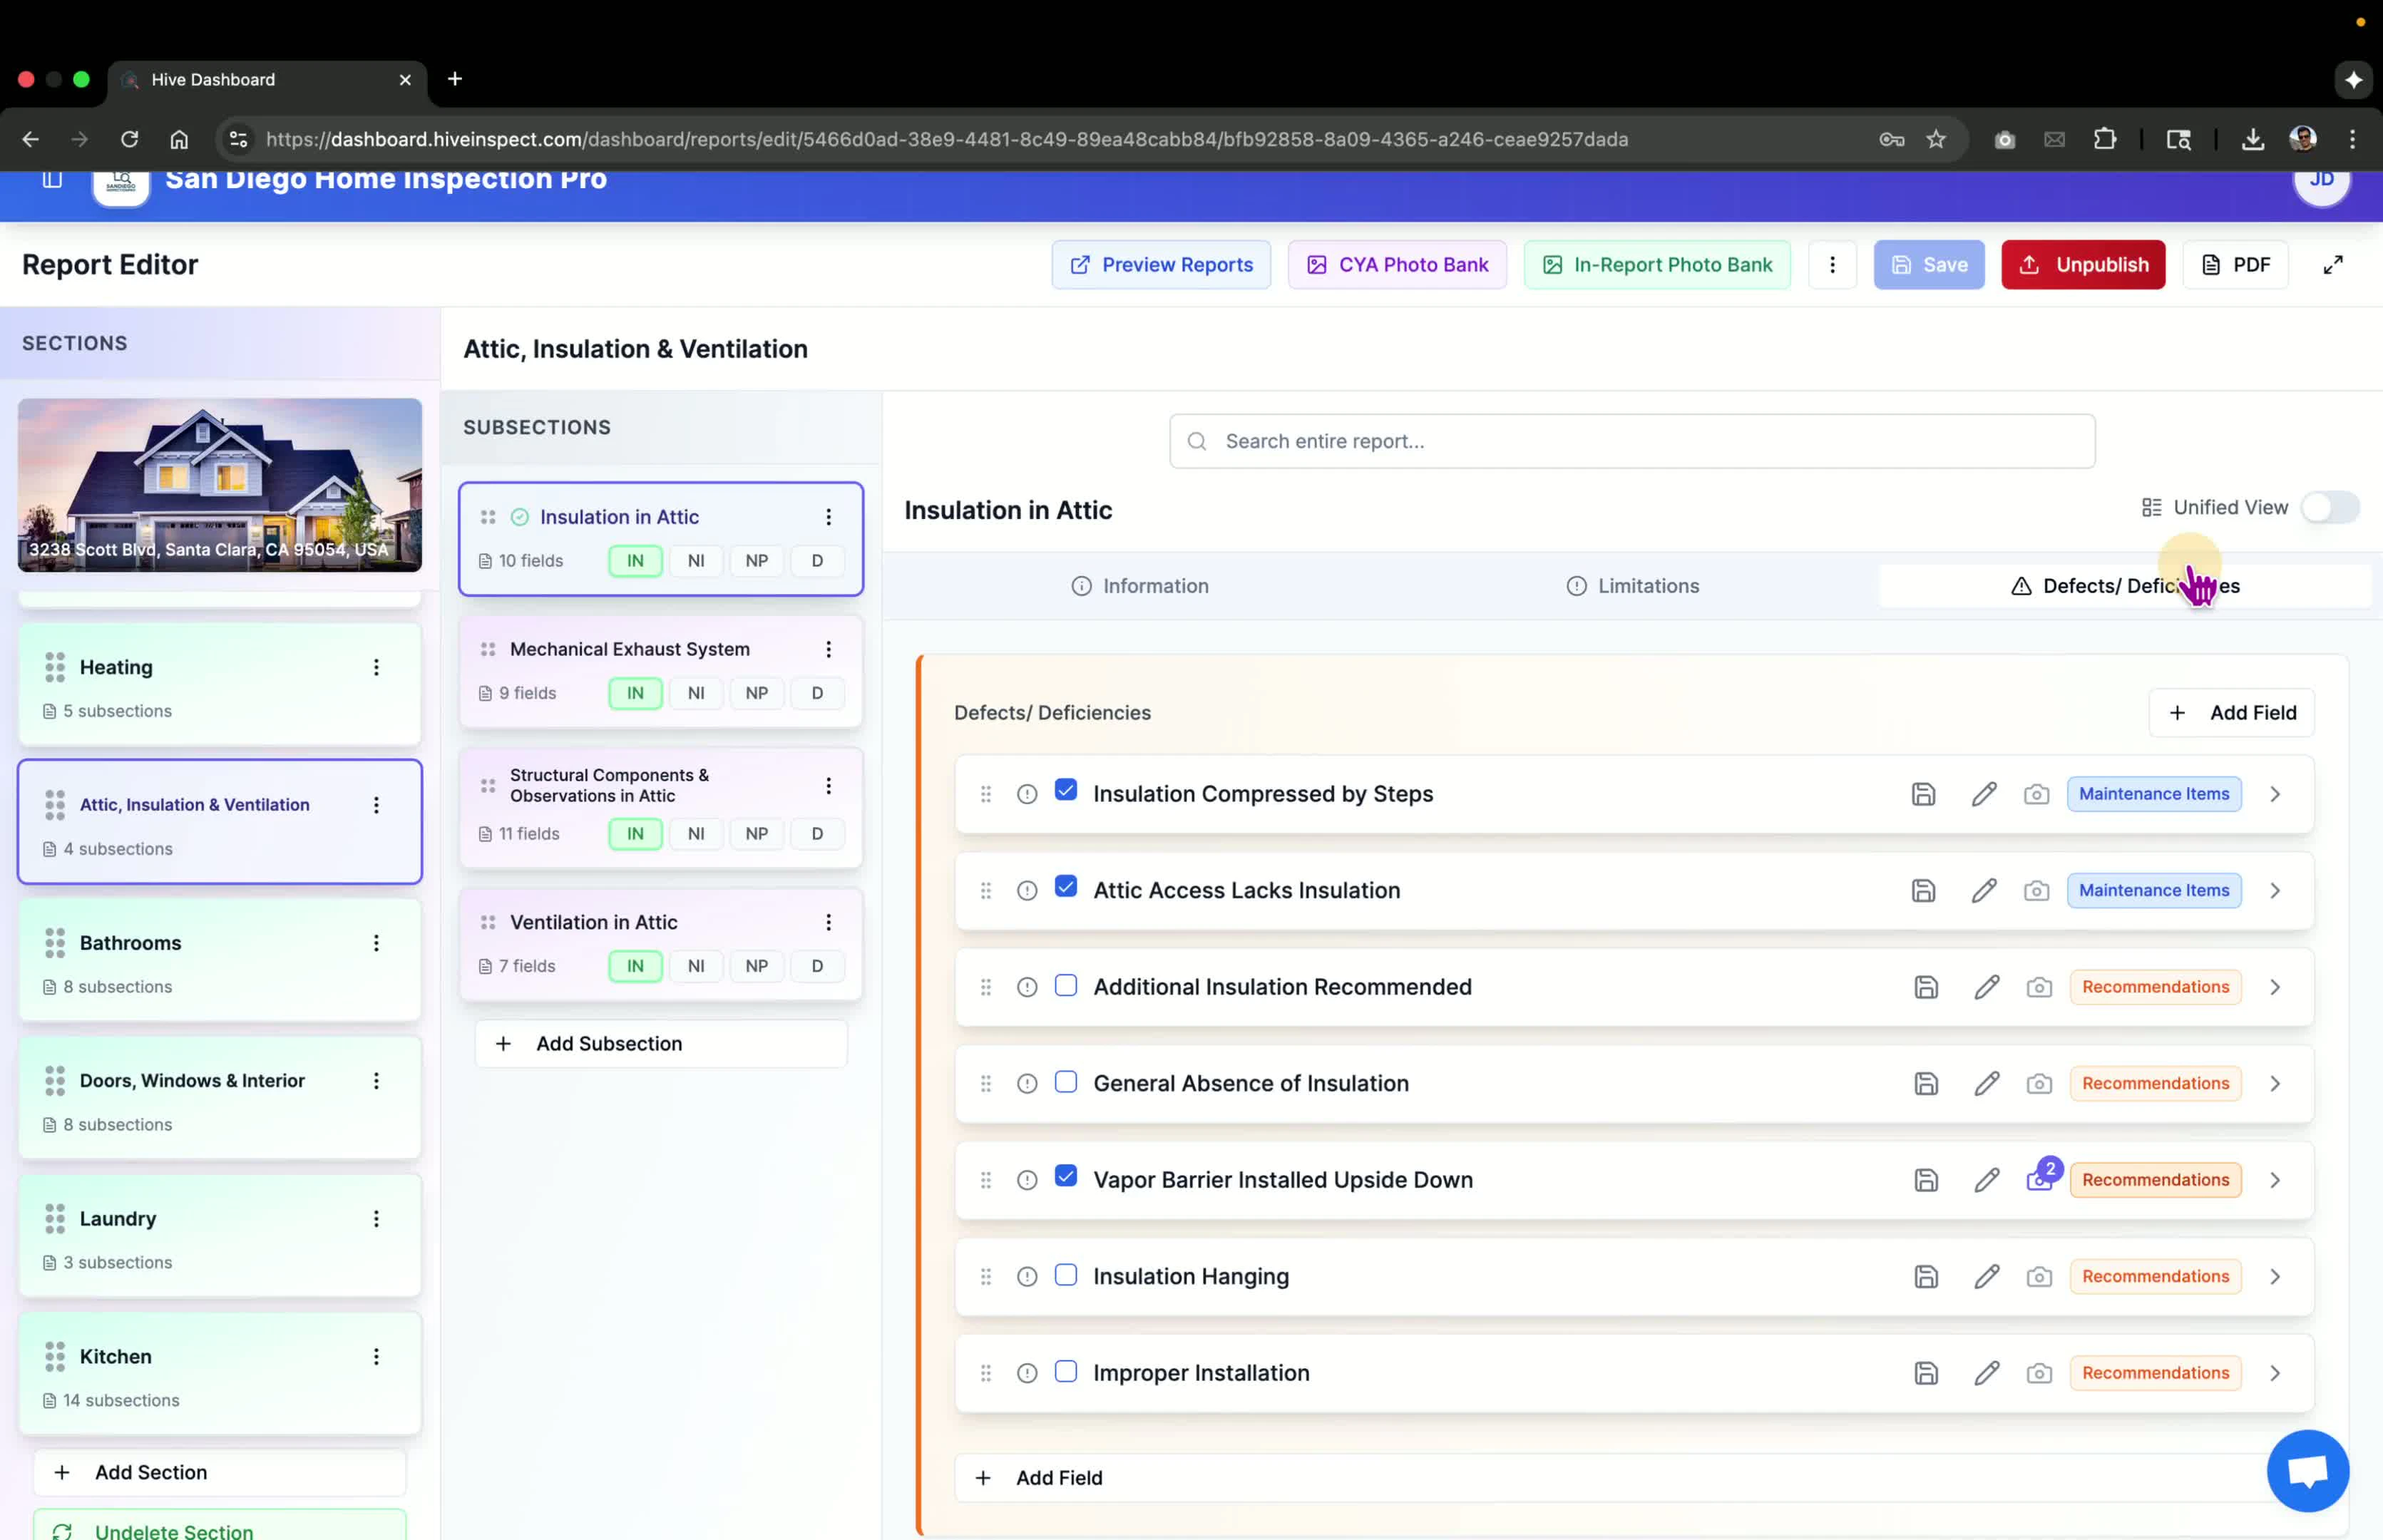
Viewing Report Components — 2:02
- Toggle between sequential and side-by-side view of report components
8
Using Ratings — 2:11
- Enable basic ratings from the template editor if needed
9
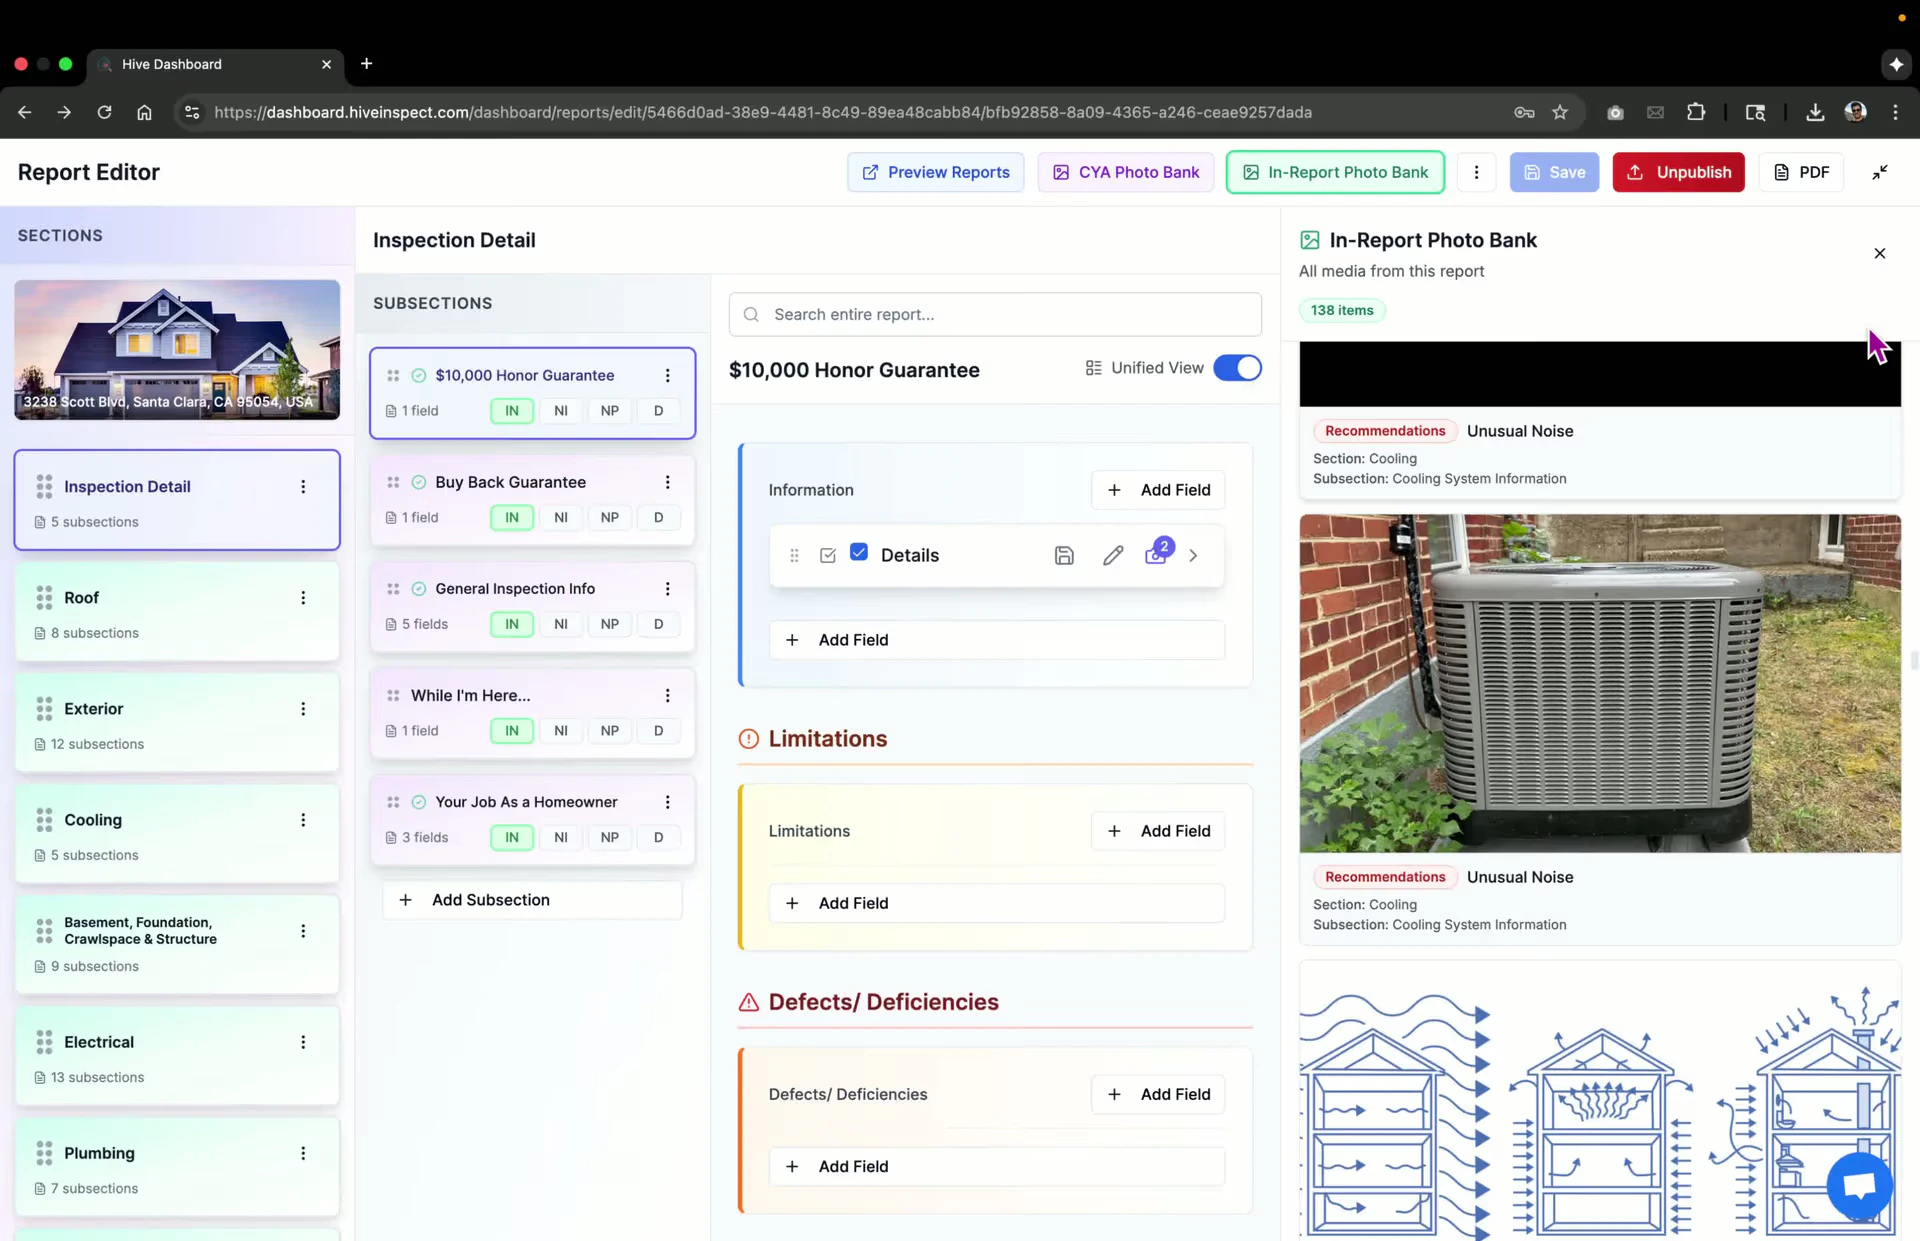
Accessing Photobank — 2:28
- Click in-report photobank to view images added to the inspection
- Use CYA photobank for additional images
10
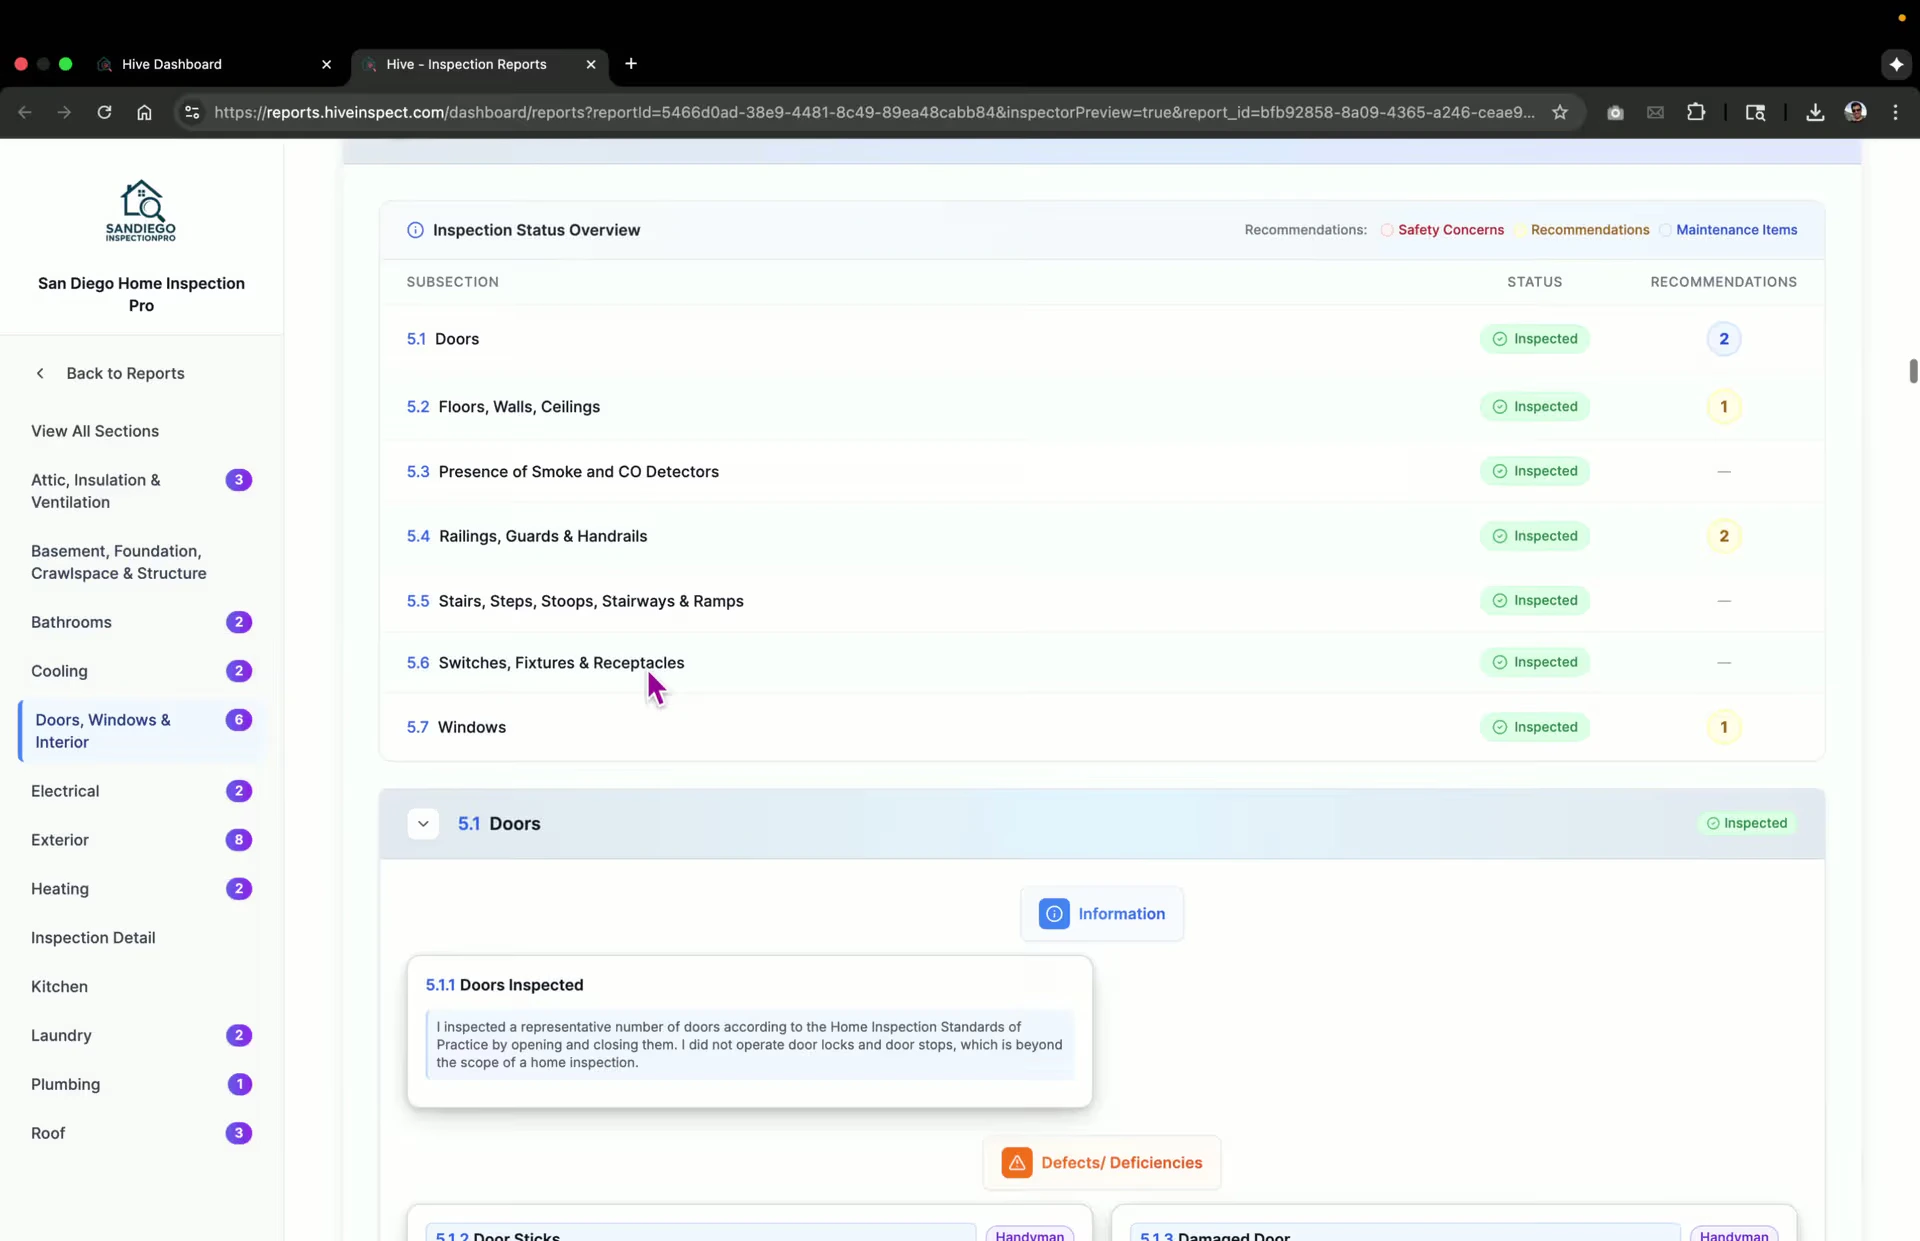
Previewing the Report — 2:39
- Click Preview Report to see how it will appear to customers
- Note that the report is locked until published
11
Final Edits and Publishing — 3:11
- Make any final edits and refresh the page as needed
- Click Publish to finalize the report
12
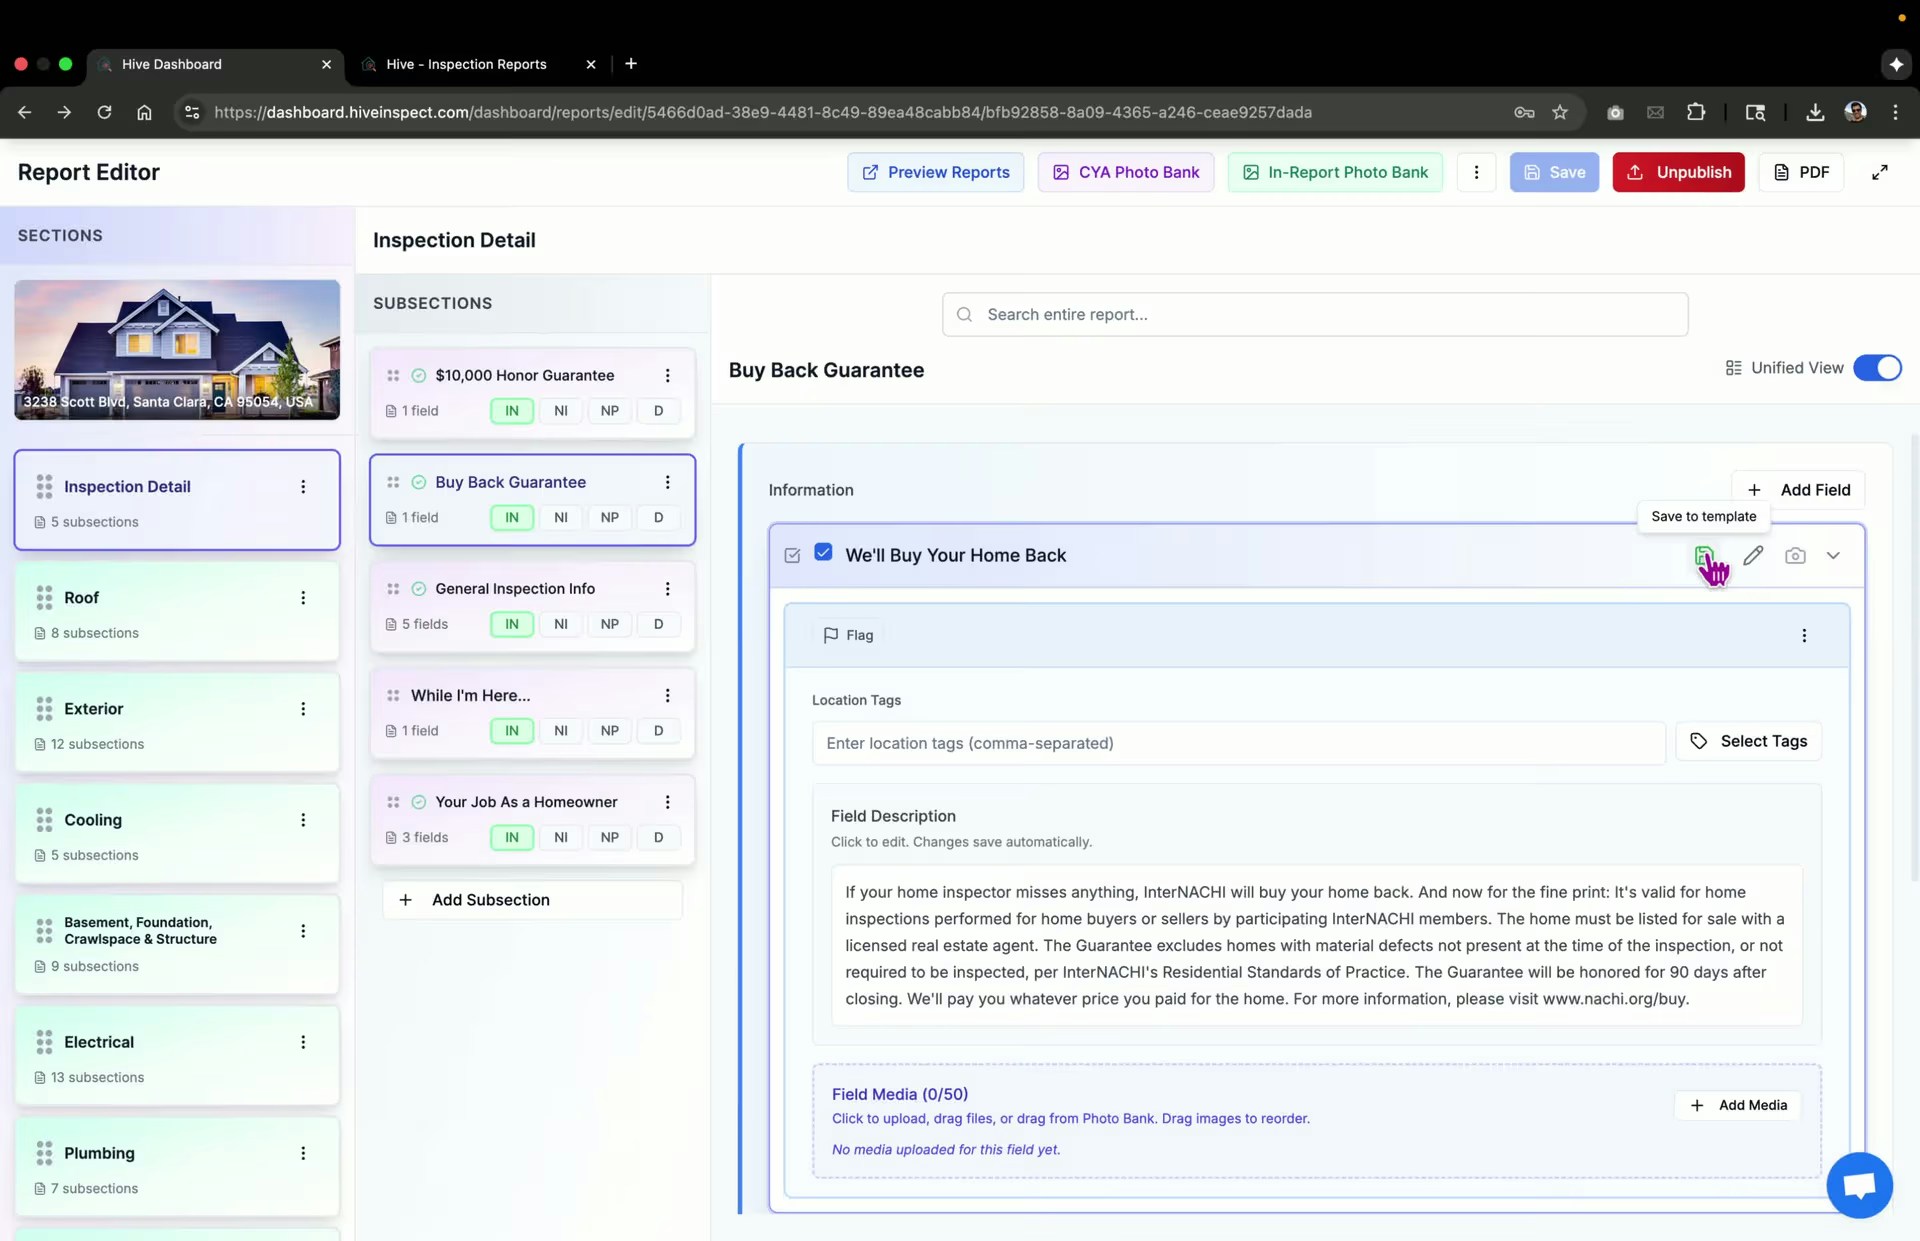
Saving Changes to Template — 3:31
- Use Save to Template to update the template for future reports based on recent changes
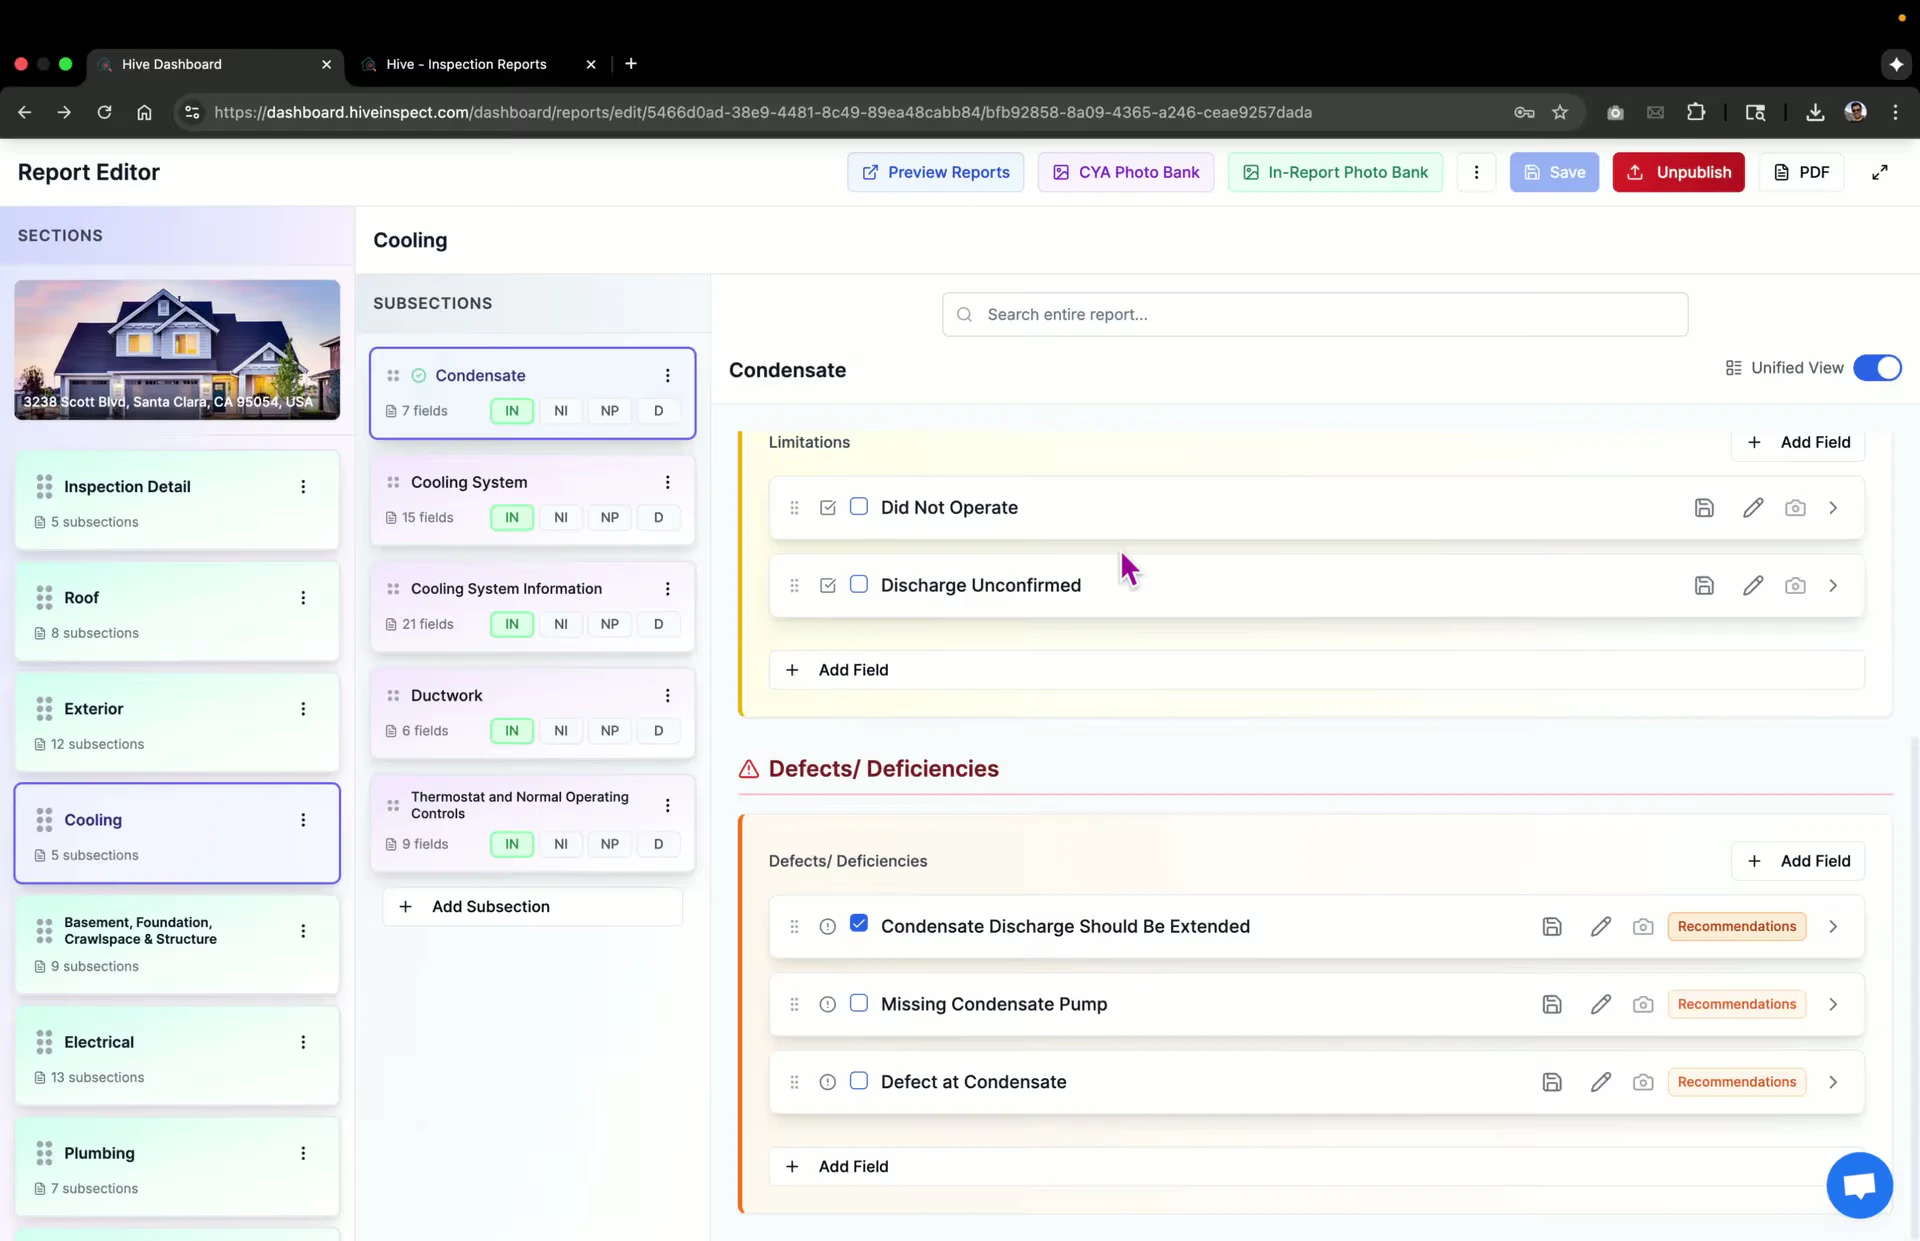
13
Flagging Issues — 3:49
- Flag any fields that require further research before publishing
- Remove flags once issues are resolved
14
Updating Cover Photo — 4:39
- Use the designated button to update the cover photo of the report
15
Conclusion — 4:50
- Summary of the report view and editor functionalities
Next Step →
After editing reports, learn what your clients see and how they interact with their inspection portal. Continue to: Understanding the Client PortalMobile Reports
Complete guide to writing inspection reports on-site using the Hive mobile app with offline support and real-time syncing
Client Portal
Understand what your clients see and can do in their inspection portal, including viewing reports, signing agreements, and making payments