Video Tutorial
Creating a New Inspection
1
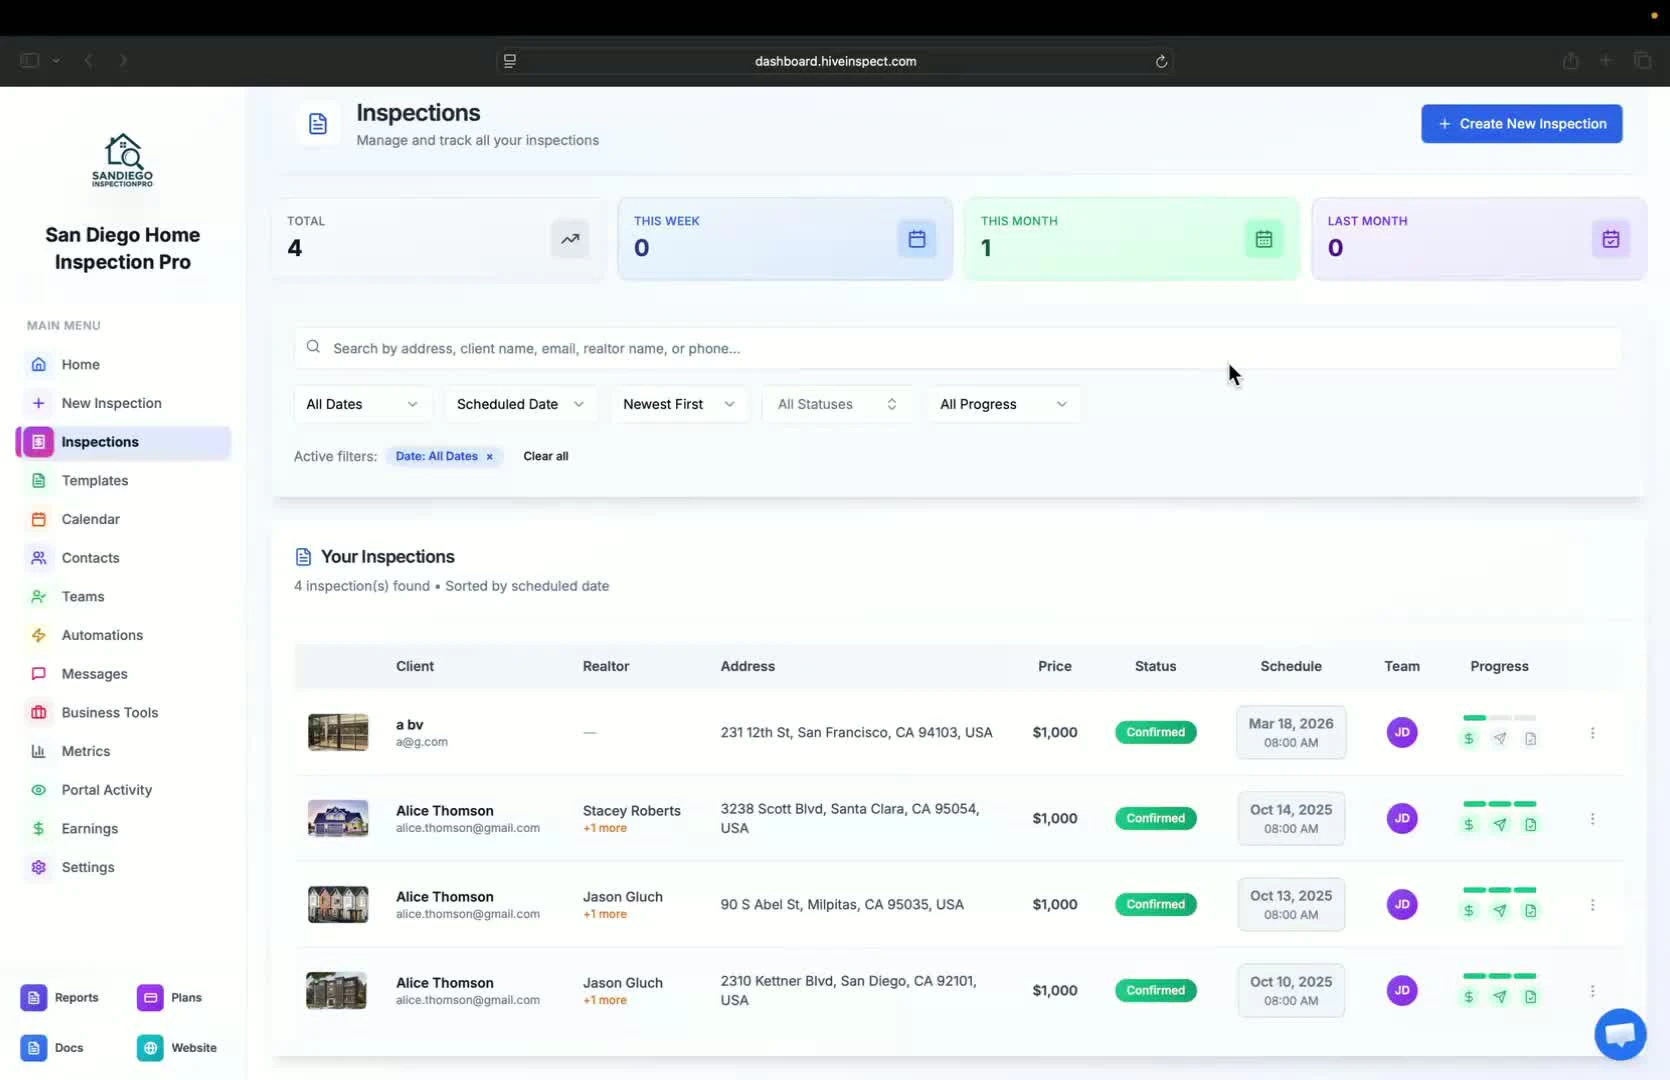
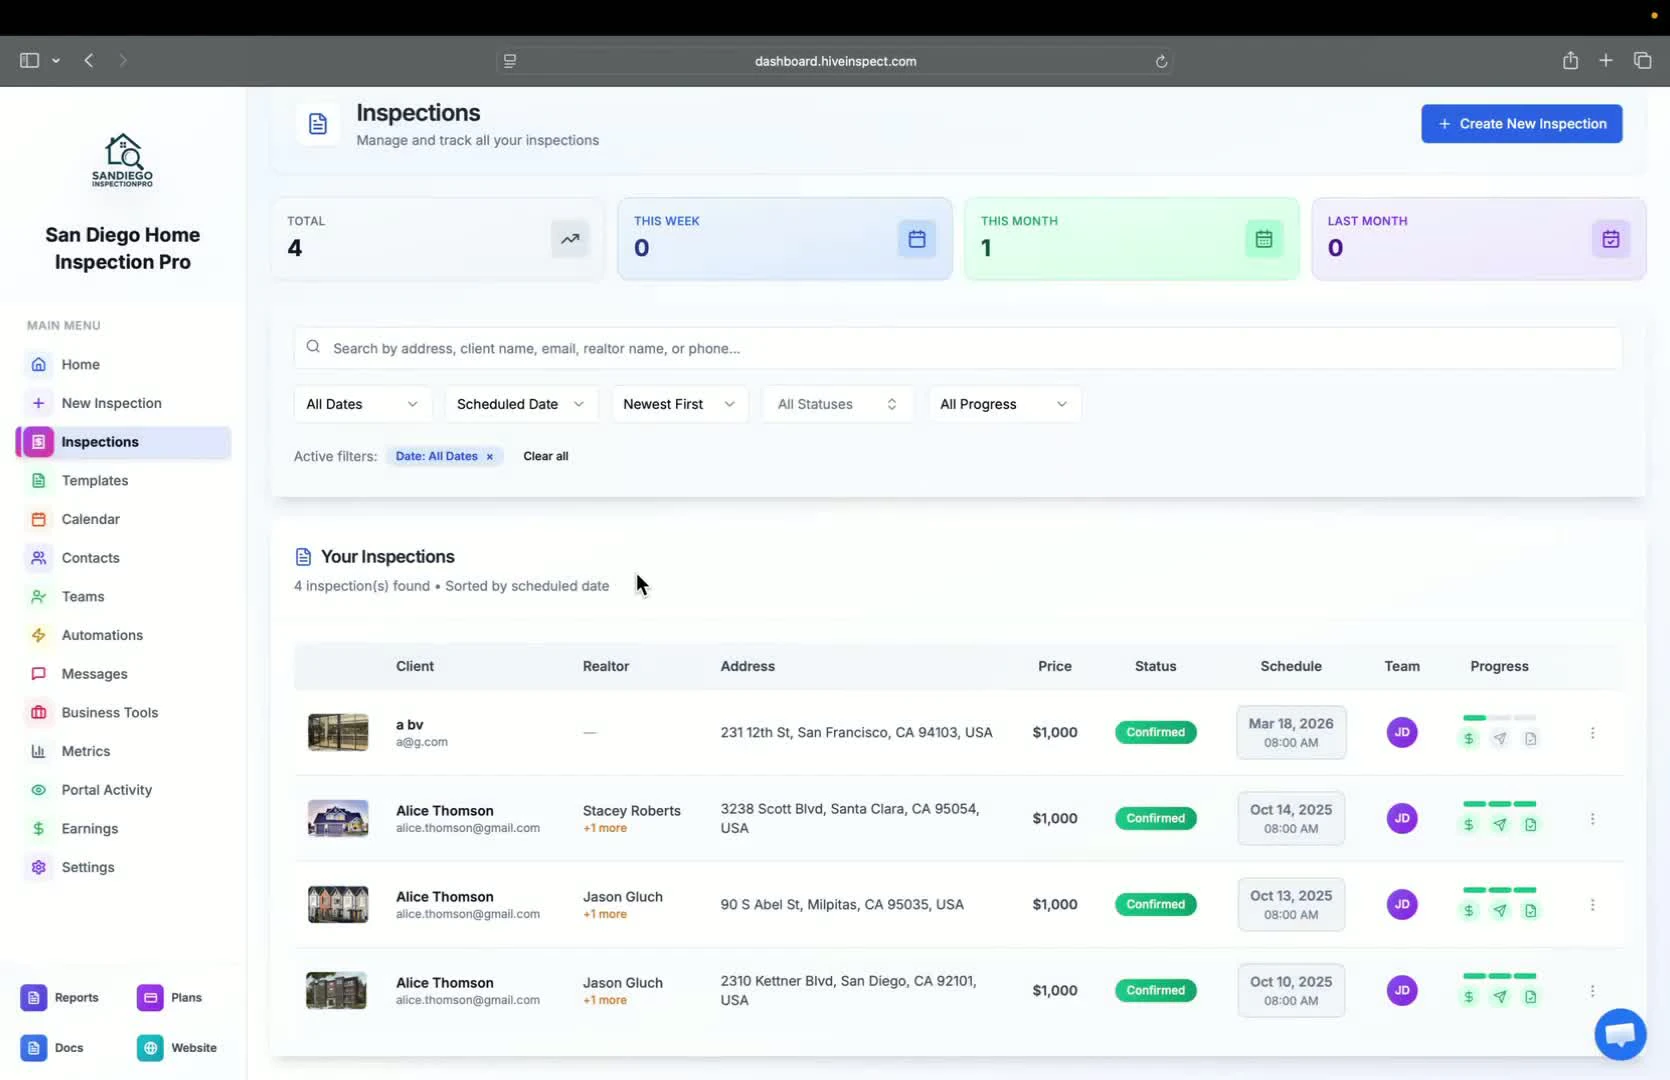
Overview of Inspections — 0:01
- Inspections are displayed in a list format, showing 50 inspections per page
- Filters are available to sort inspections by status (e.g., paid, published, agreement signed)
- Options available include editing, previewing reports, client review links, and report activity
2
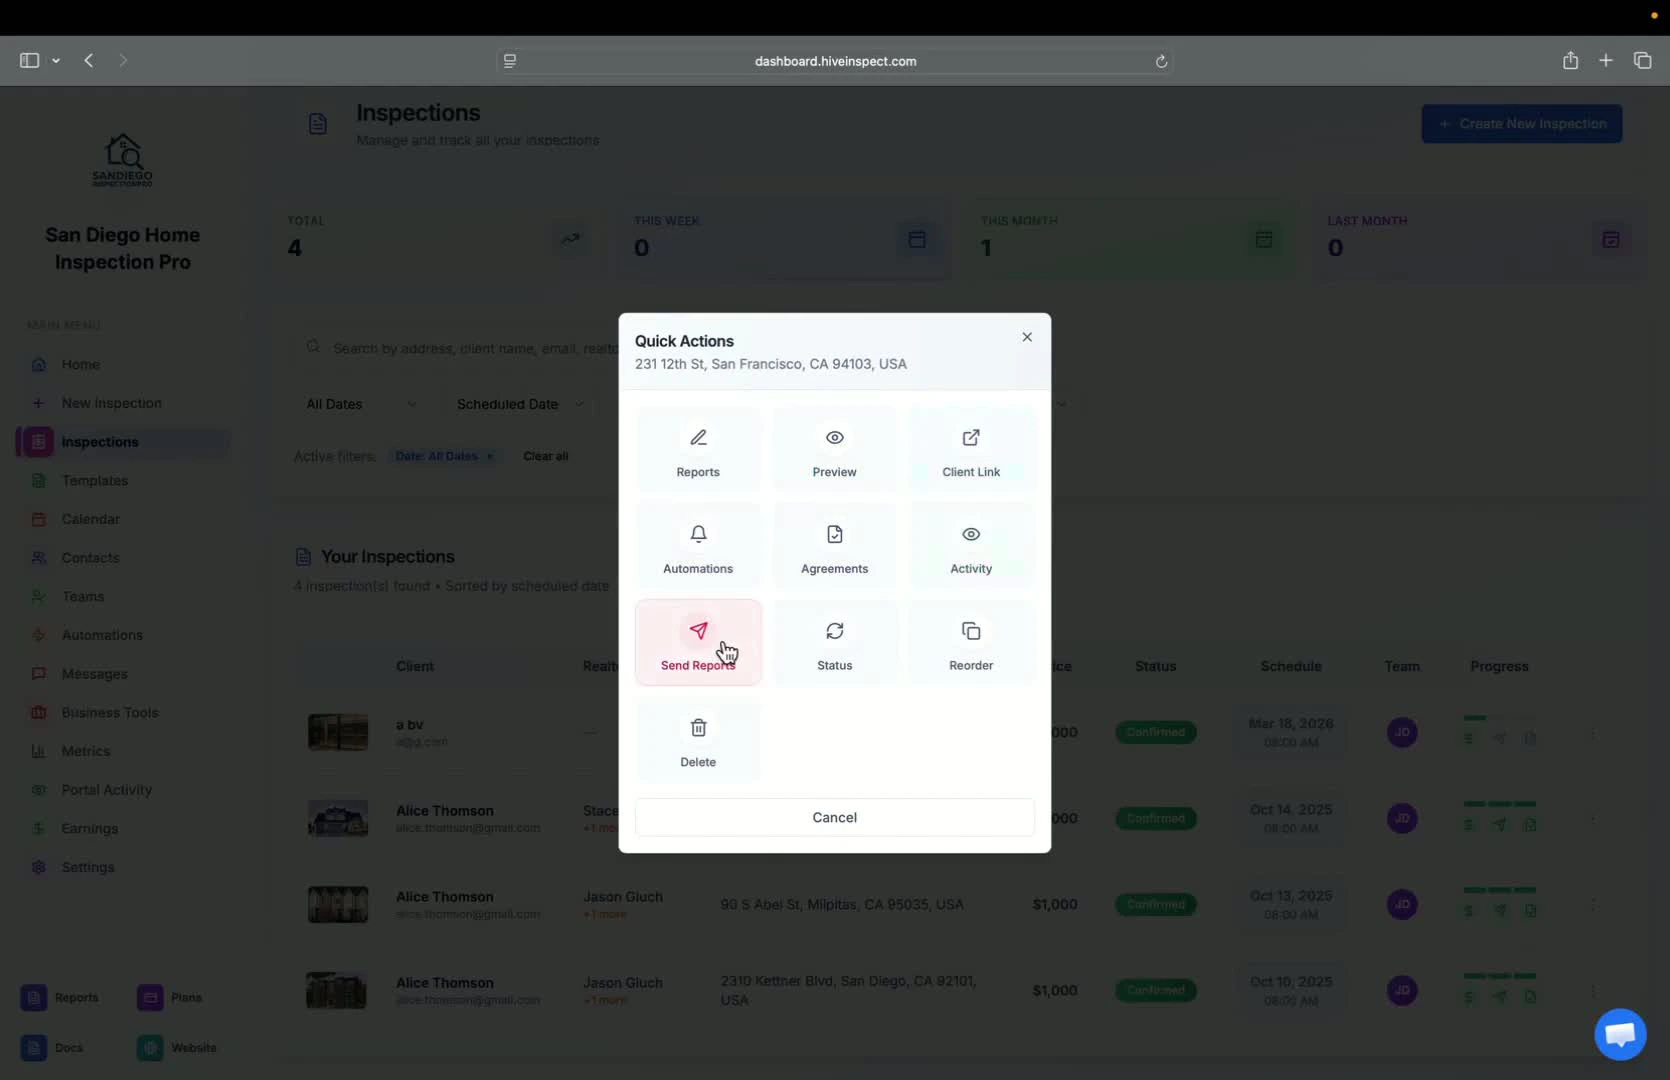
Manual Report Sending — 0:47
- A manual override button allows you to send reports directly to clients if they haven’t received them
3
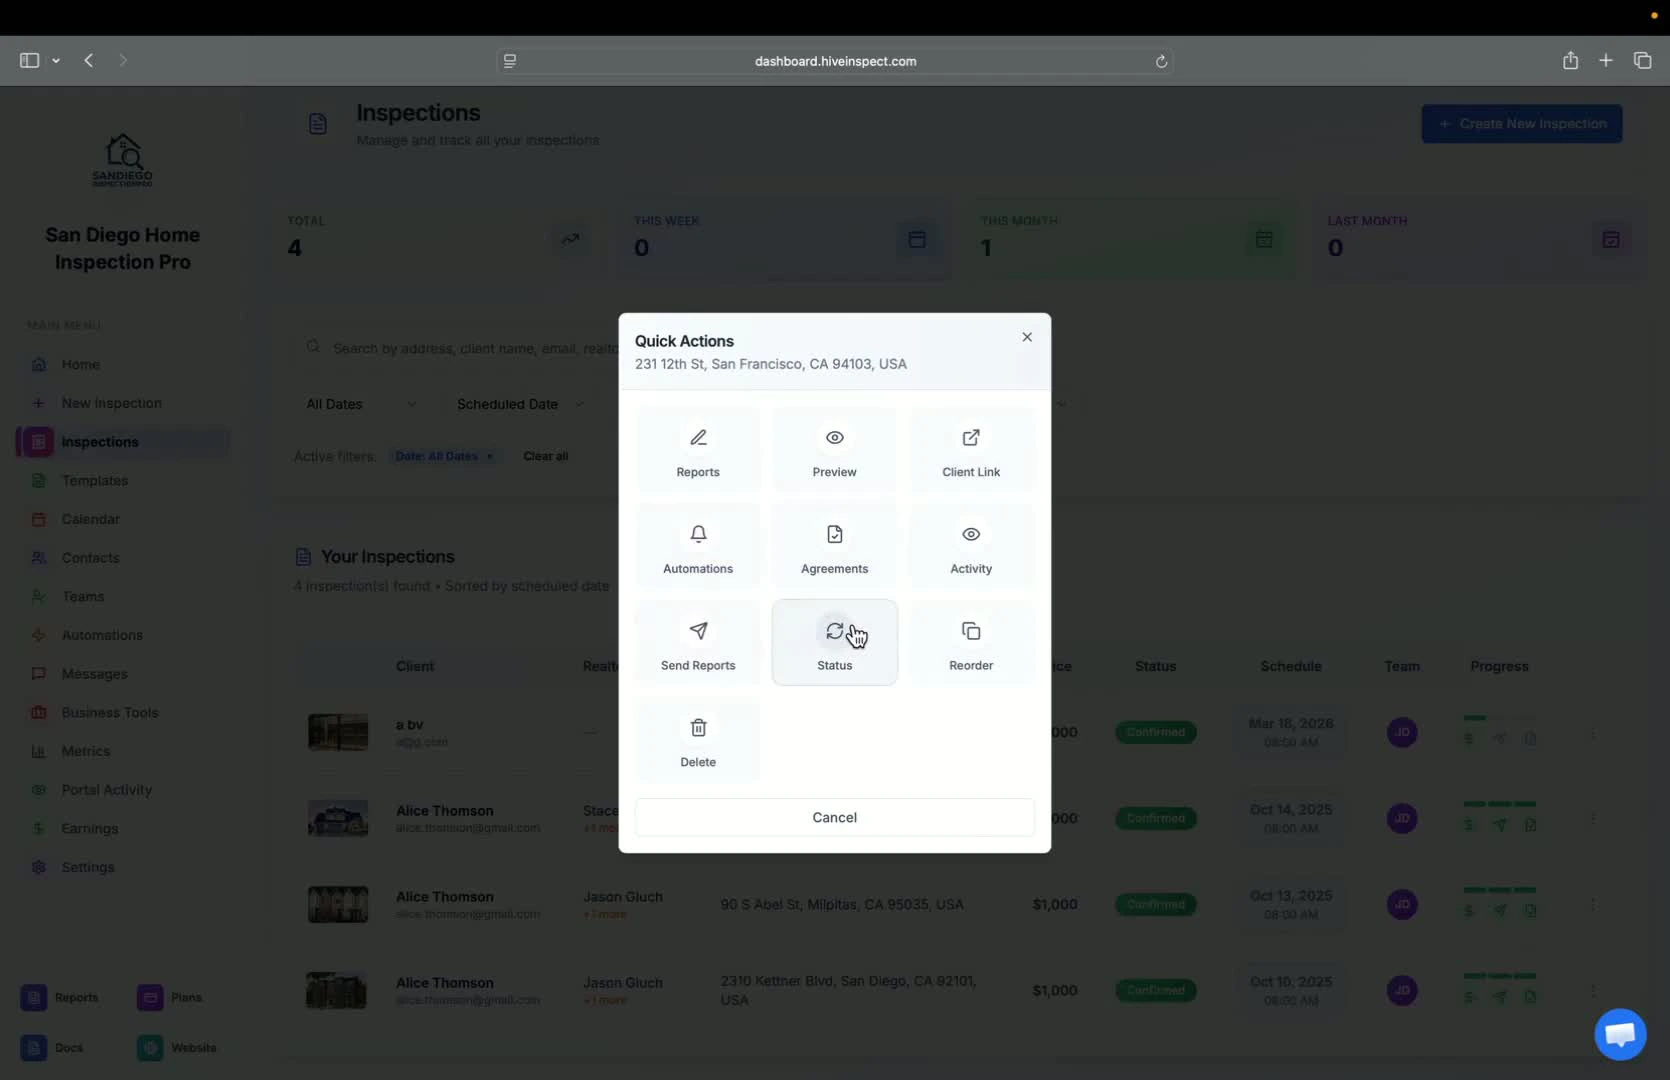
Changing Inspection Status — 1:04
- You can change the inspection status or delete an inspection using the provided buttons
4
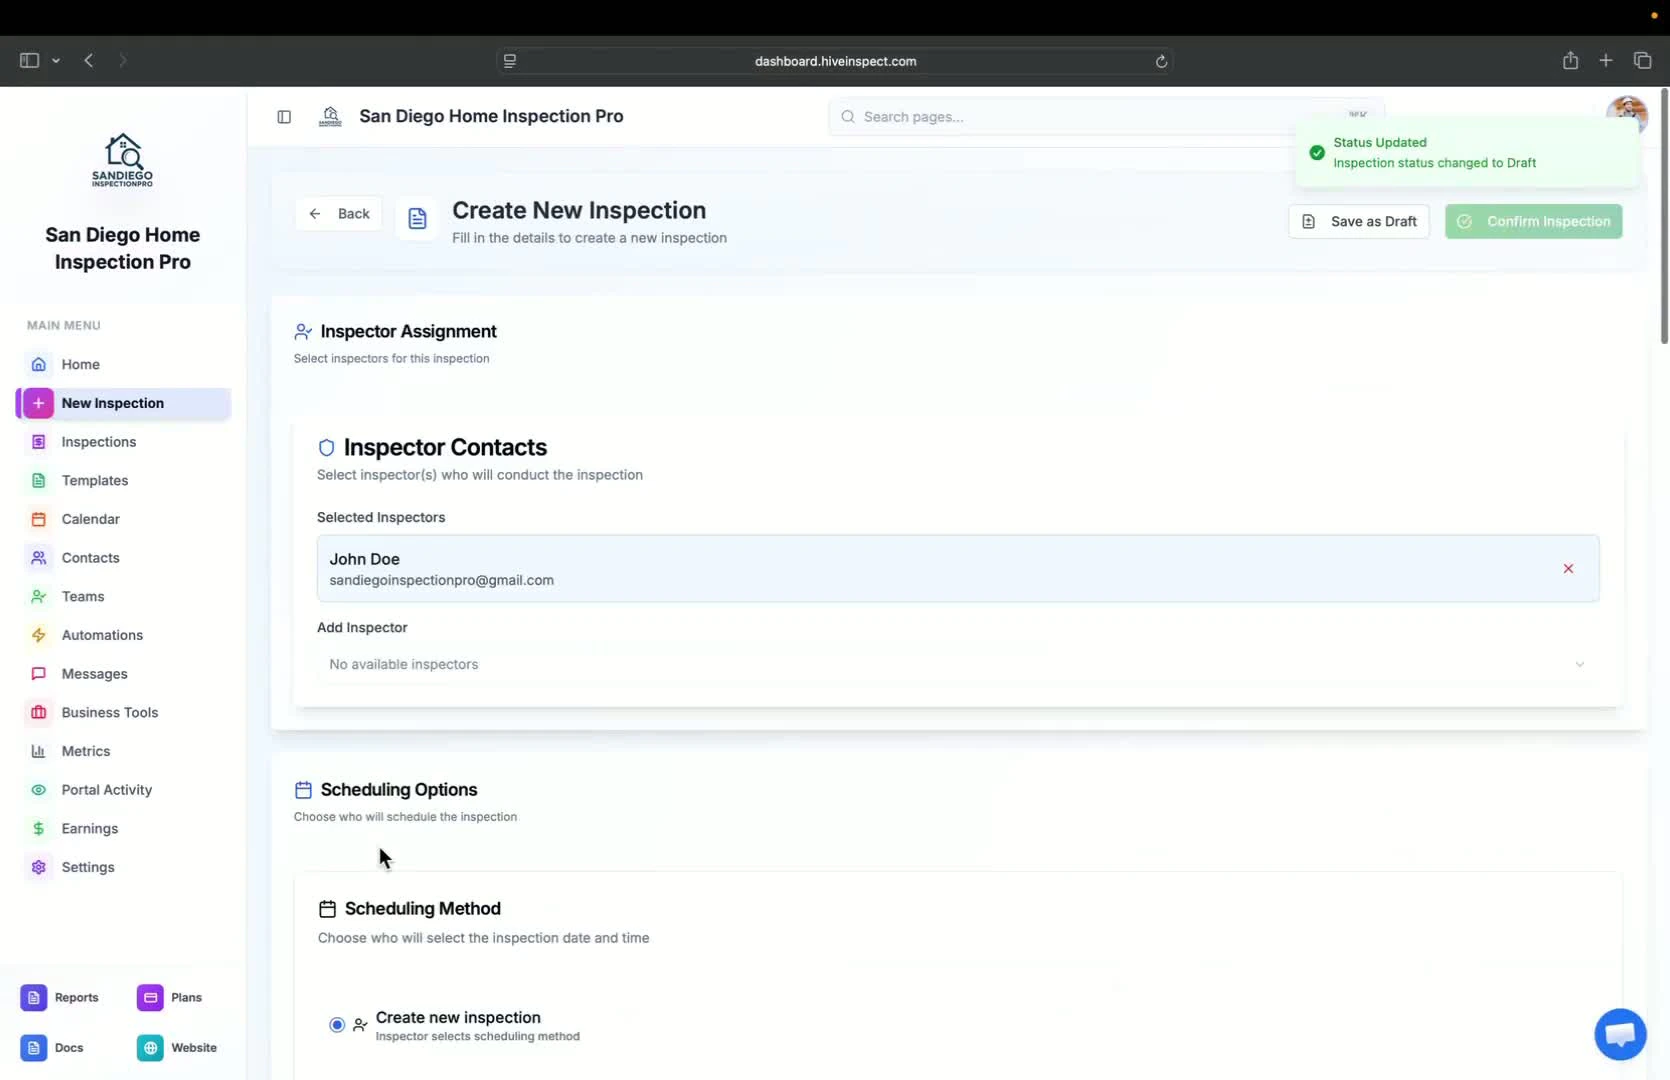
Creating a New Inspection — 1:20
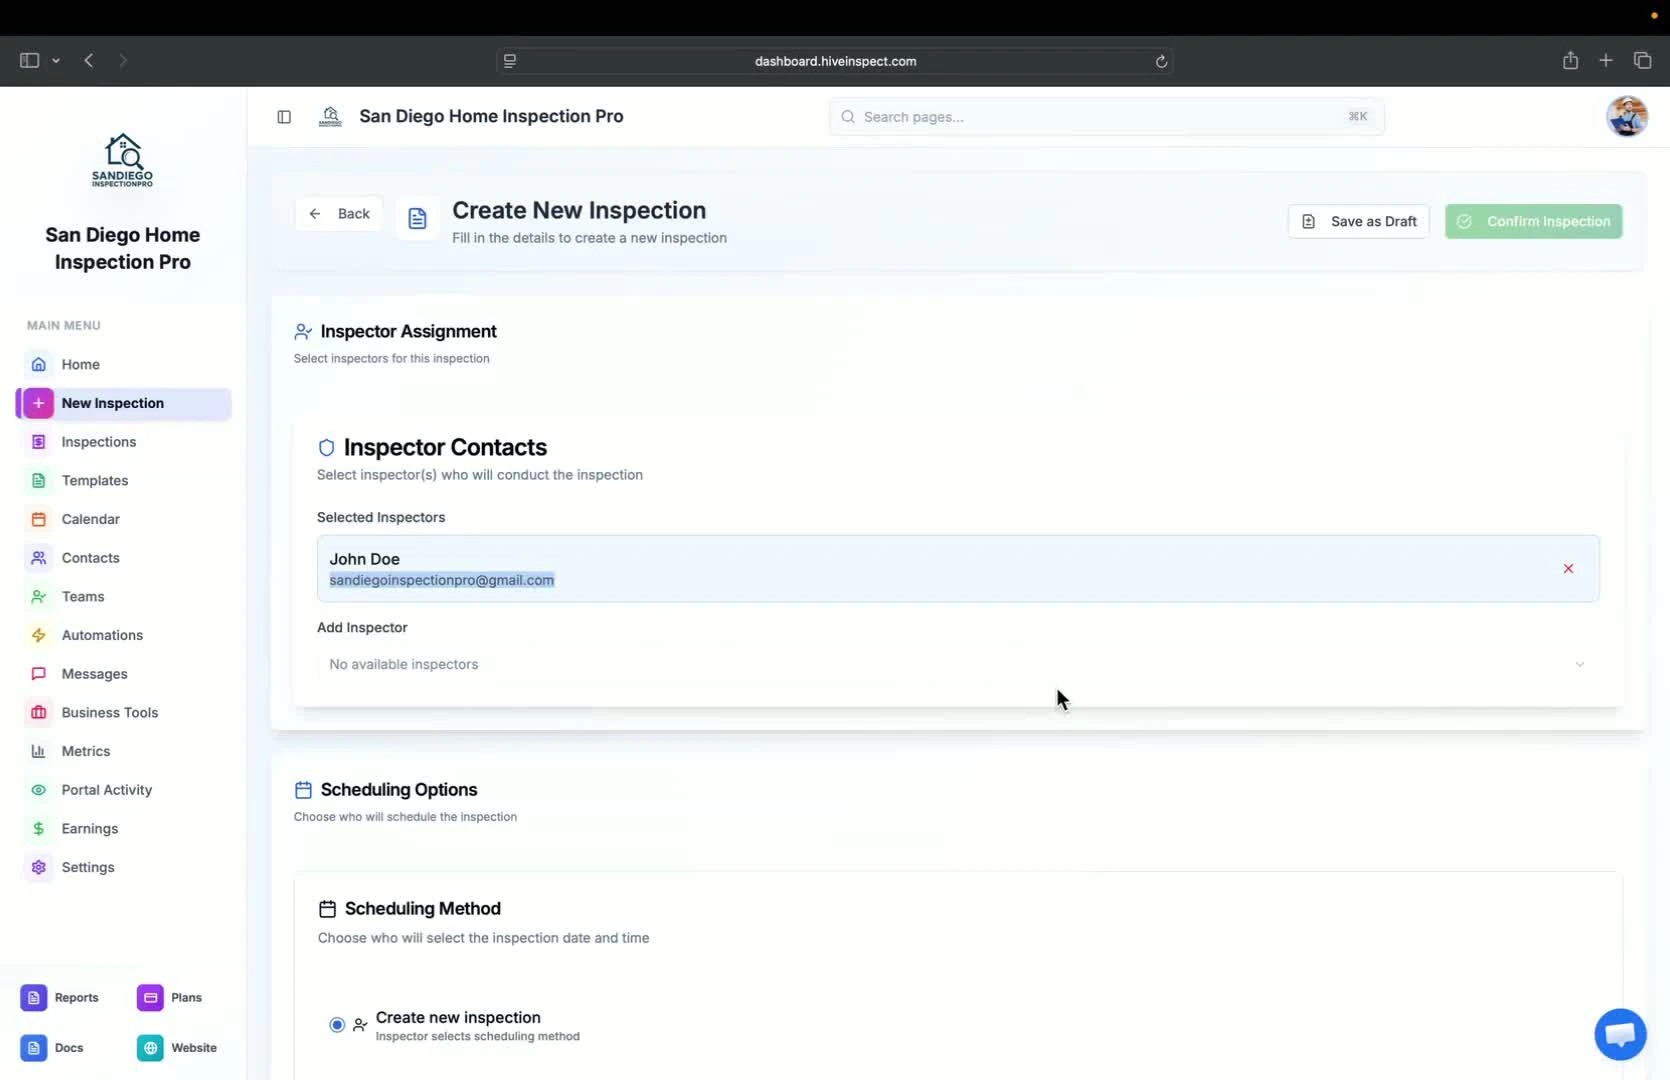
- Click the New Inspection button to start creating a new inspection
- You can select the default inspector or add multiple inspectors
5
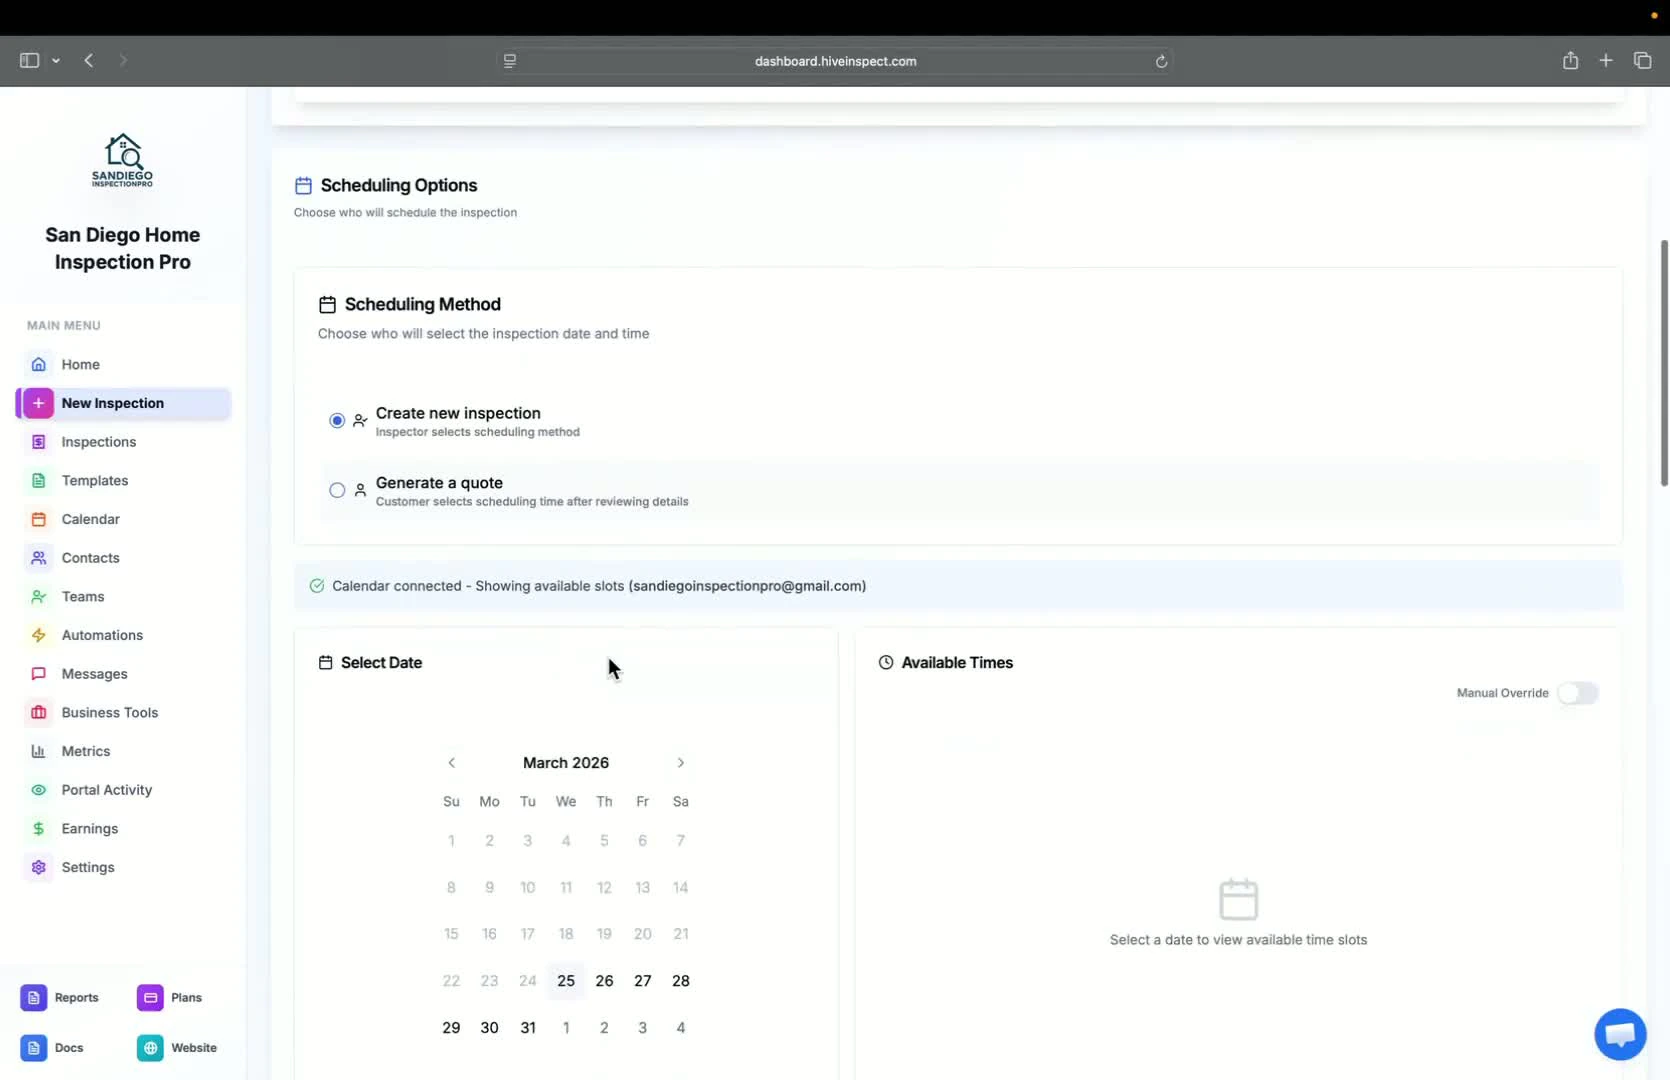
Scheduling the Inspection — 1:34
- Choose the scheduling method (default is creating a new inspection)
- Option to generate a code if automation is set up
6
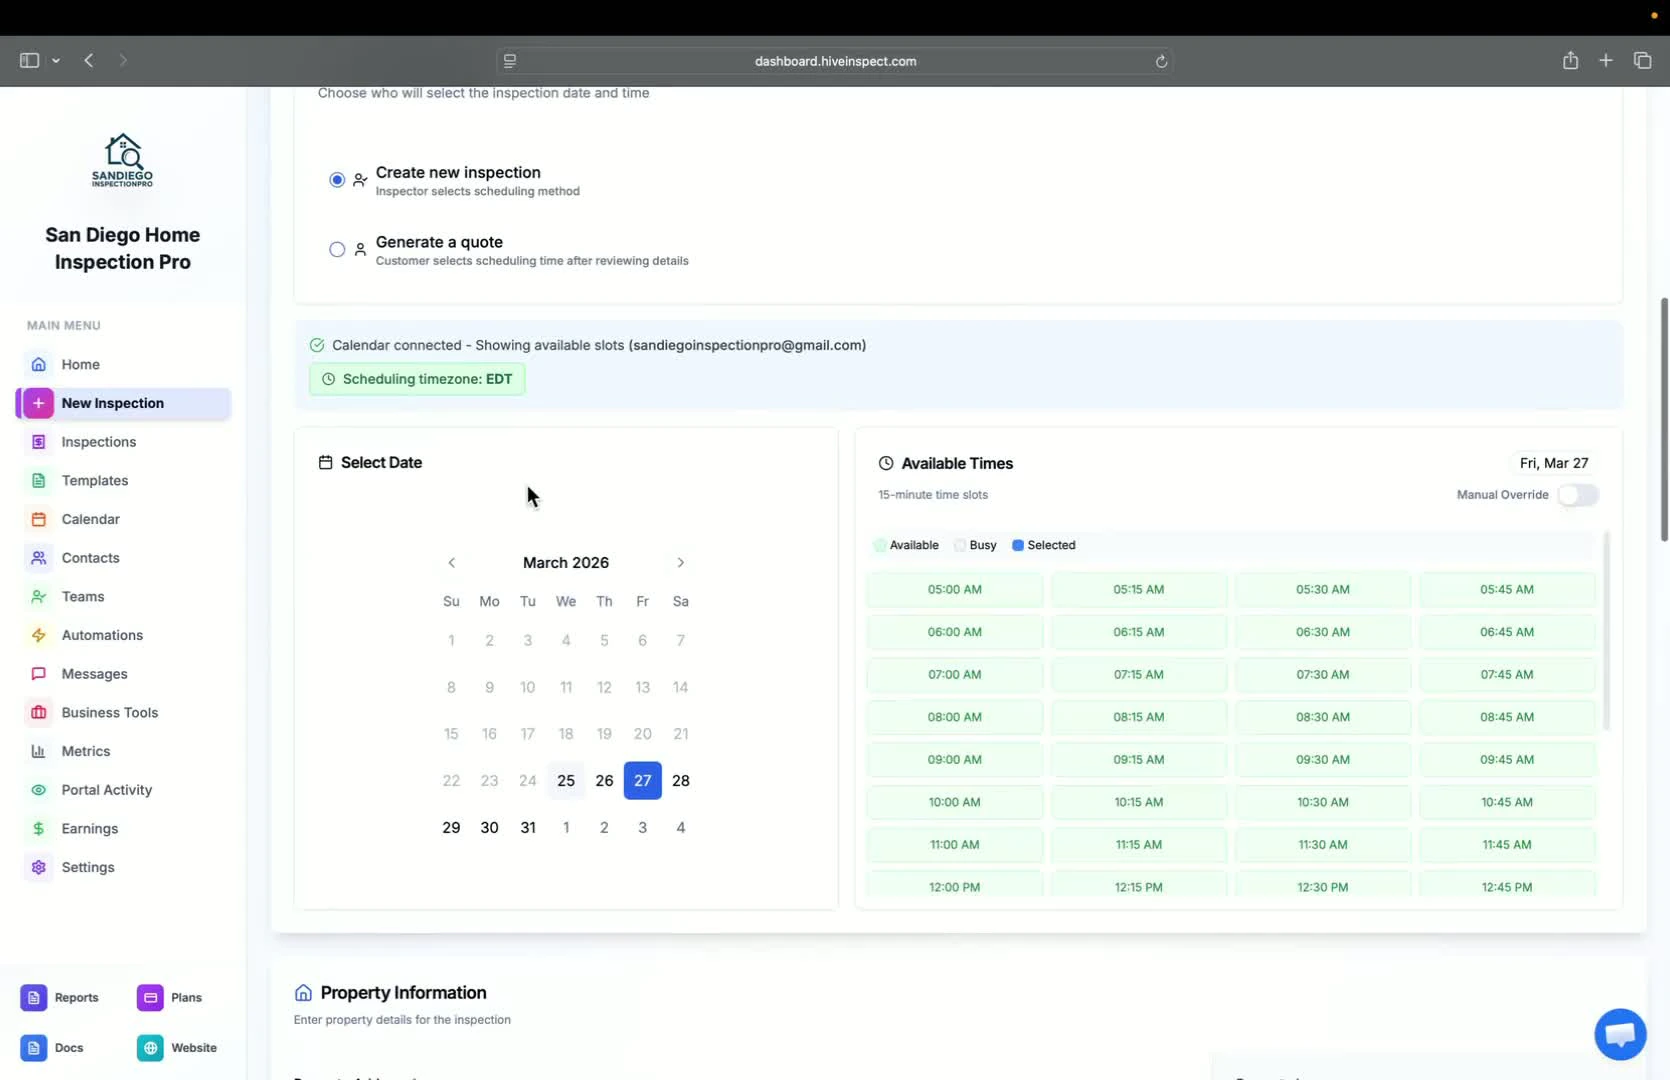
Selecting Date and Address — 1:56
- Select the date and time for the inspection
- Enter the property address; Zillow will pull up relevant information
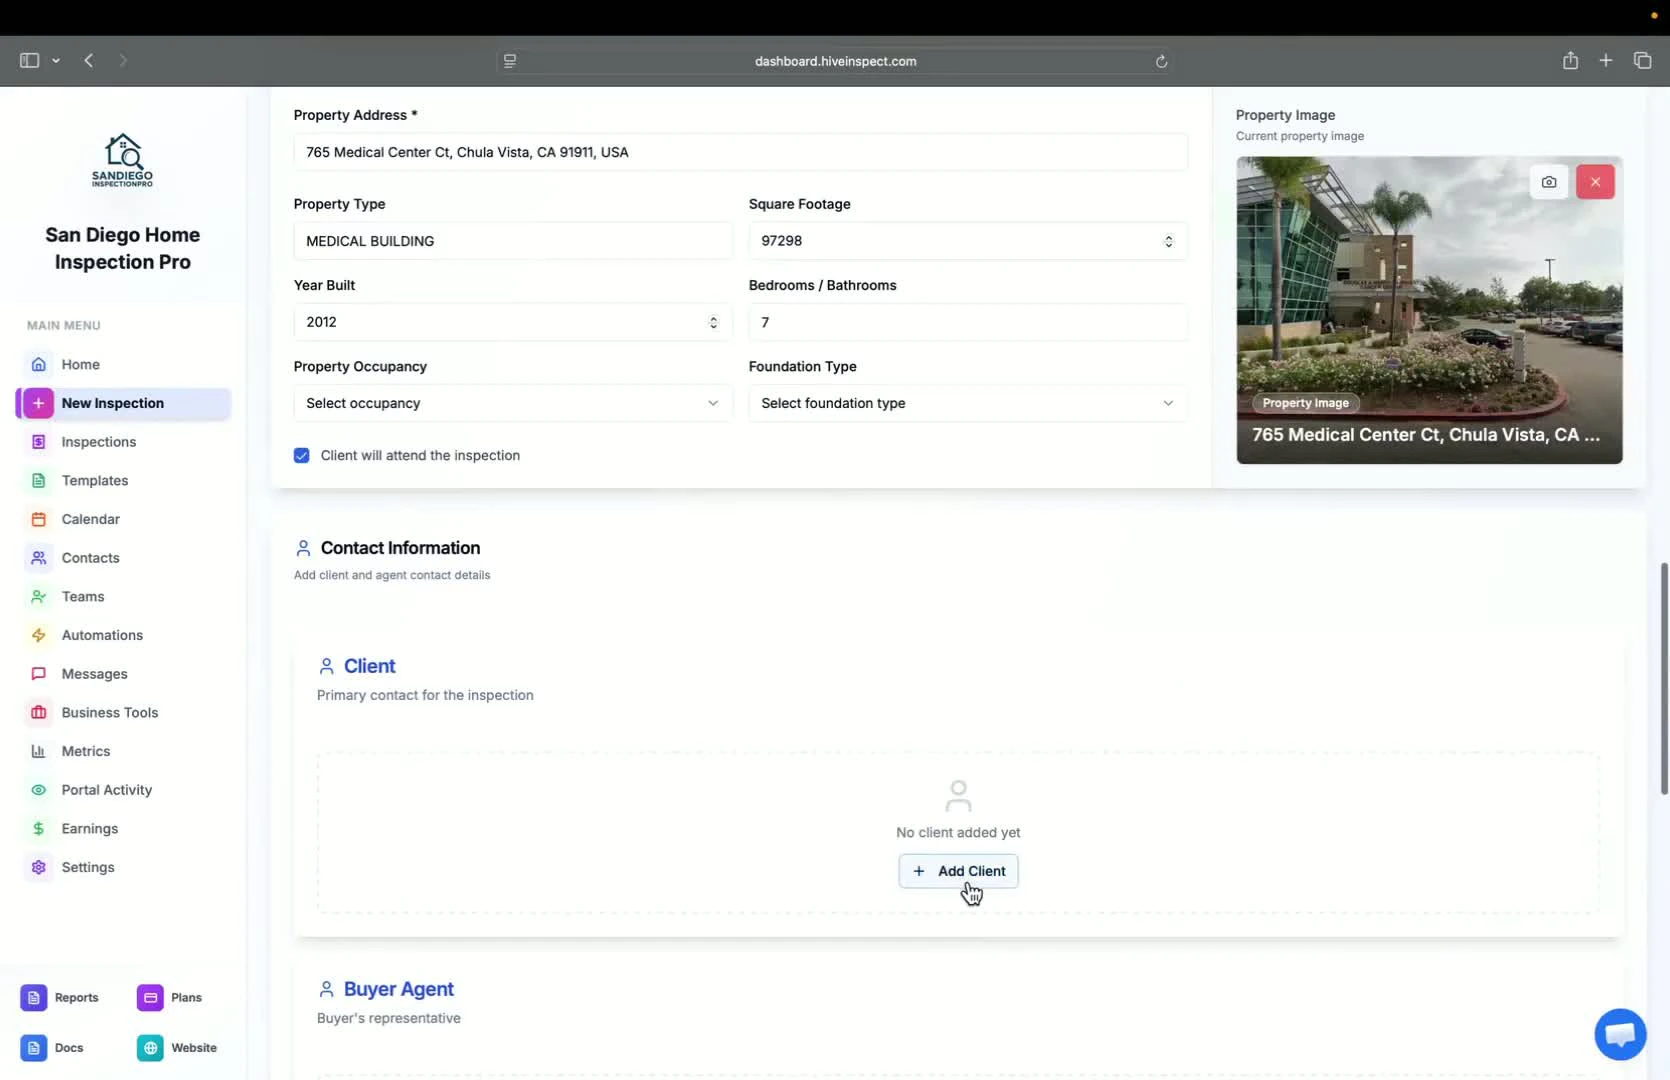
7
Entering Property Details — 2:11
- Fill in property details such as occupancy, foundation type, number of bedrooms, etc.
8
Adding Contacts — 2:29
- Add client contact information (email is mandatory)
- Option to add CC emails, phone numbers, and tags
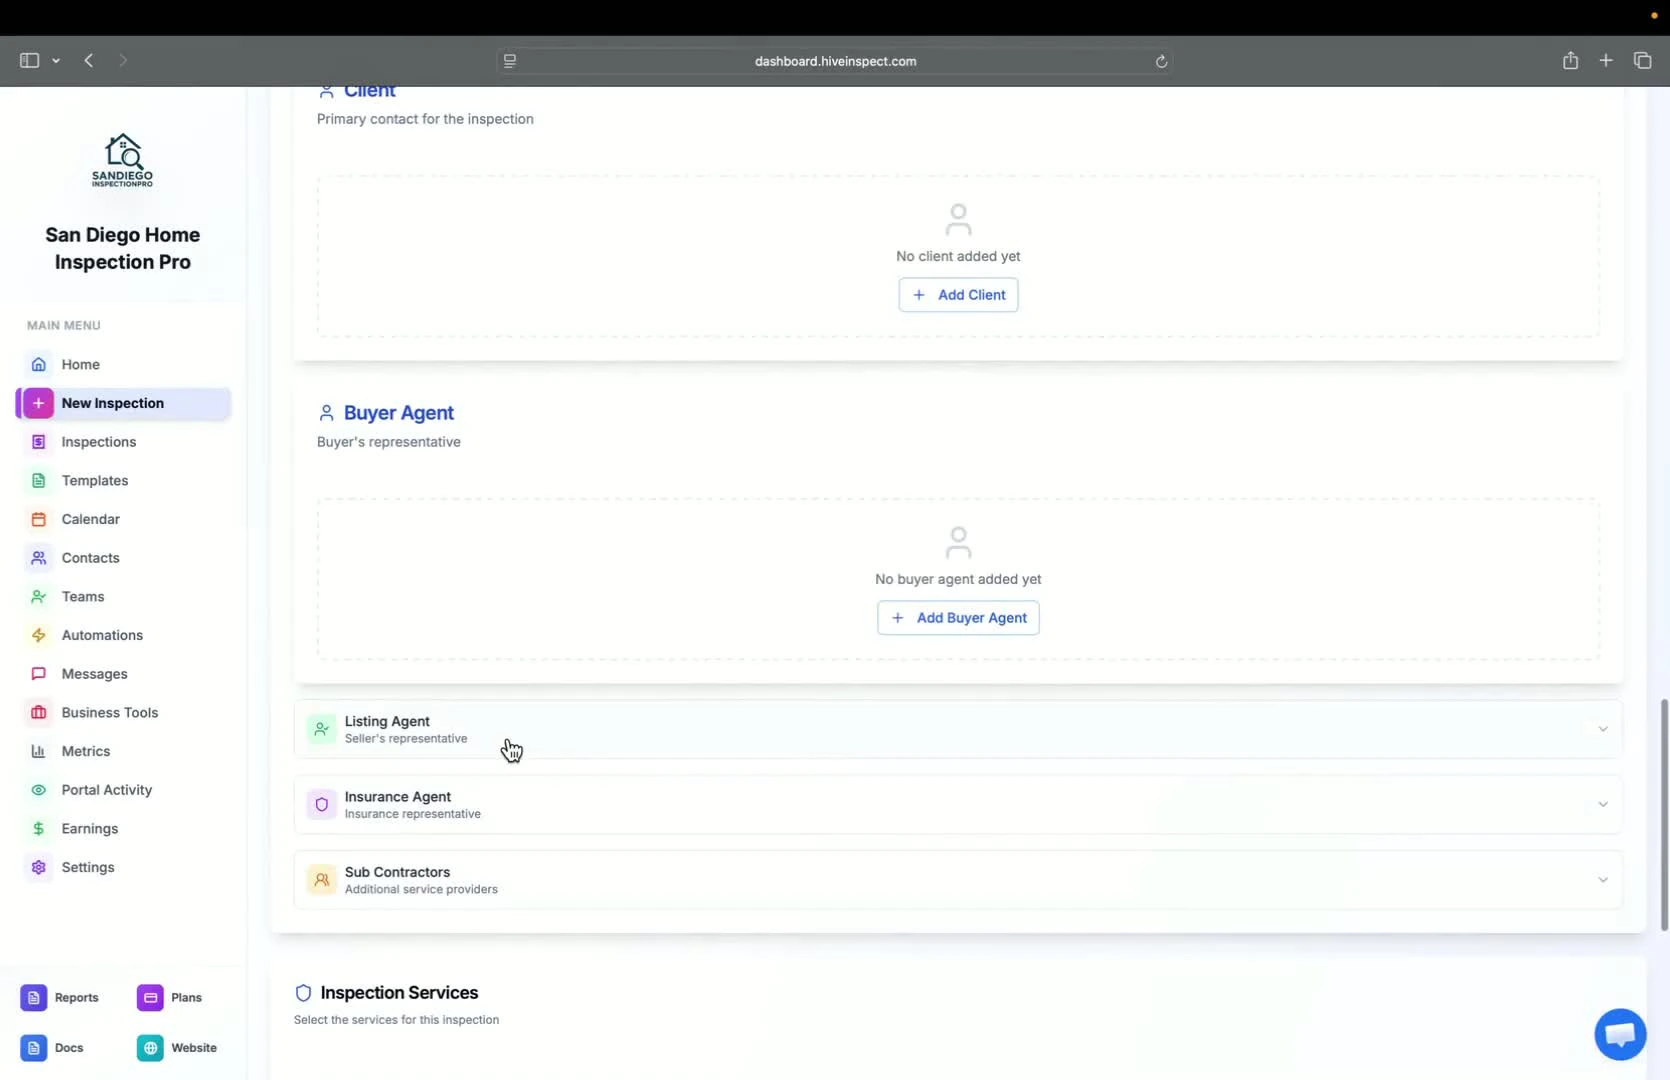
9
Adding Agents and Contractors — 3:00
- Option to add buyer’s agent, listing agent, insurance agent, or contractors
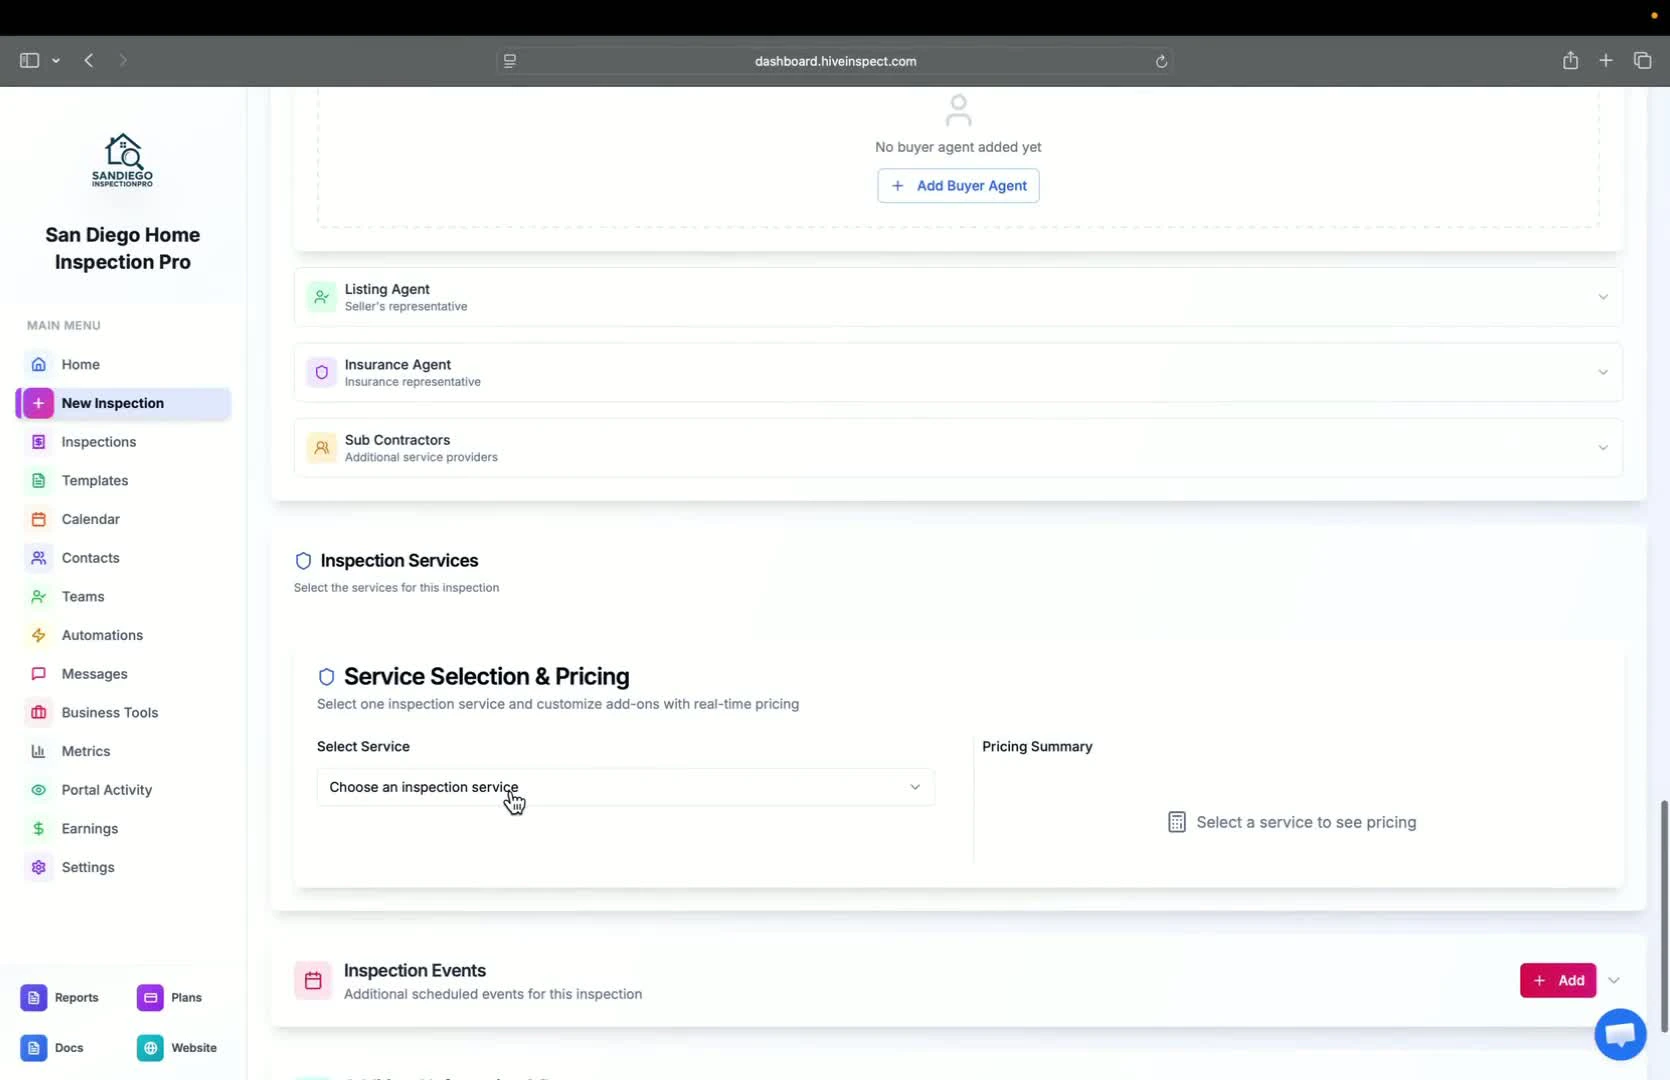
10
Selecting Services and Modifiers — 3:09
- Choose the service for the inspection; modifiers will be added based on property details
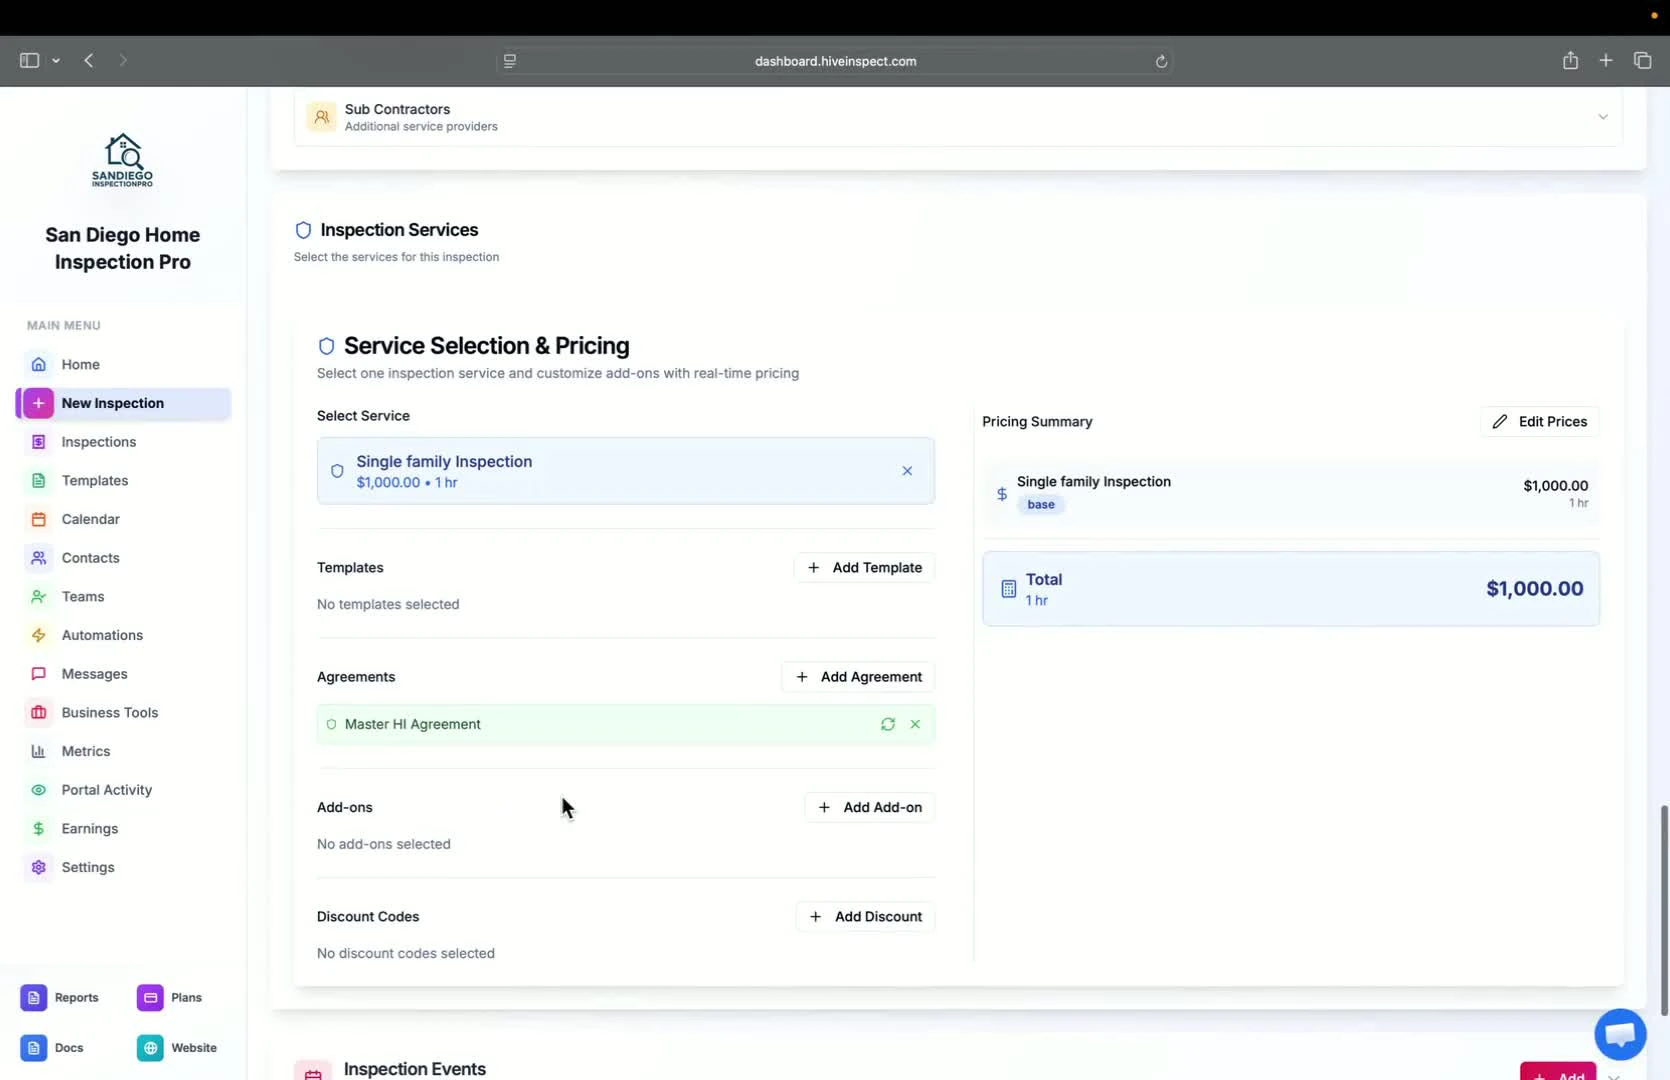
11
Adding Templates and Agreements — 3:19
- You can add templates, agreements, add-ons, and discount codes
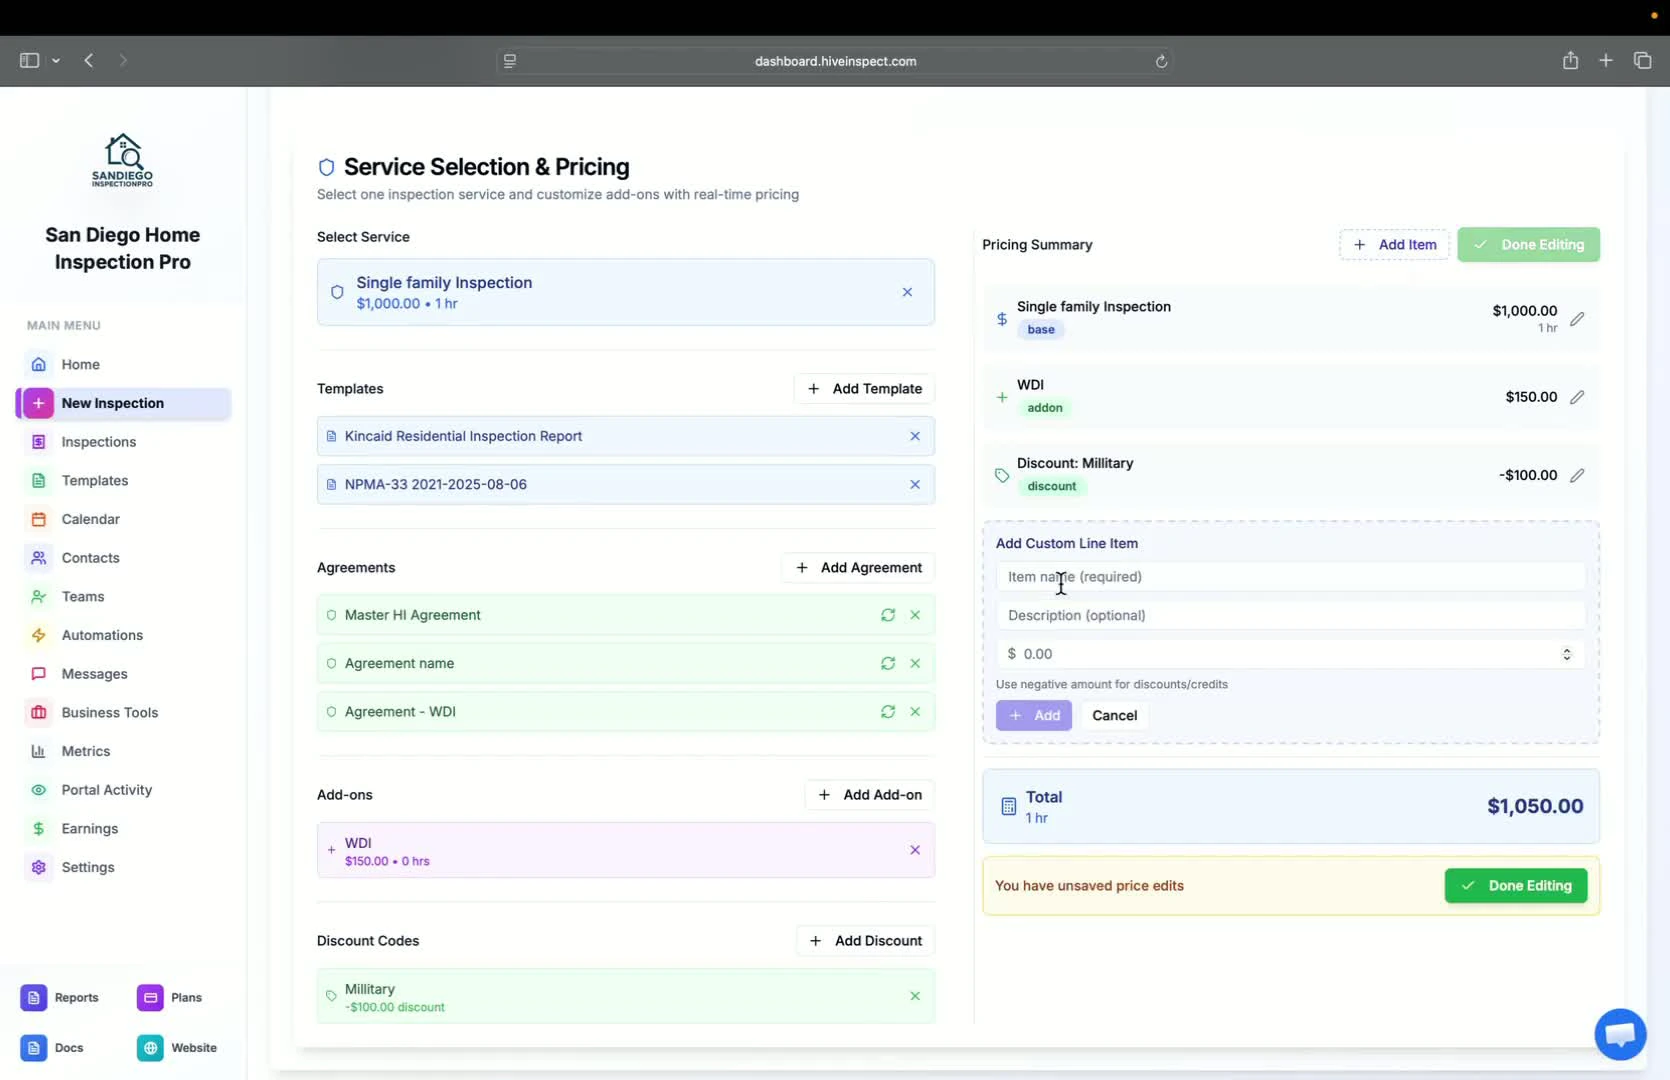
12
Custom Line Items — 3:38
- Option to create custom line items (e.g., adding radon as an add-on)
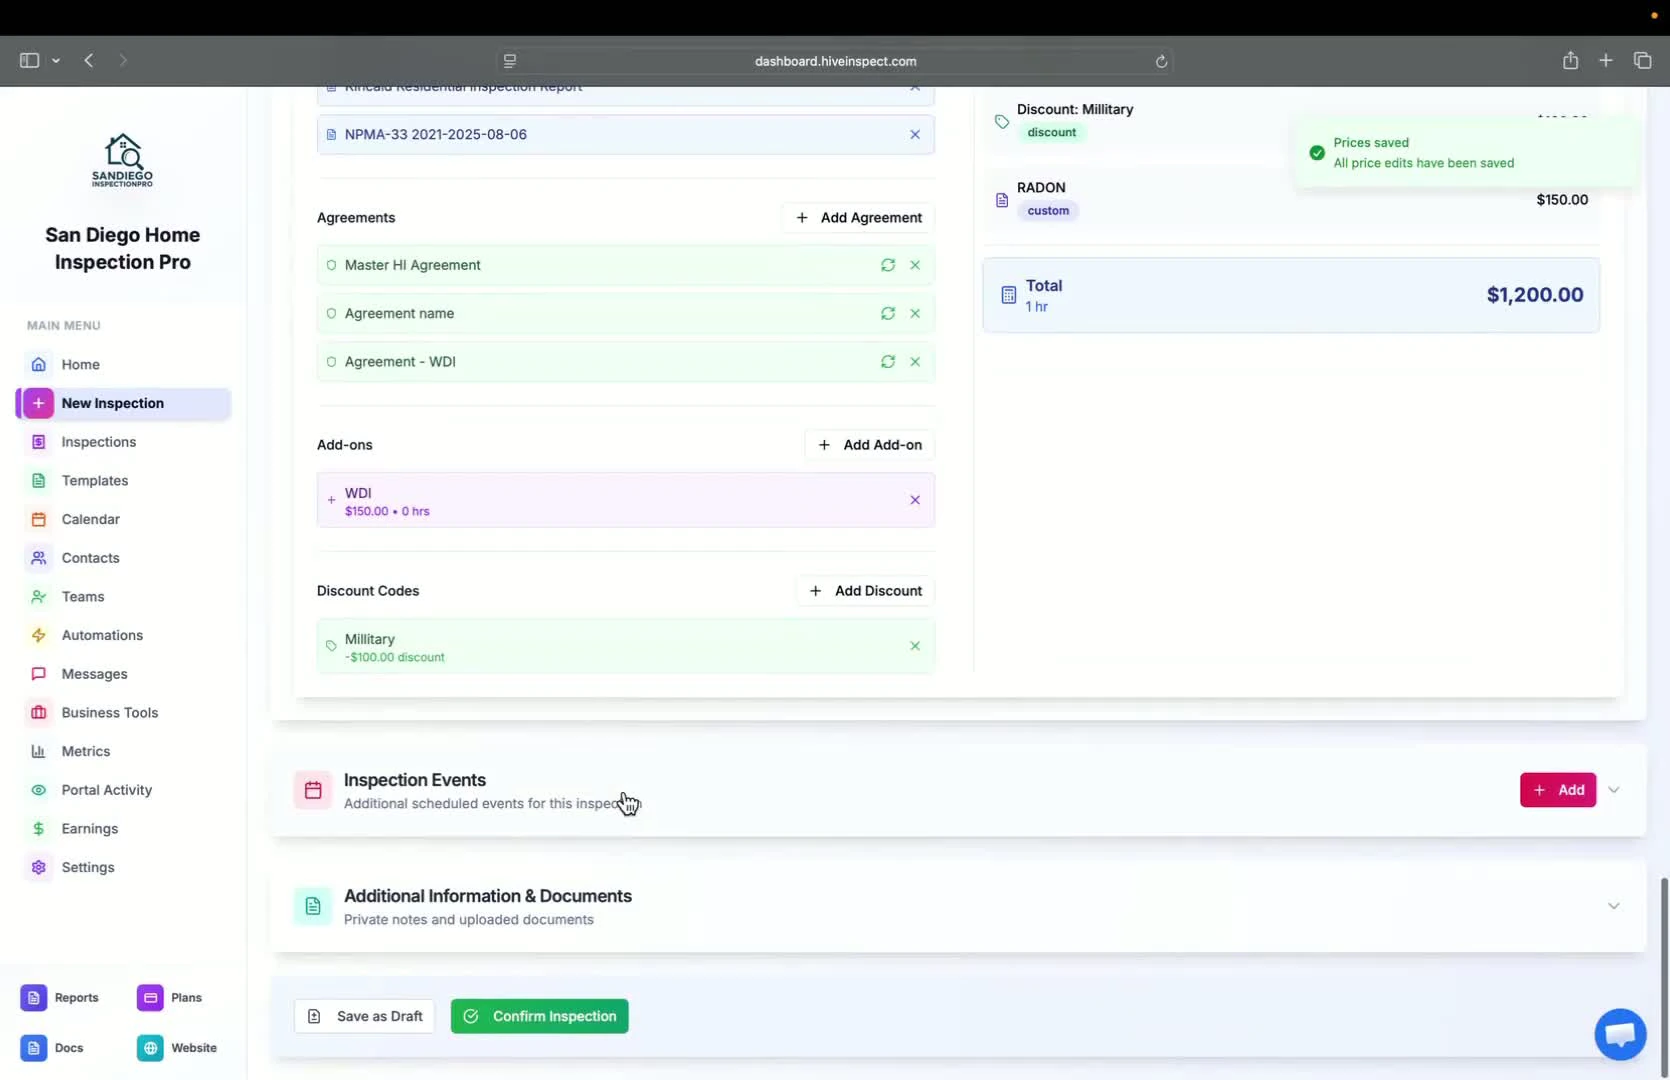
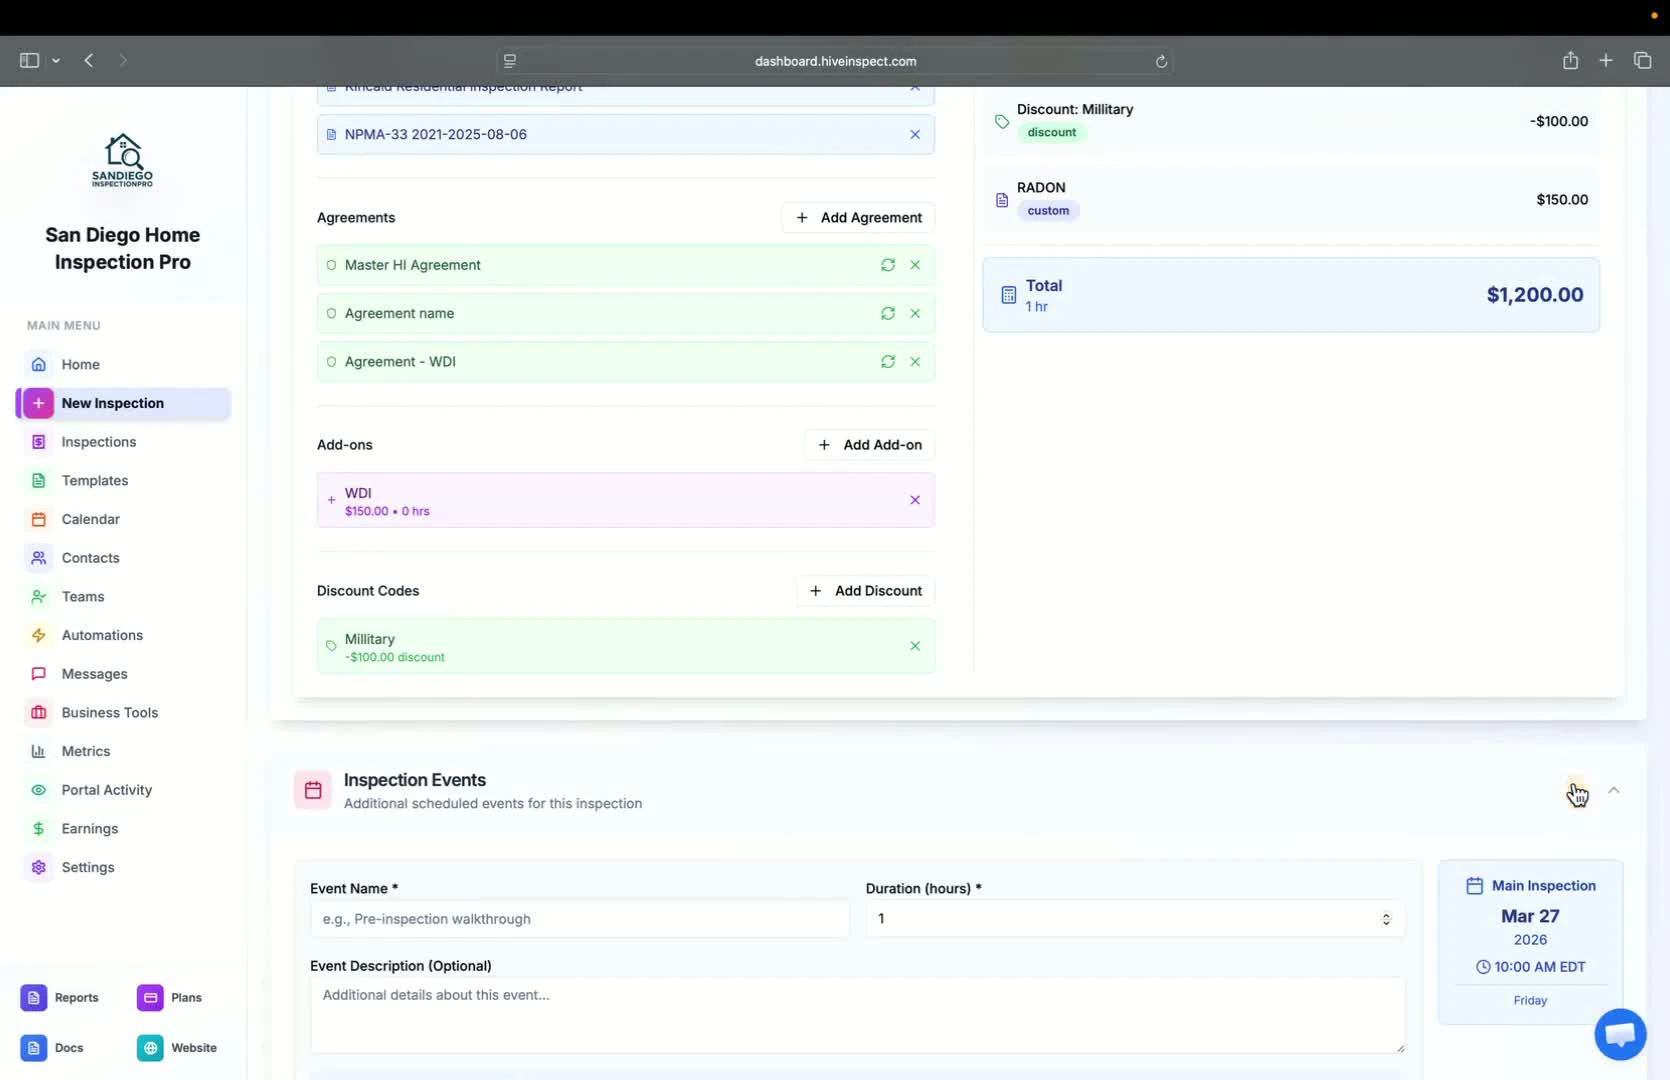
13
Adding Inspection Events — 3:56
- You can add inspection events (e.g., radon pickup/drop off)
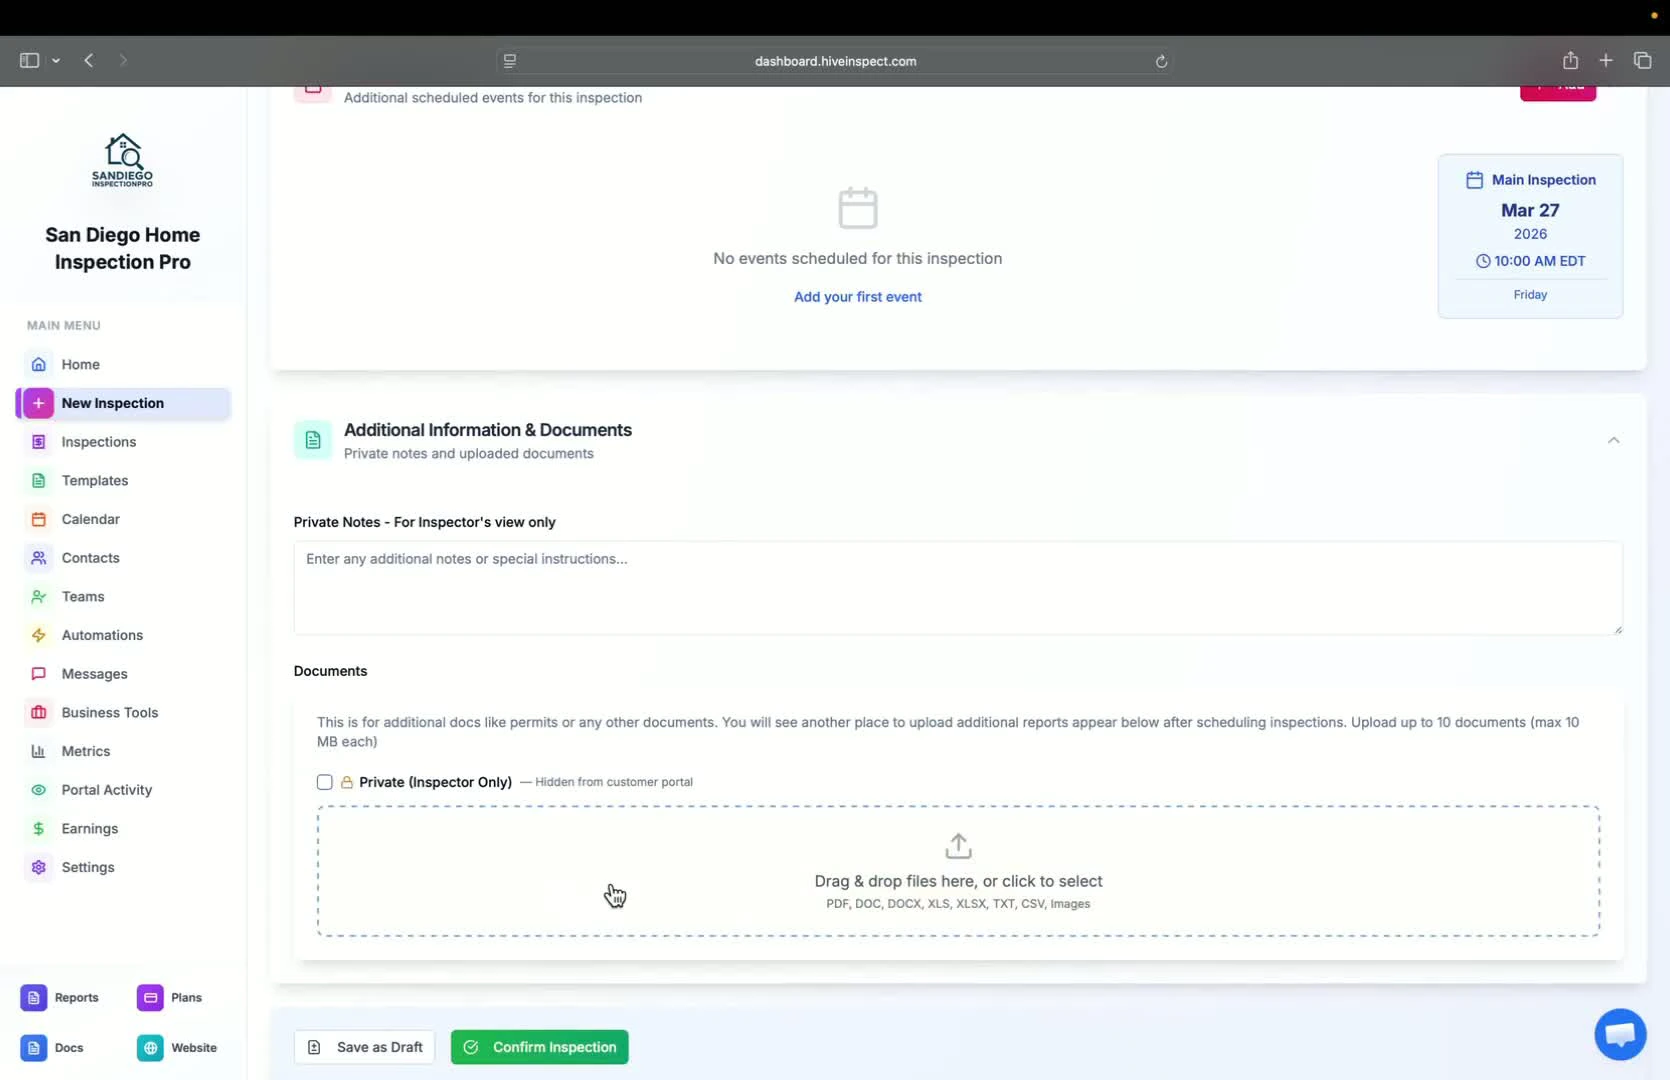
14
Adding Notes and Documents — 4:02
- Add private notes or documents for internal use
- Upload public documents available on the customer portal
15
Saving or Confirming the Inspection — 4:28
- Save the inspection as a draft or confirm to trigger automations
16
Reviewing Automations — 5:07
- Check the automation status to see if emails were sent and opened
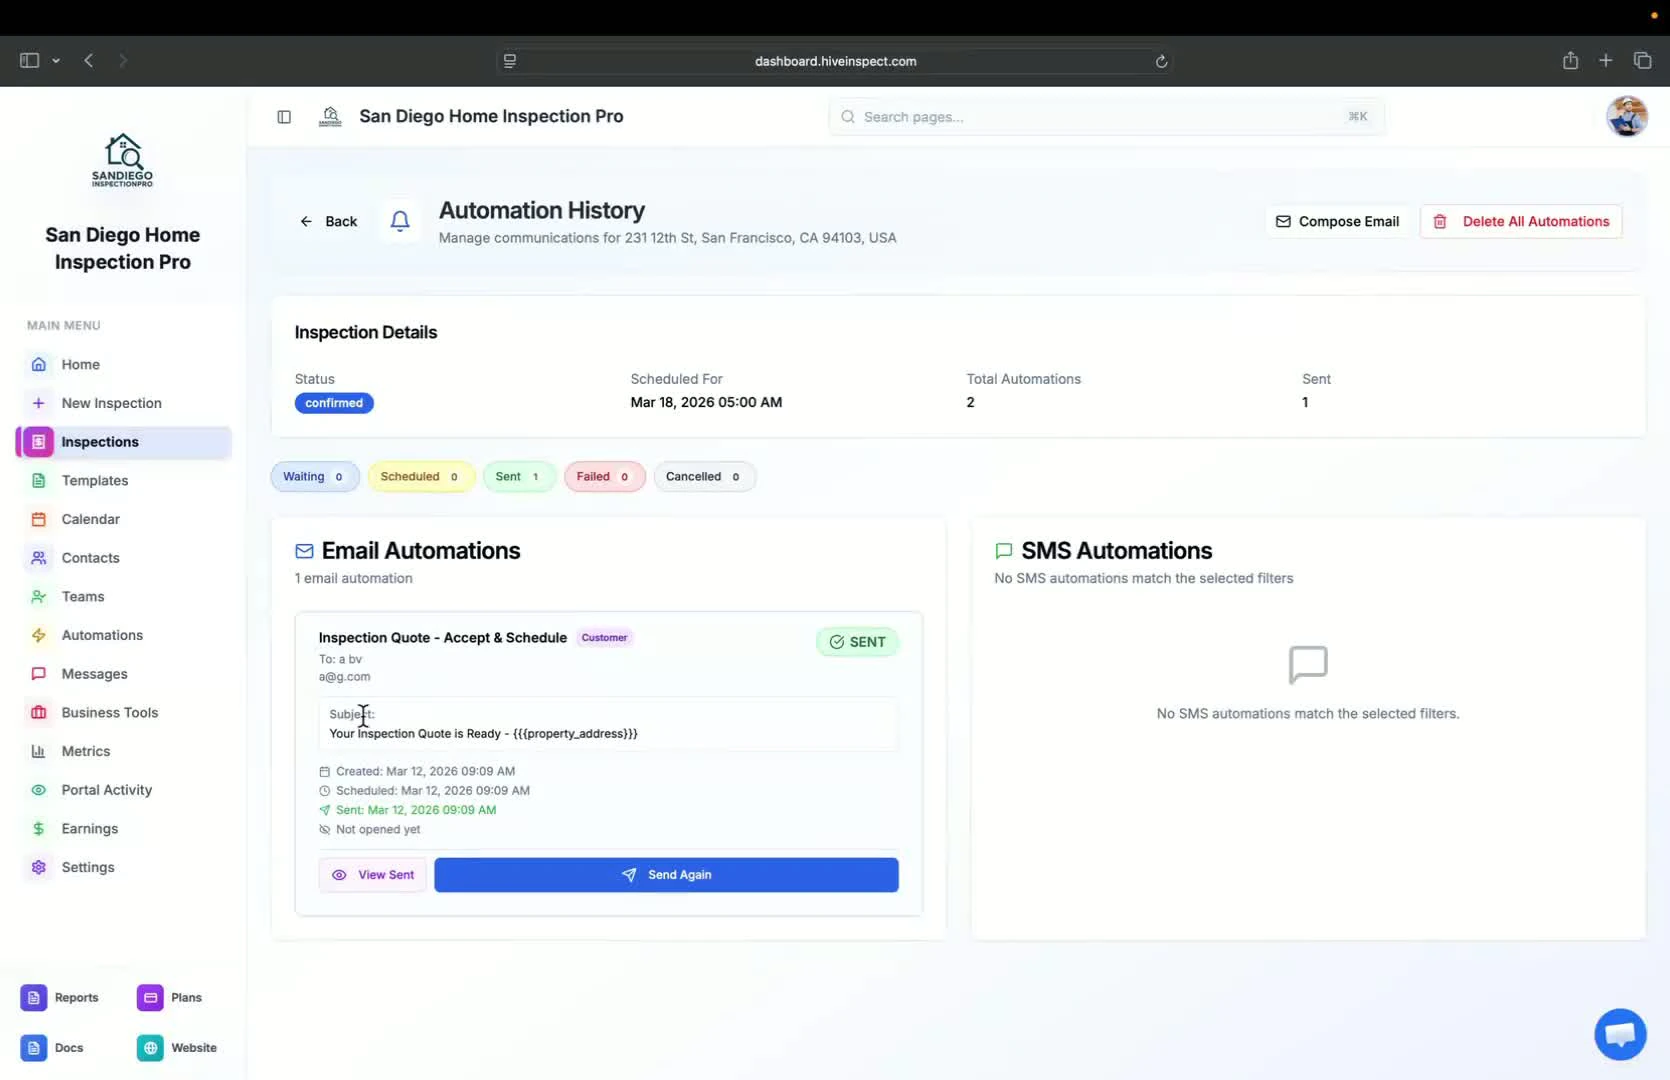
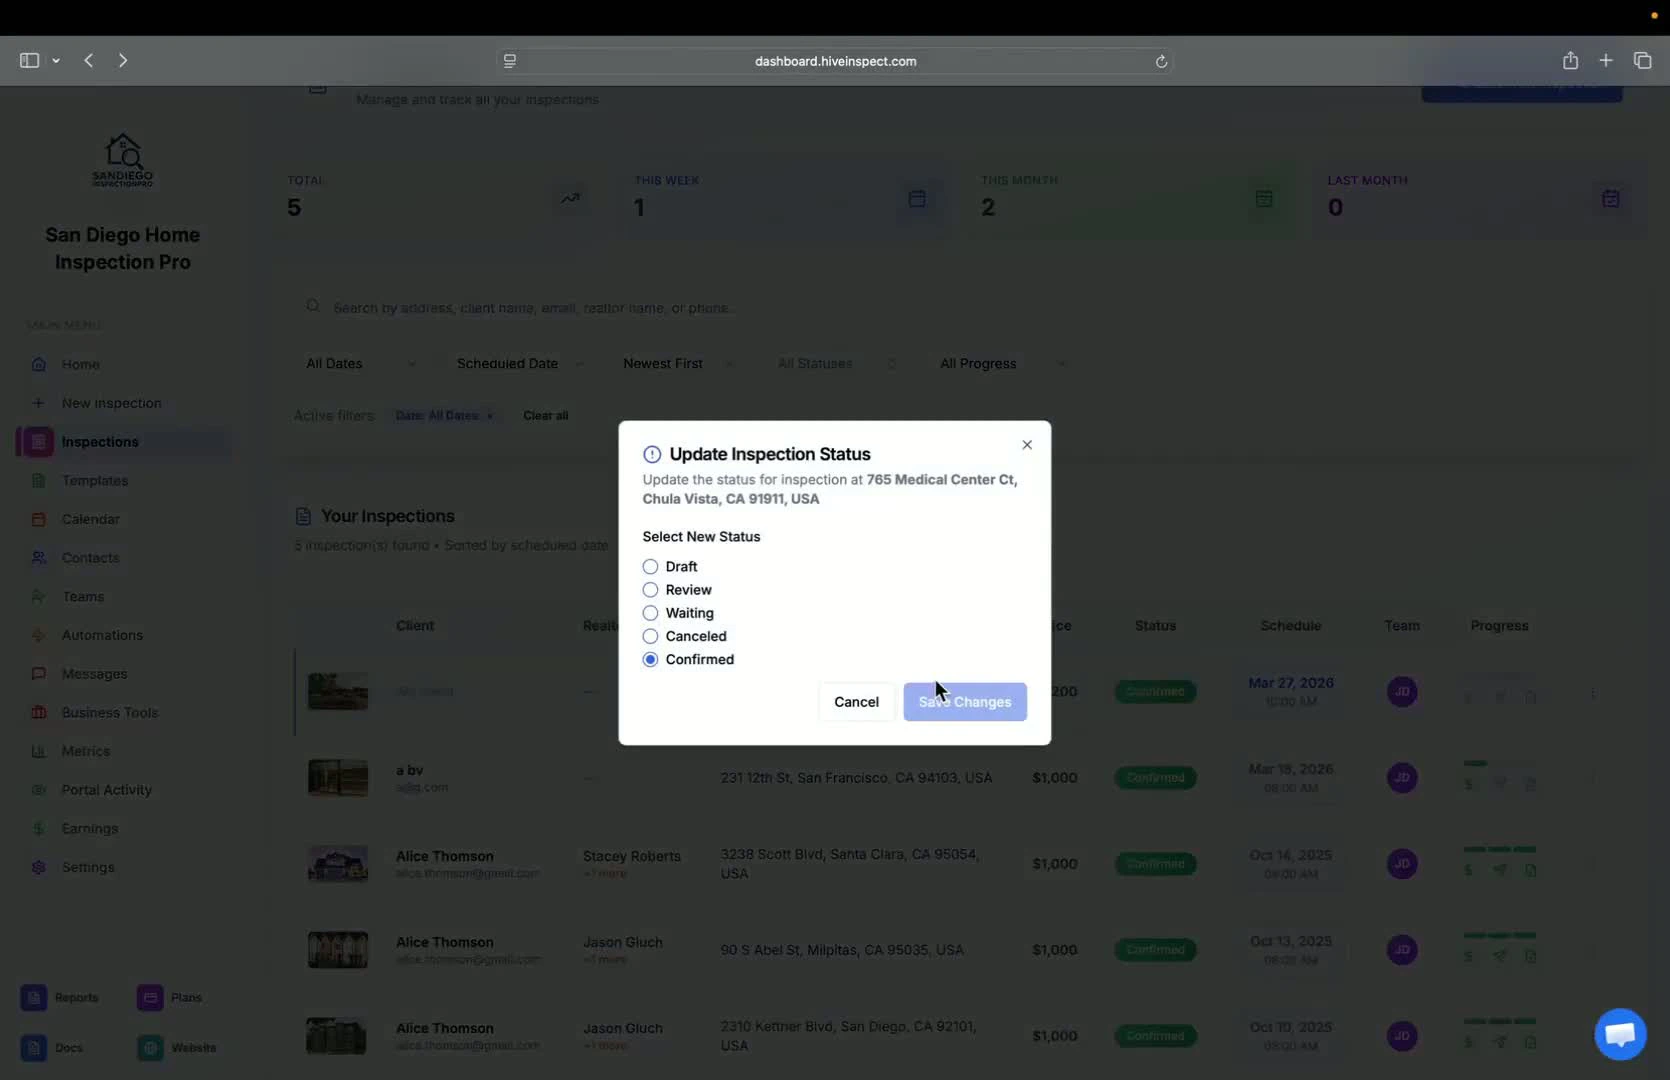
17
Changing Inspection Status Again — 5:17
- You can change the inspection status back to draft if needed
18
Generating a Code — 5:27
- For generating a code, fill in the information and click Send for Review