Video Tutorial
Guide to Writing Reports in the Mobile App
1
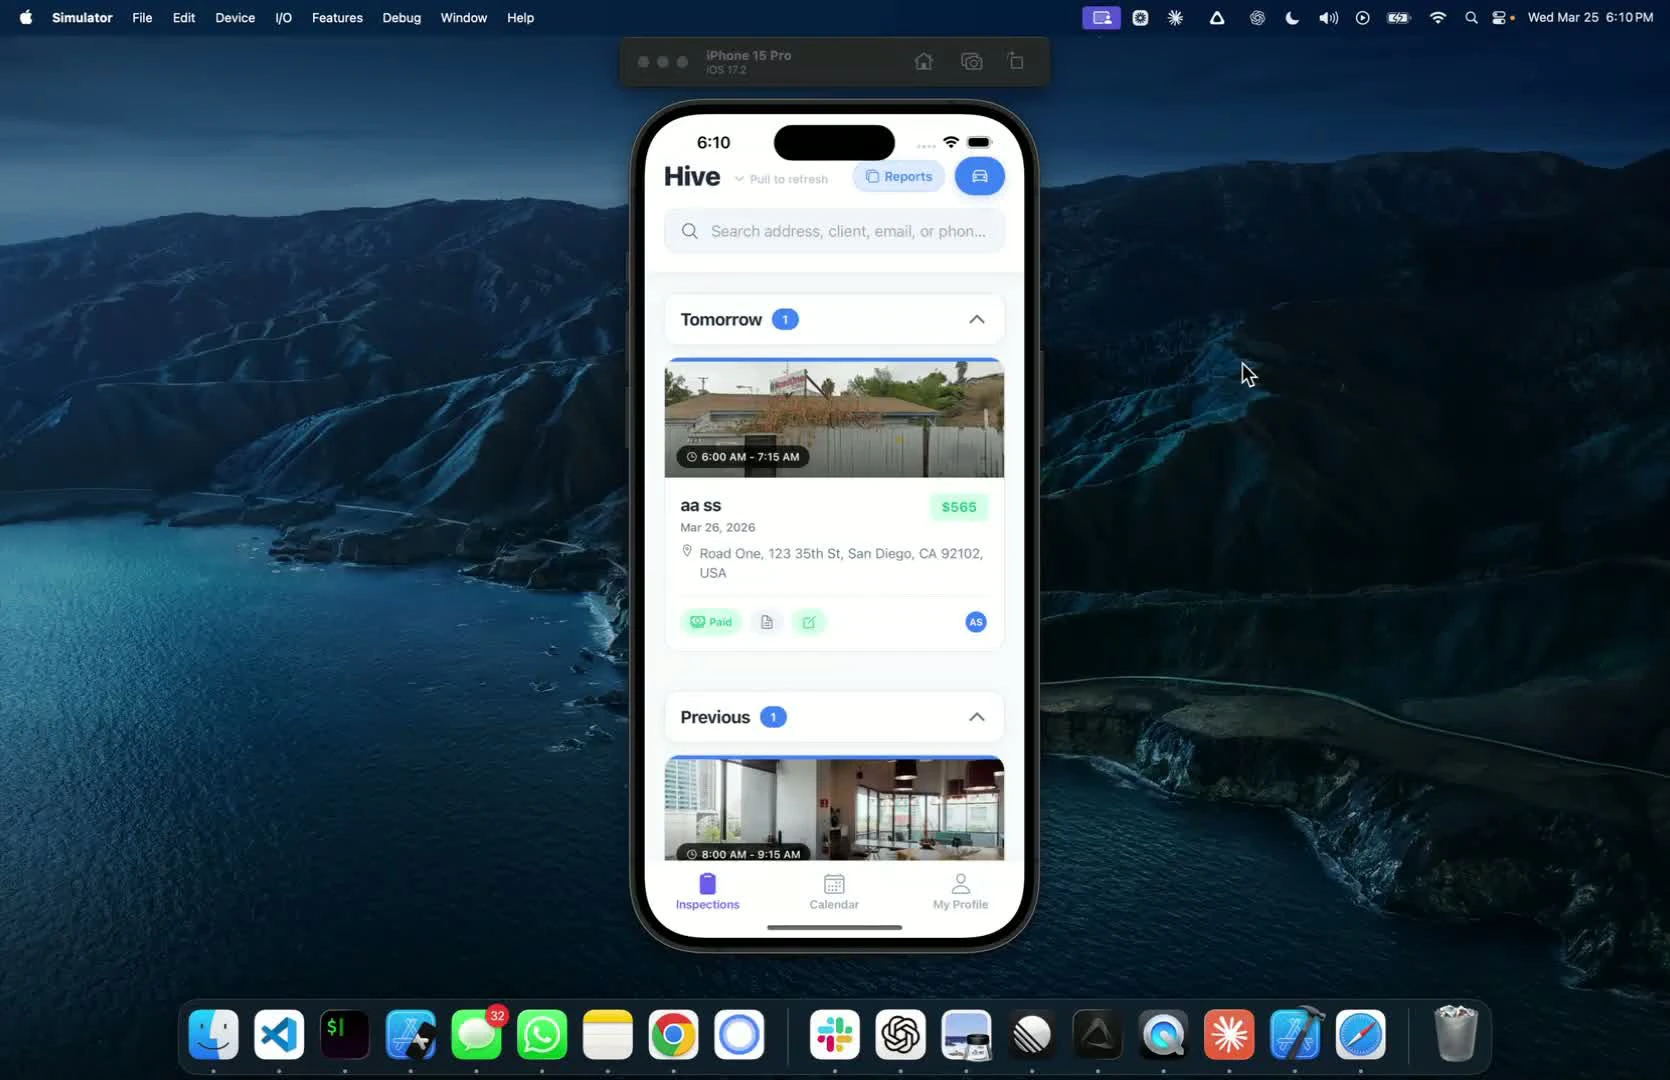
Access the Report Editor — 0:01
- Open the mobile app and select the inspection
- Click on the report editor and choose the report you want to work on
2
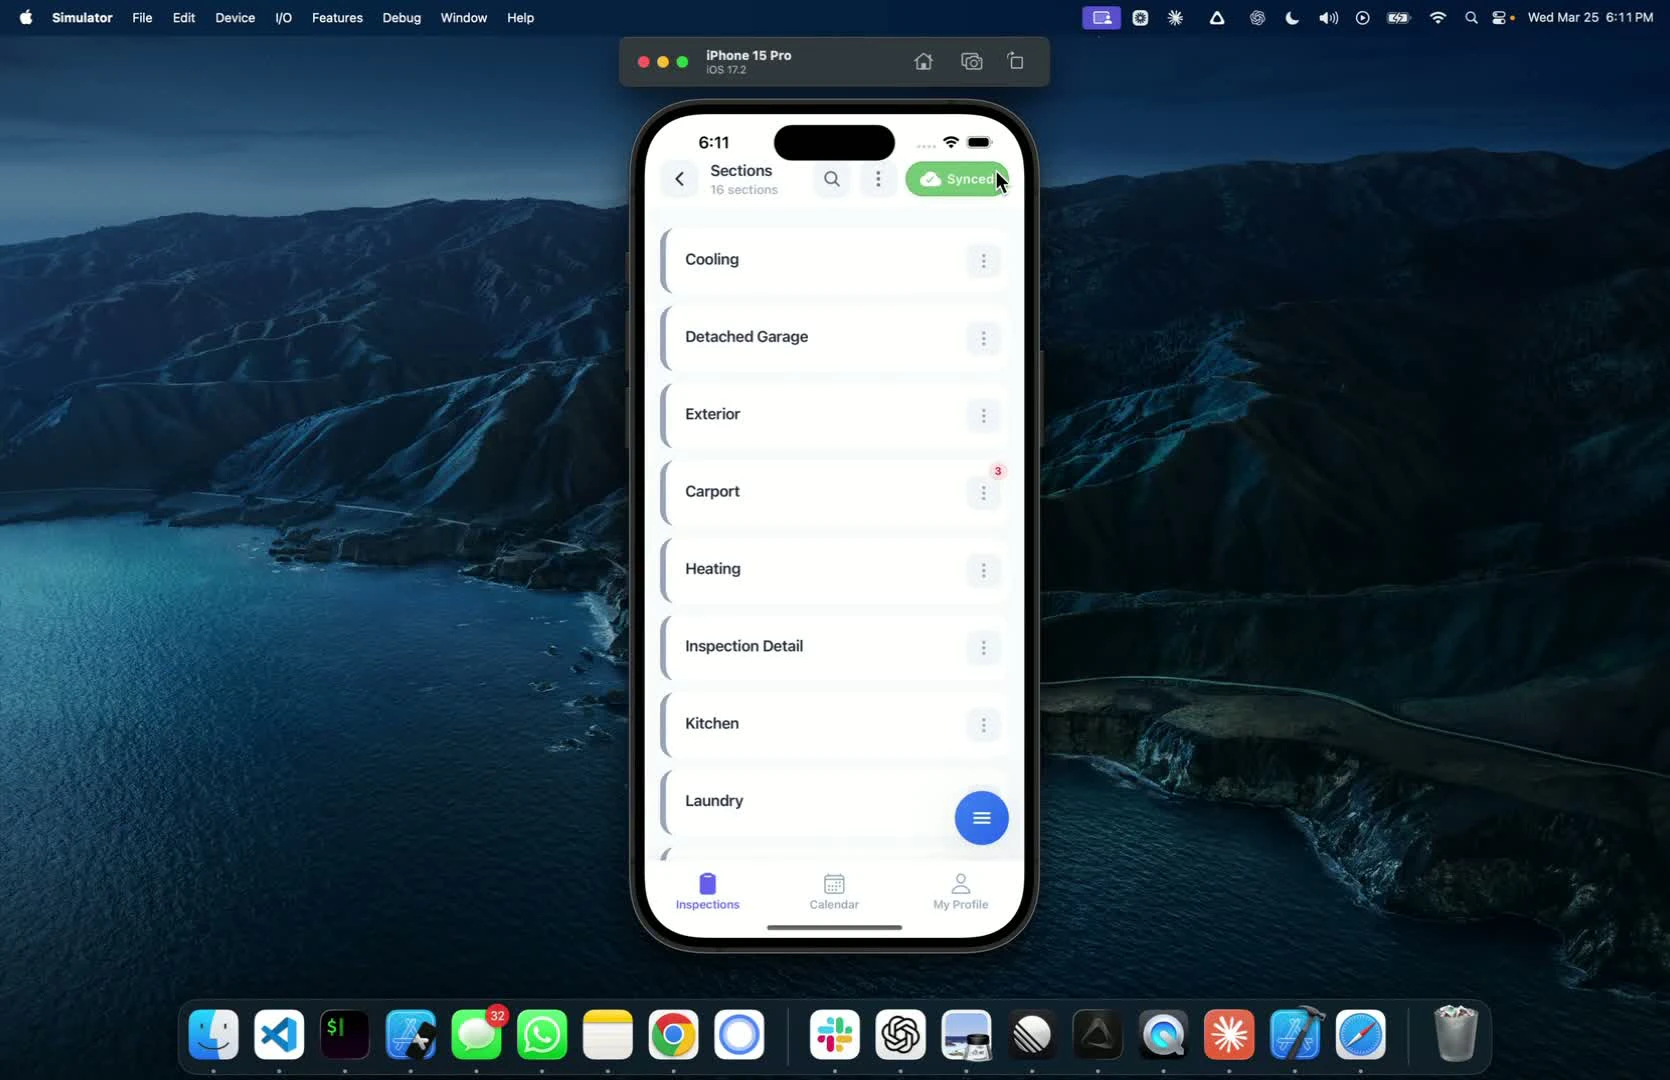
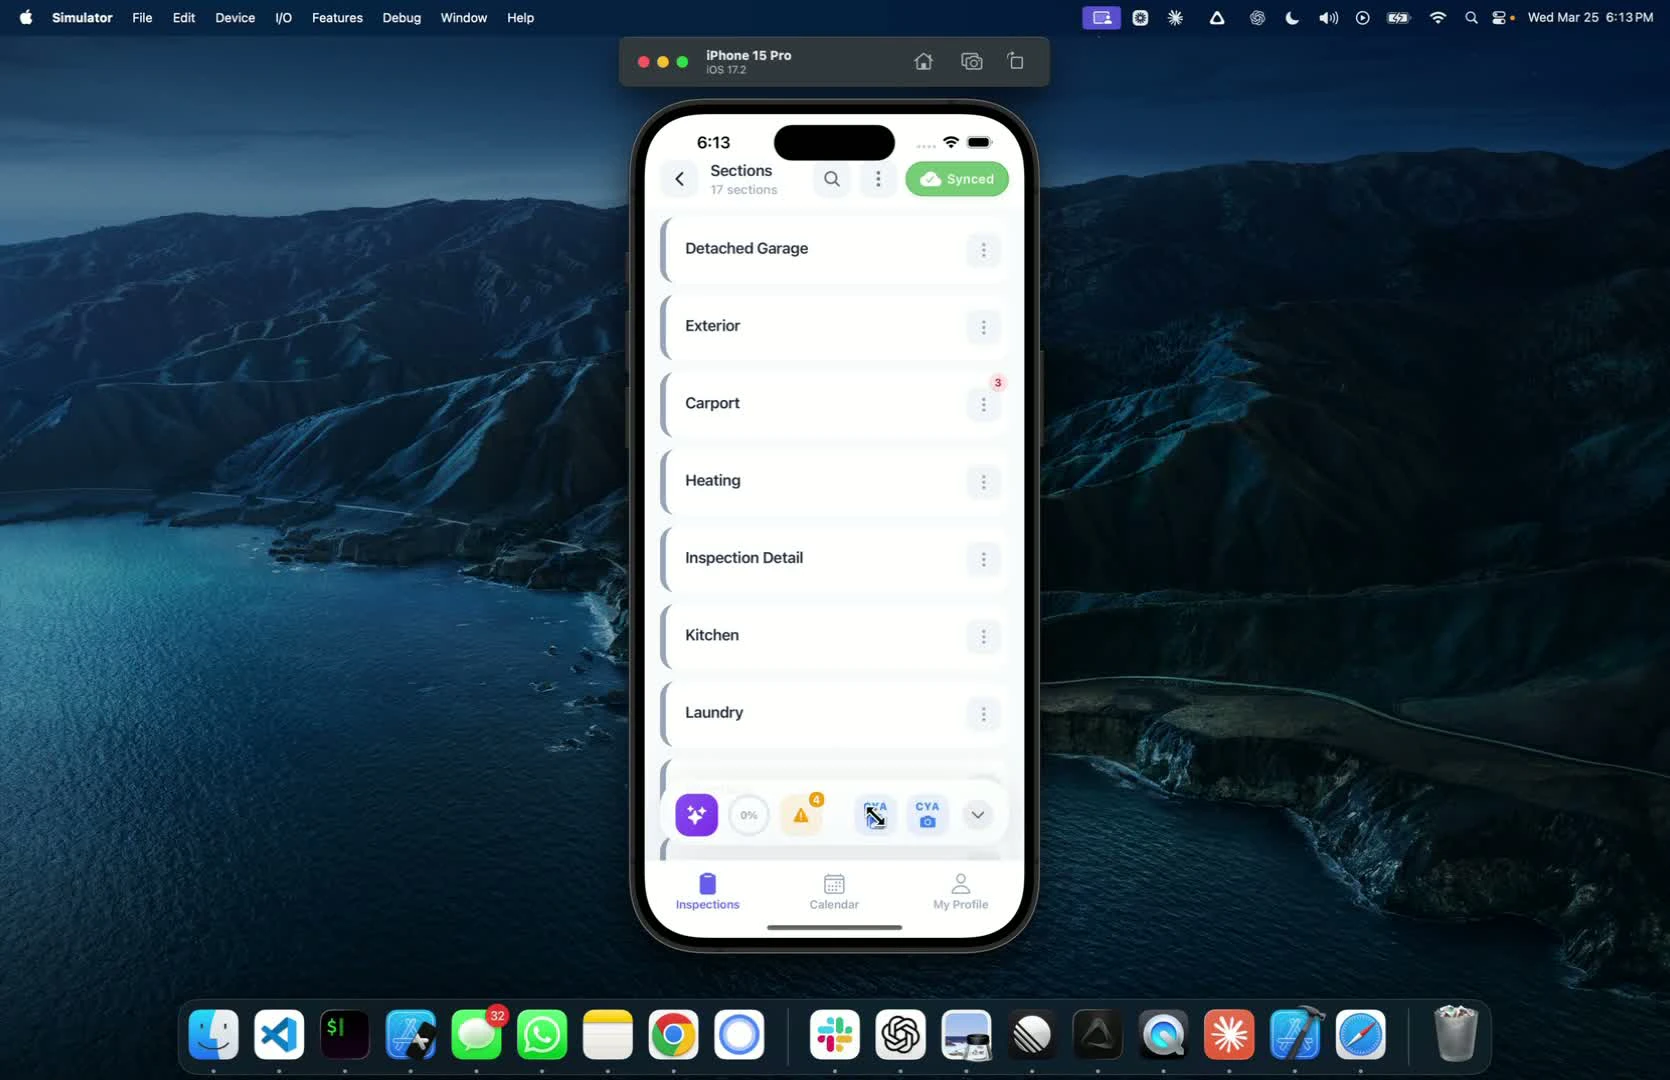
Check Sync Status — 0:17
- Look for the green button indicating all changes have been synced
- If the button is green, there is nothing left to sync
3
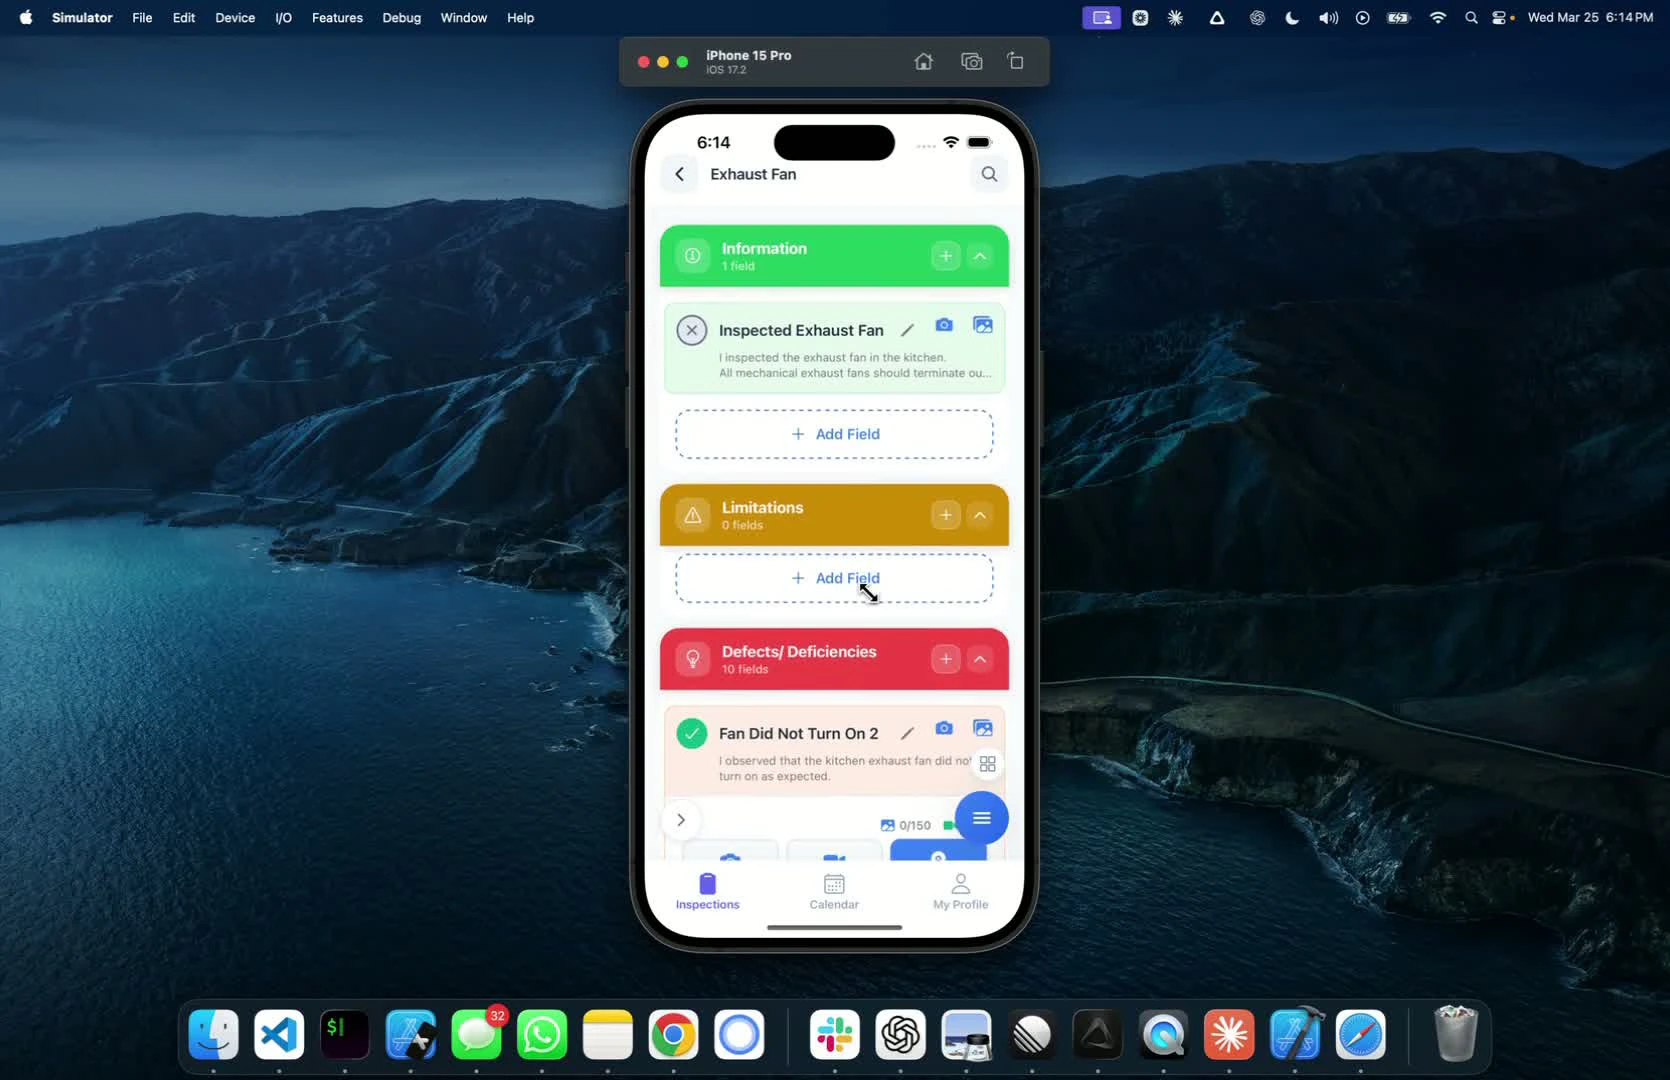
Identify Defects — 0:28
- Notice the three-colored button that shows the number of defects checked off in the section
- Click on the button to see details about the defects

4
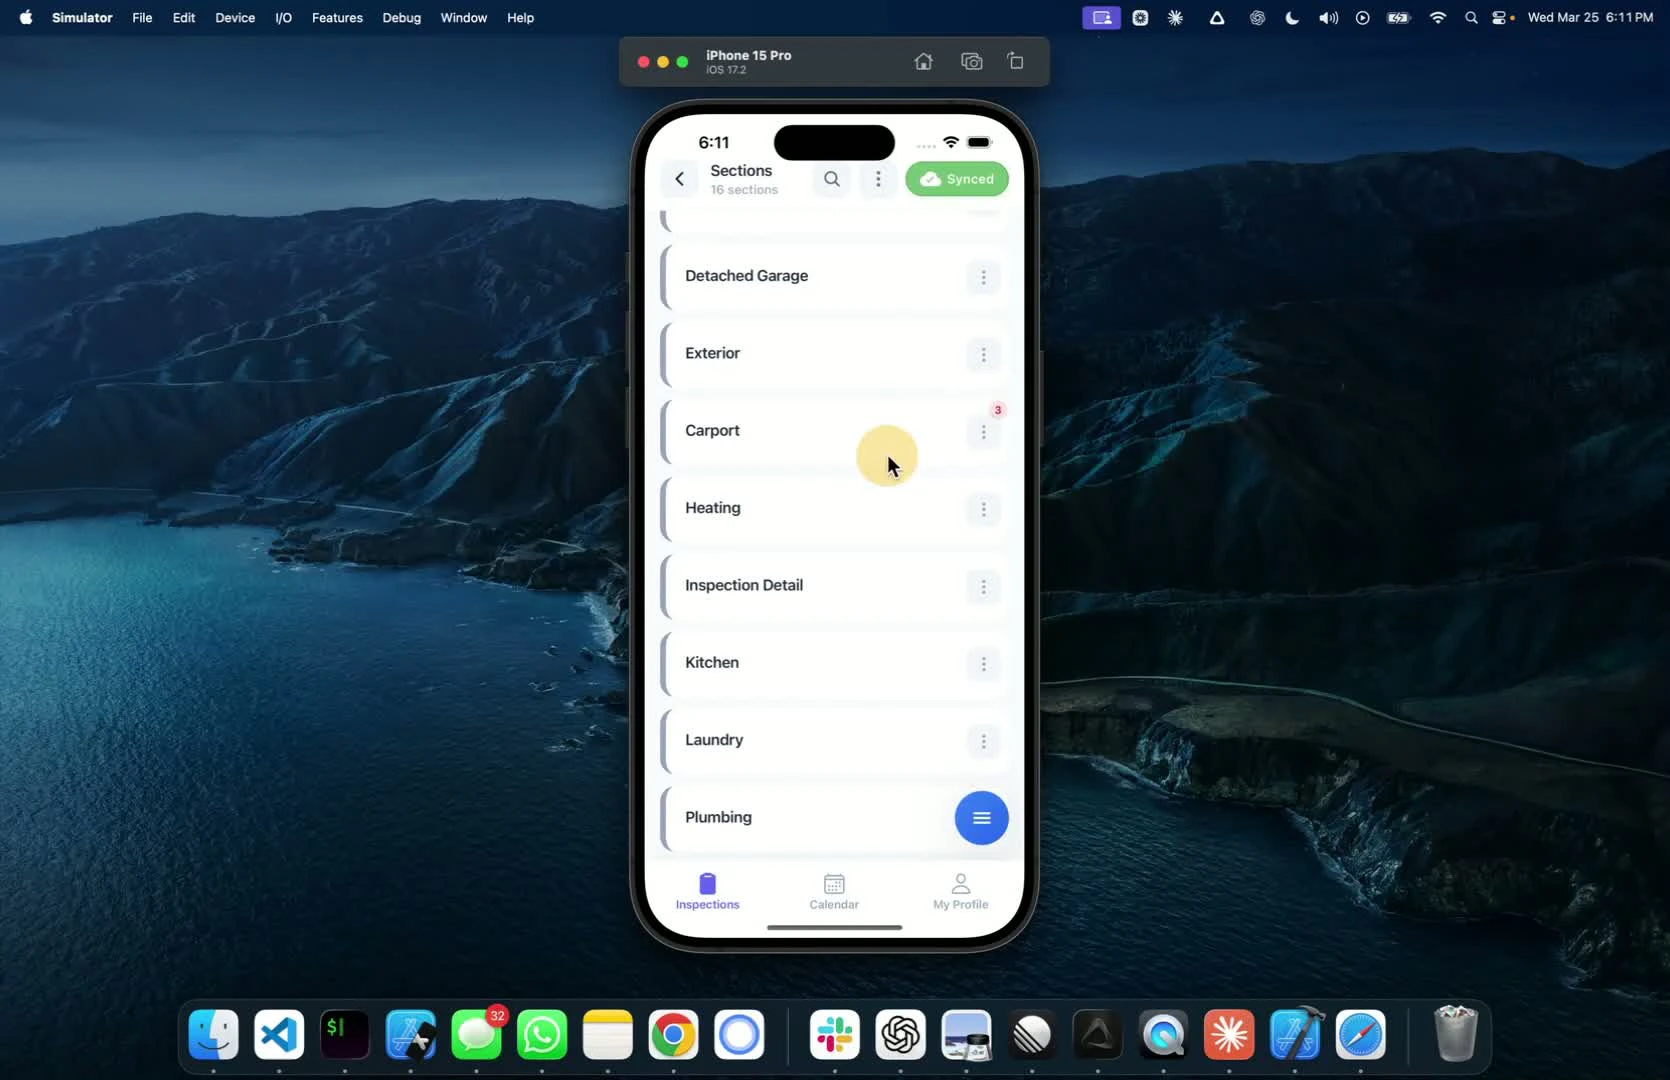
Edit Sections — 0:44
- Use the three-dot button to:
- Edit the name of the section
- Duplicate the section if needed
- Delete the section (can be restored later)
5
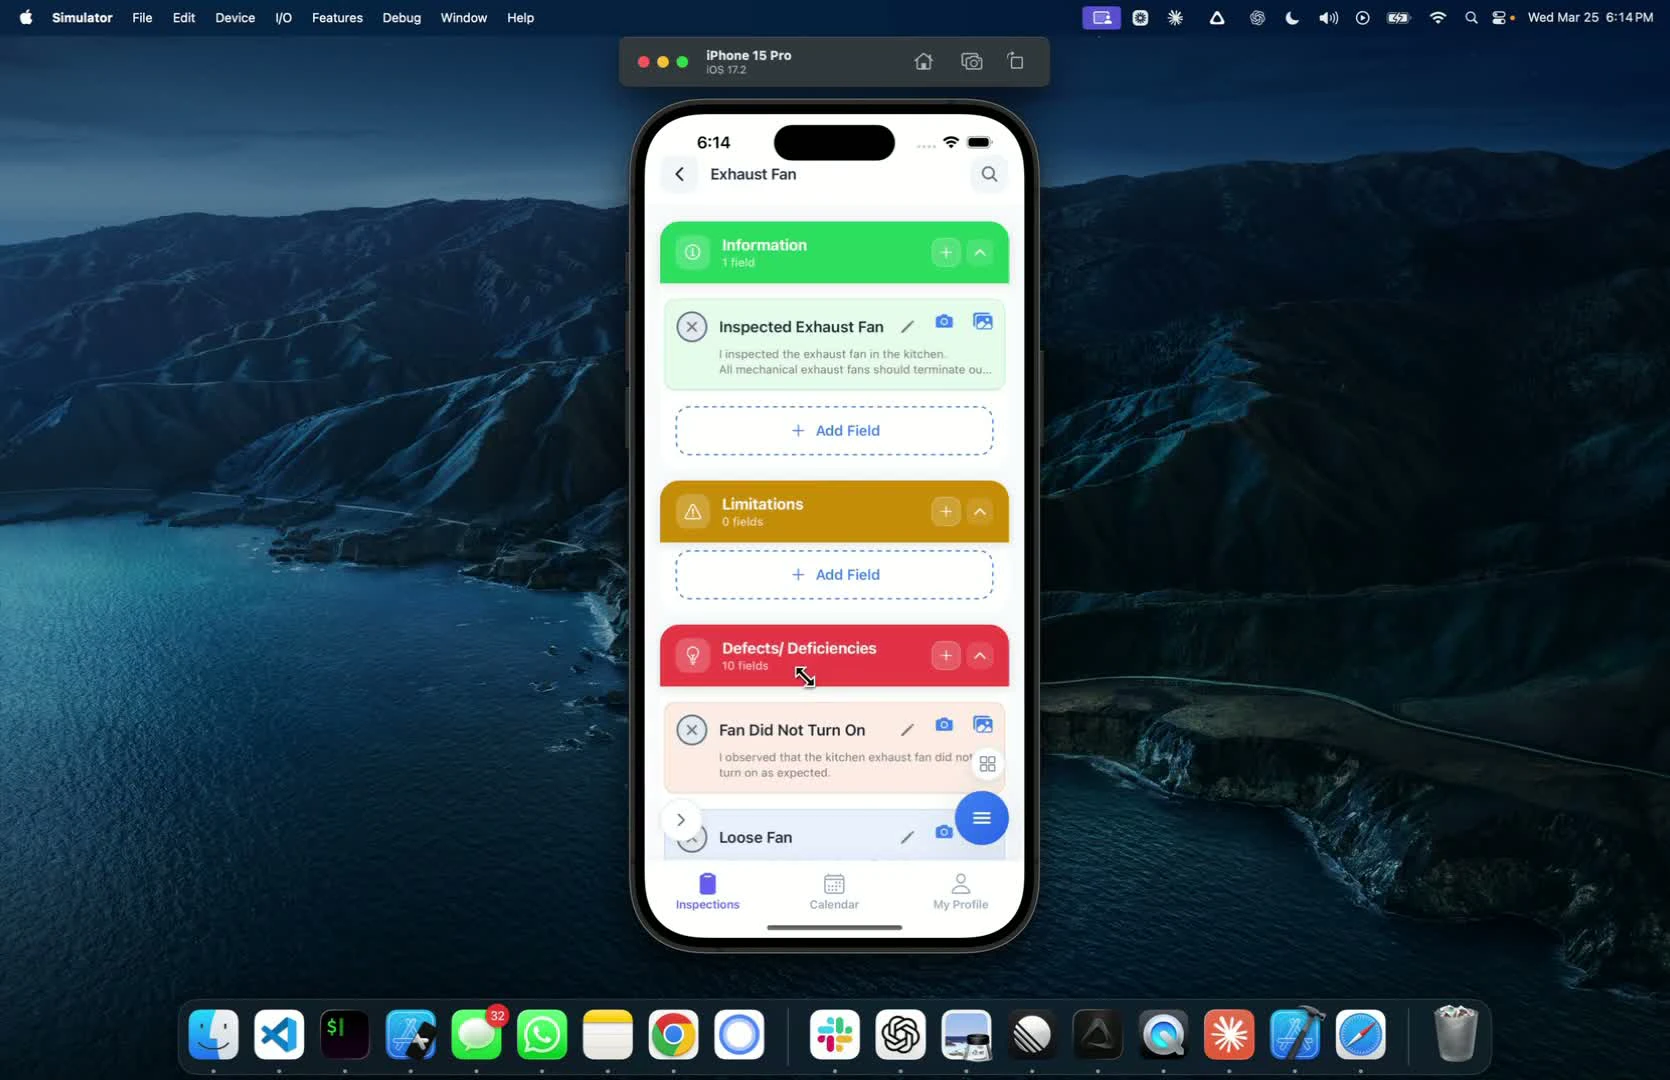
Manage Defects — 1:13
- If you find a missing defect, delete it and restore it later if needed
- To add a new defect, click the Add button and enter the details

6
Navigate Subsections — 1:21
- Click on a section to view all subsections
- Check off defects as inspected, not inspected, or tagged

7
Use Search Functionality — 2:44
- For experienced inspectors, use the search button to find defects quickly
- Edit defects directly from the search results

8
Access Additional Options — 3:08
- Click the options button to:
- Add CYA cameras
- View all images associated with the report
- See all selected defects in the inspection
9
Update Report Details — 3:27
- If changes are made in the field, update the report accordingly
- Add location tags as needed
10
Sync Your Report — 4:09
- Before exiting, ensure to click the sync button to save all data
- The app works offline; sync when you have internet access